Many times when homes are built, they come with some standard features including a standard builder grade mirror in the bathroom.
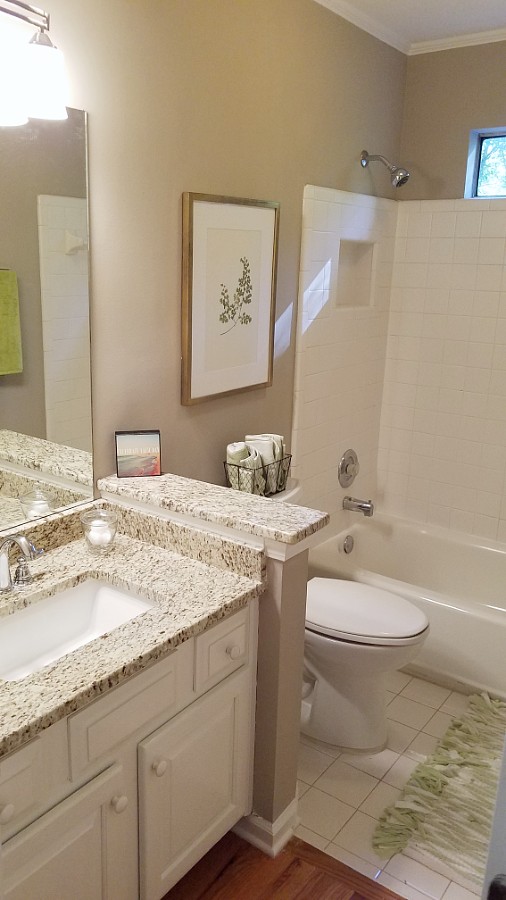
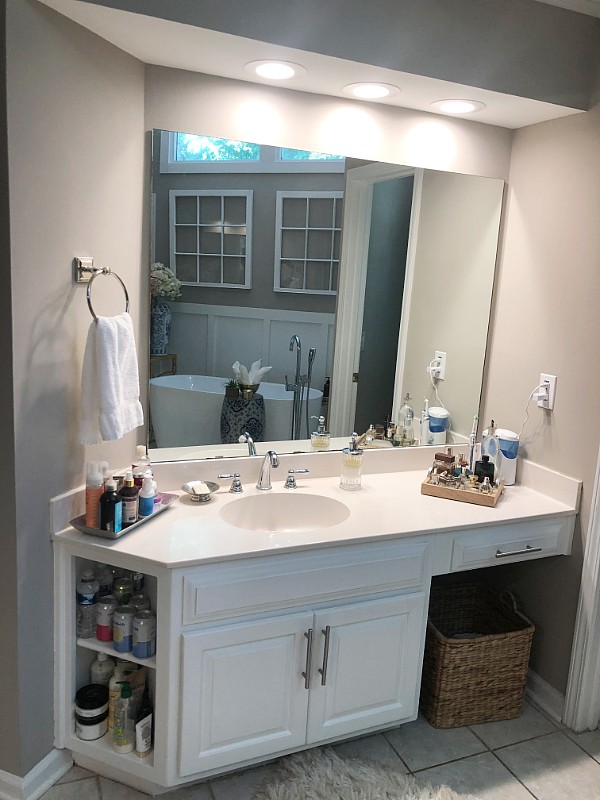
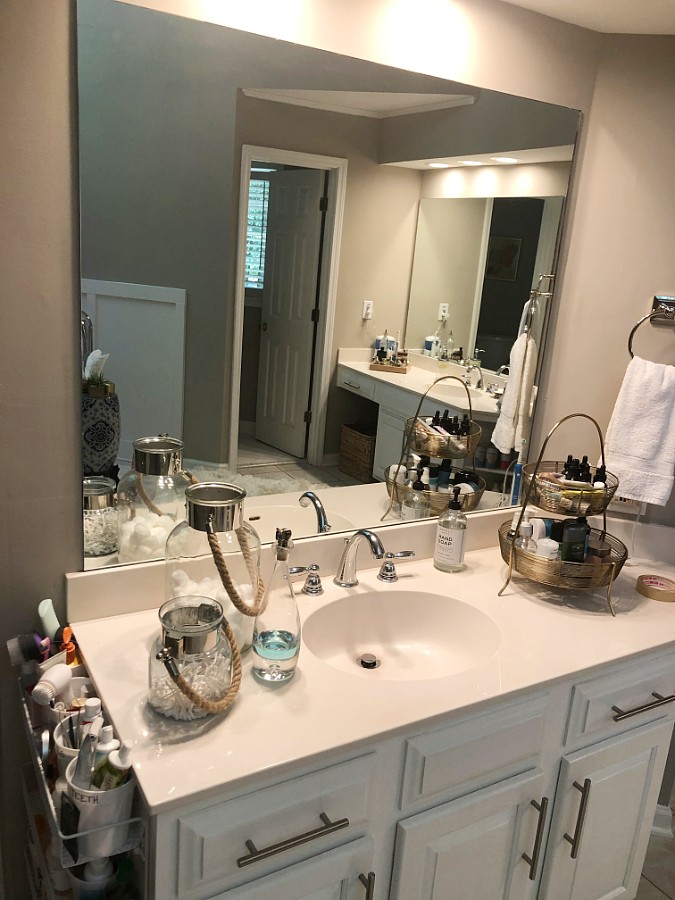
This generally does not add any character to the home.
Yes, it serves a practical purpose of having a mirror in the bathroom, but that is as far as it goes.
Sometimes we want things to be more inviting, more spa-like or having more character or charm.
This is where updating becomes a practical solution.
Ideas
One option is to completely change the mirror and put in a standalone item.
IKEA has many options including a large round mirror that is currently on trend. TJ Maxx, HomeGoods, and many home improvement stores also offer many styles and options.
A quicker fix, that’s also more economical, is to use your existing mirror and add a frame. I have seen this done both by attaching molding to the mirror with glue or two-sided tape, or hanging it in front of the mirror using 3M velcro Command Strips.
I once made a frame and hot glued seashells to it to go over an existing mirror in a rental house. It added a nautical seaside vibe.
You could also use any number of moldings or boards, depending on the desired style of your bathroom.
If you wanted it to be more rustic you could always use pallet boards or rough hewn boards.
If you wanted it to look more glam, you could use crown molding or even decorative metallic tiles.
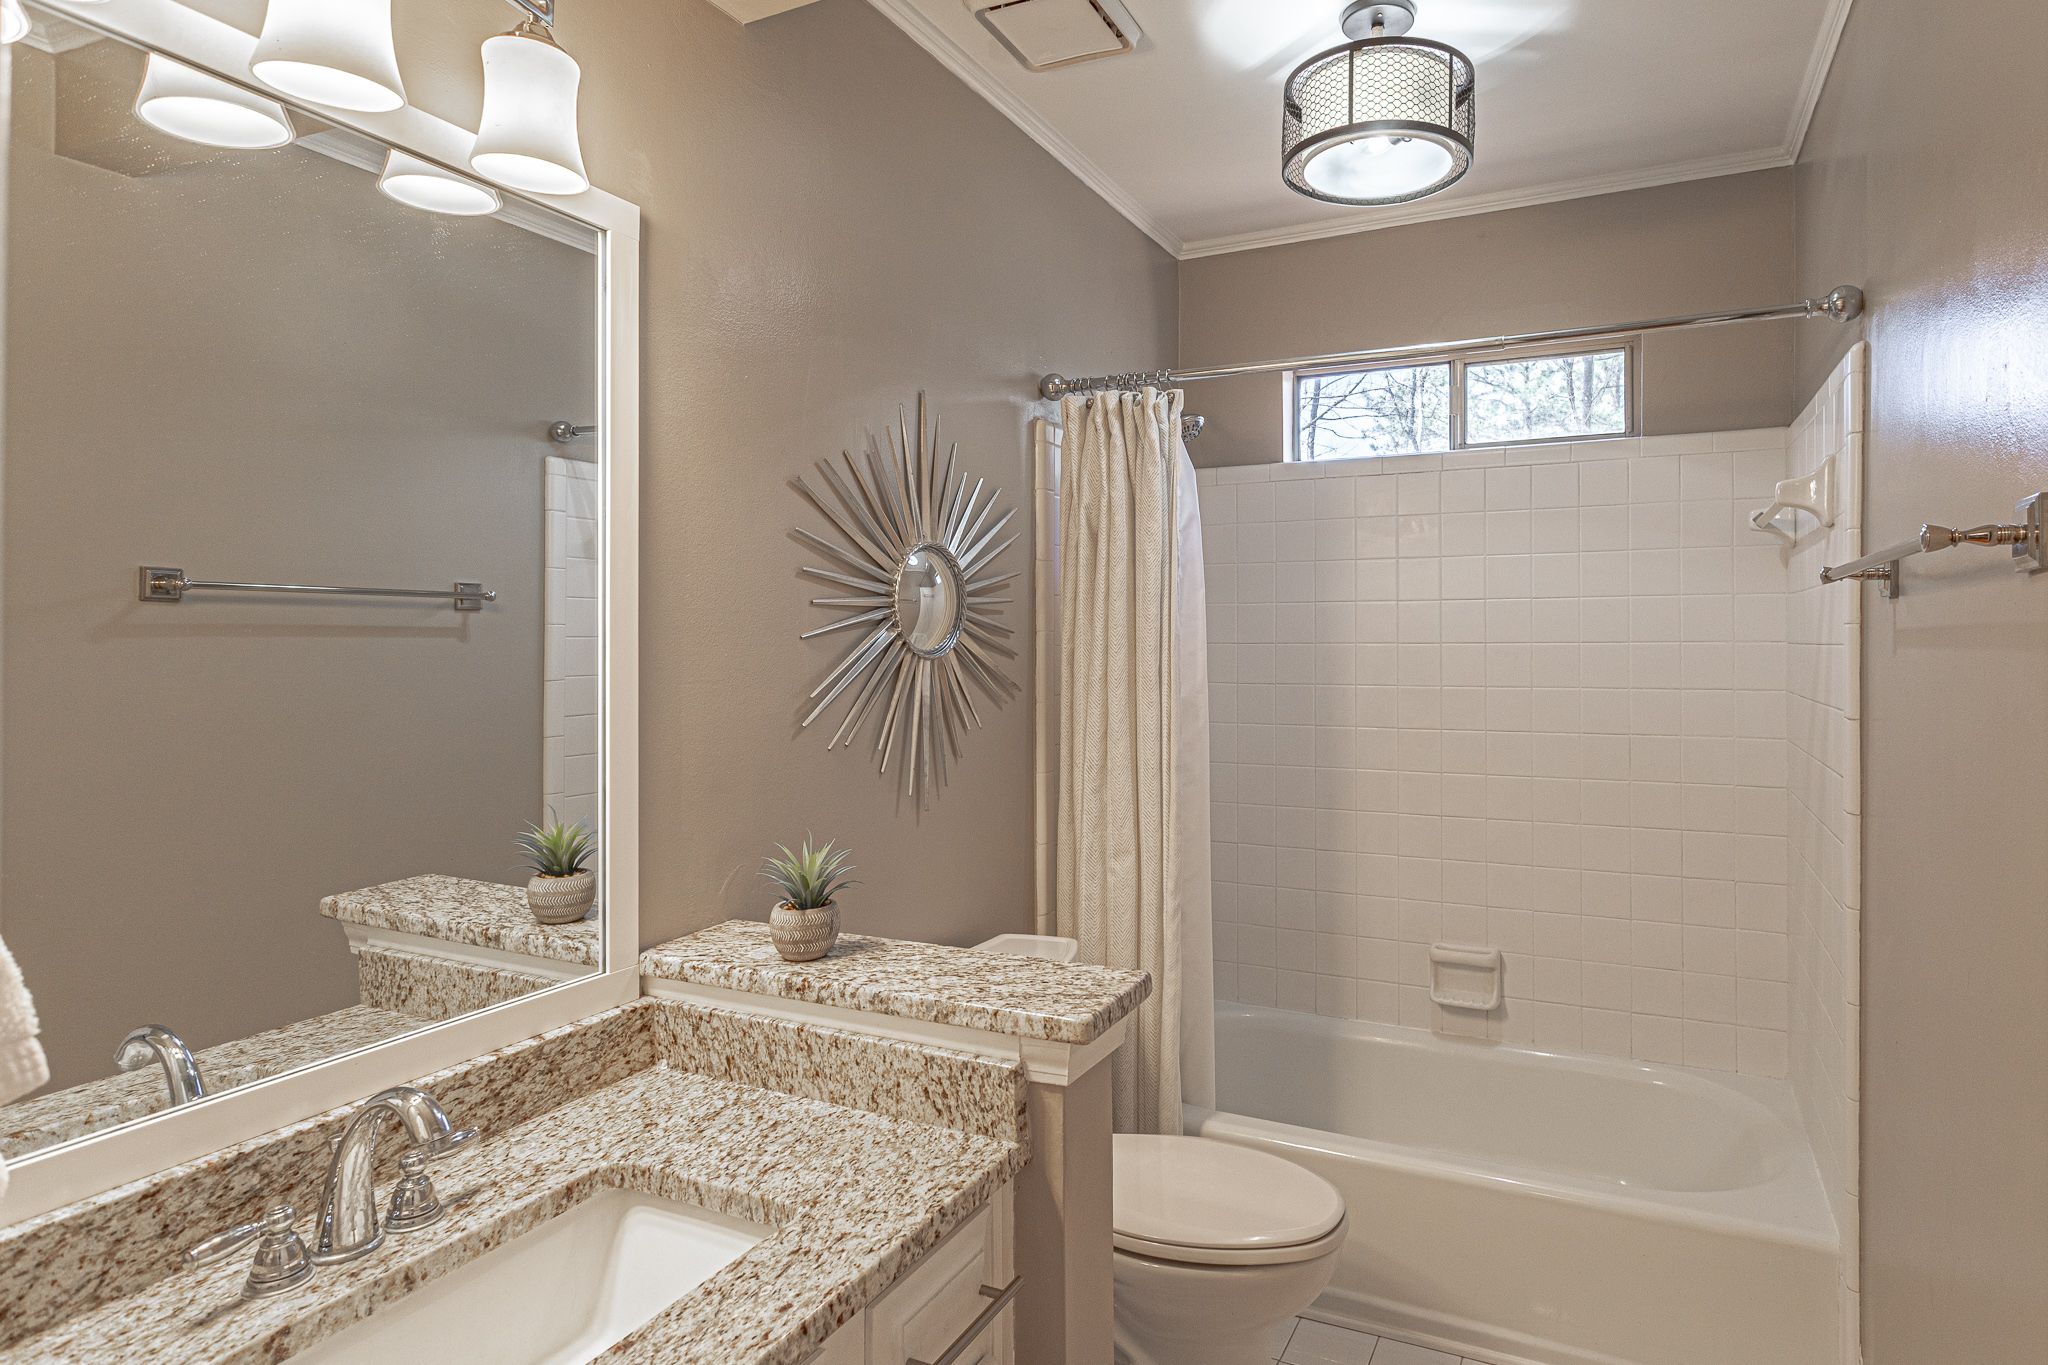
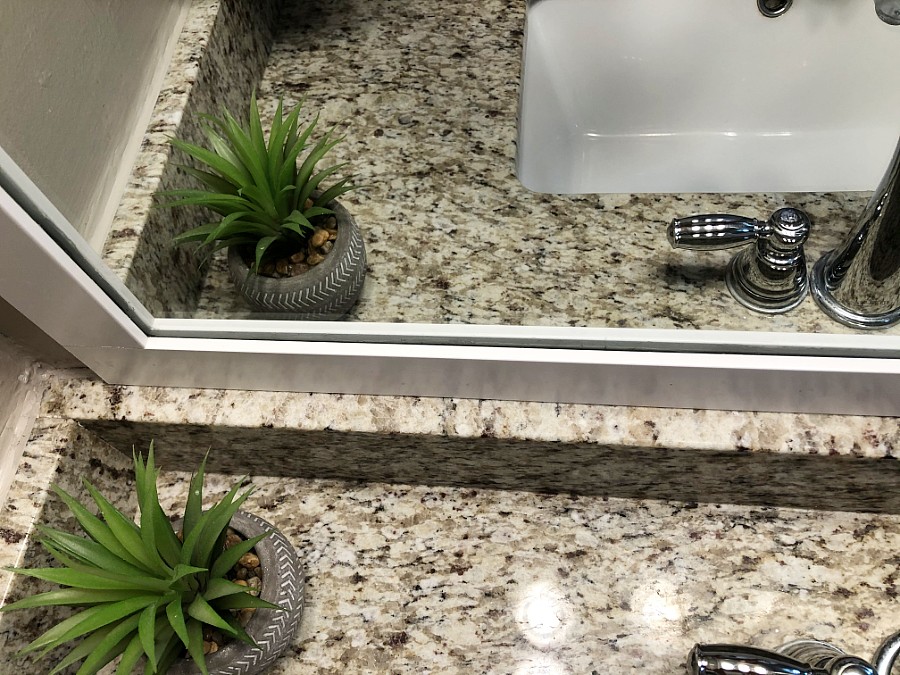
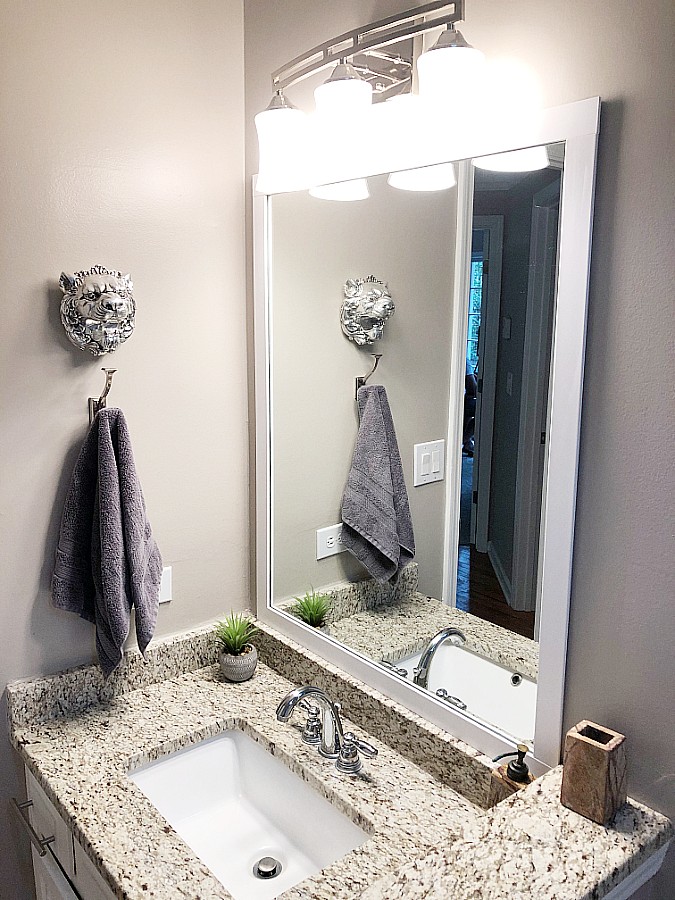
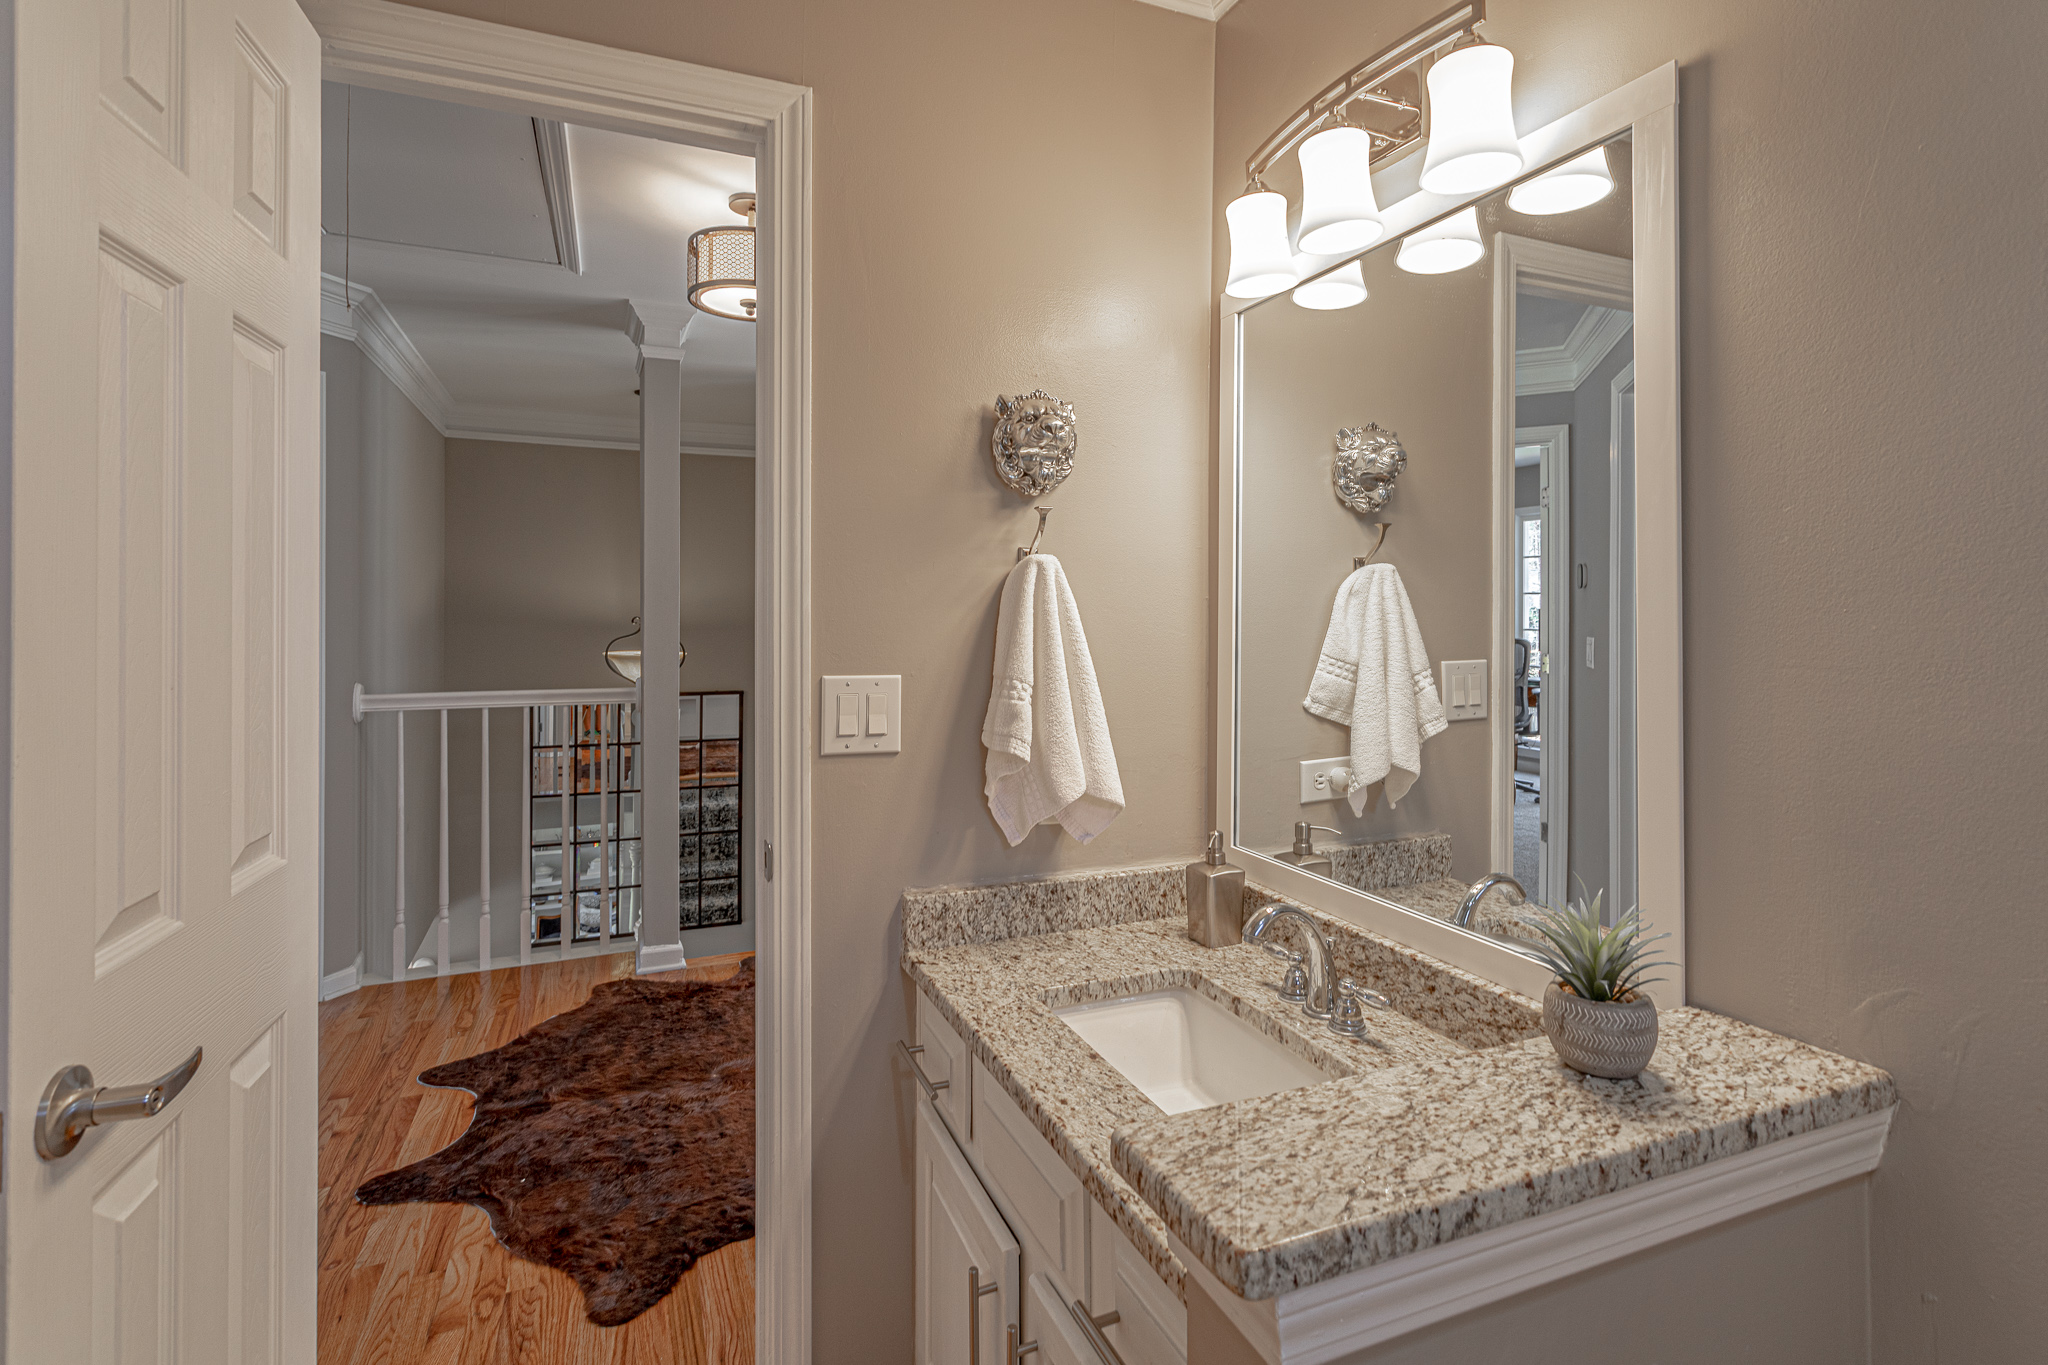
We wanted to keep things simpler, and yet add a more finished, custom look to the space, so we just used a 2 inch size straight edged molding piece around it to create a frame.
Tackling It
I did one of the bathrooms, by myself, while my hubby was out of town.
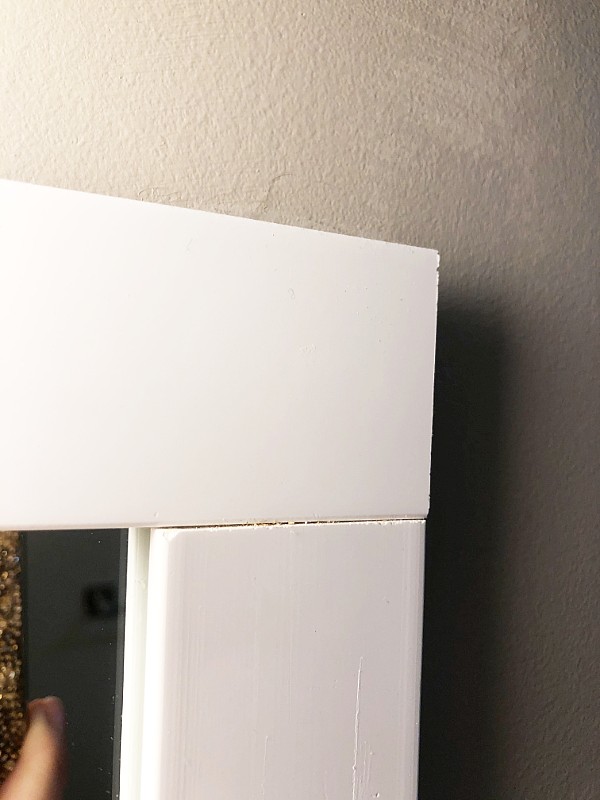
I was intimidated by trying to angle the corners so I decided to do straight corners instead.
I measured the top and bottom, and then the two sides going up. I cut all of the boards using my hubby’s table saw. Making sure to have a nice straight cut. I double checked them and made sure that it was nice and tight.
Once I had the pieces all cut and the mirror cleaned, I re-wiped the area of the mirror, where the molding would sit with some rubbing alcohol, so I’d have good adhesion between the boards and the mirror.
I added some liquid nails to the backside of the board. If you can find clear, that would be terrific, but I don’t think they make it anymore. What I used is more of a tan colored glue.
Anyway, I applied a thin wavy line going on one piece at a time. I started with the bottom board first. I then added the two side pieces going up. I added painting tape to hold each board in position.
I chose the painter’s tape as I didn’t want the tape to pull off any finish from the wall. The tape secured it and it worked perfectly.
I did the top last, making sure the corners all lined up. The top rested on the two sides and thus was held in position. I still used tape to secure it and left it for 24 hours for the glue to dry.
The Completed Look
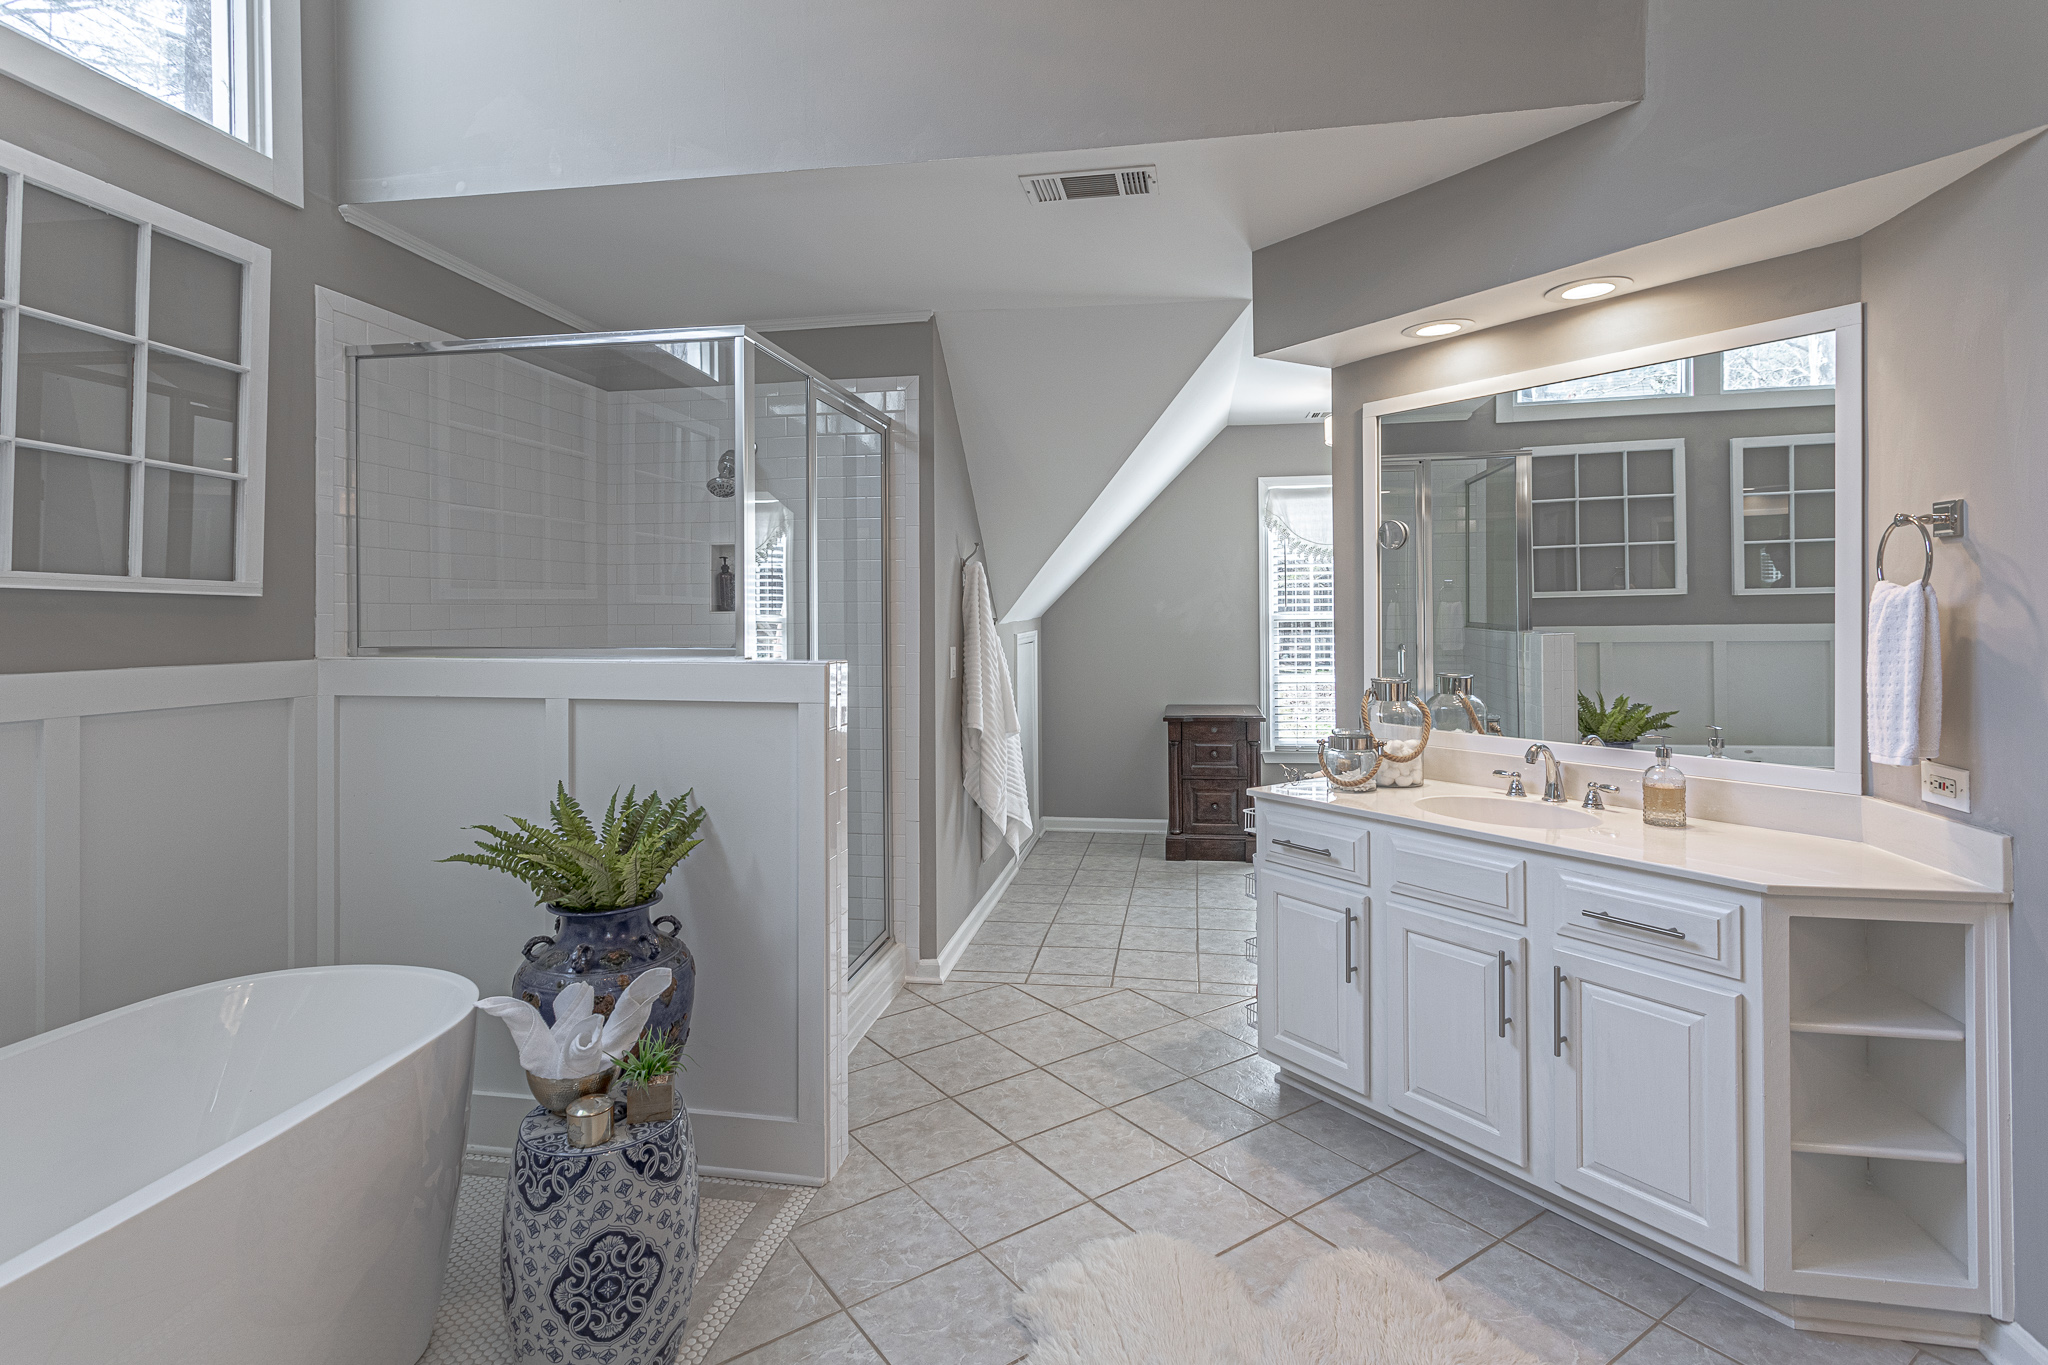
The frame makes this room look more finished. It is a detail that is easy to do and gives a much more polished and custom look.

Next Up
The next room we did was the master bathroom. This was a little bit trickier as I didn’t know if I even wanted to do the mirrors, or if and when, I may want to put in new vanities first.
Some of the issues included the fact that the vanities are not equal heights. They made one lower for “the lady of the house.” They also had a cut out for a vanity stool and had little built in corner shelves.
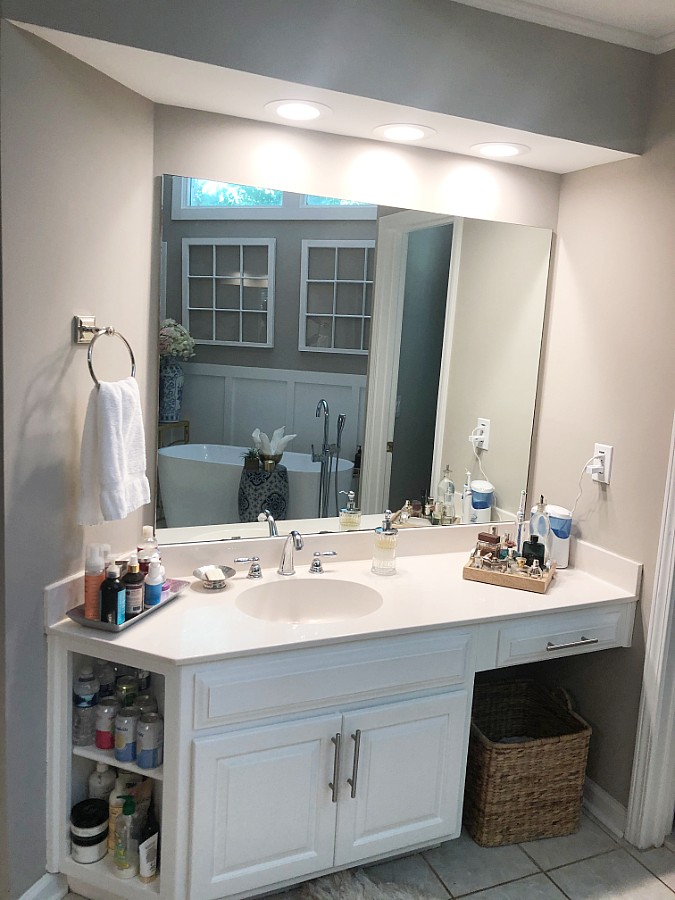
All of this, to me, seemed dated. That being said, if we changed any of this, we’d also have to redo the flooring.
After much thought and debate, we decide to not overhaul the bathroom and just do some minor improvements.
The possibility existed, if we were able to find a small cabinet or even a small fridge that fit underneath the little vanity area, that we’d install that in the future too.
As for the little corner shelving, I considered putting little doors on them or removing them altogether.
If they were removed, I would need to get new countertops along with sinks and the flooring would still need to be addressed.
This may be a decision and project left for the next owners of this home as this is more work than I want to do.
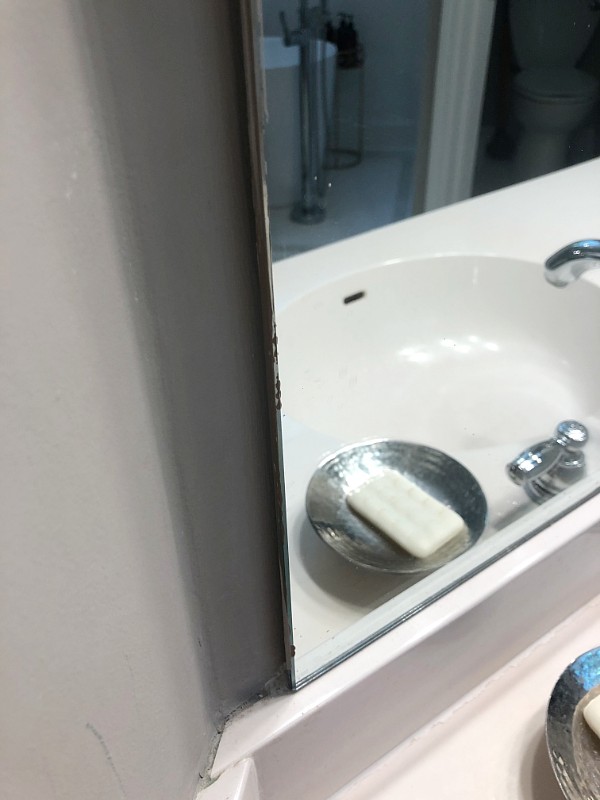
As the vanities are different sizes, so are the mirrors. They meet up on corners of the walls in awkward little spots too.
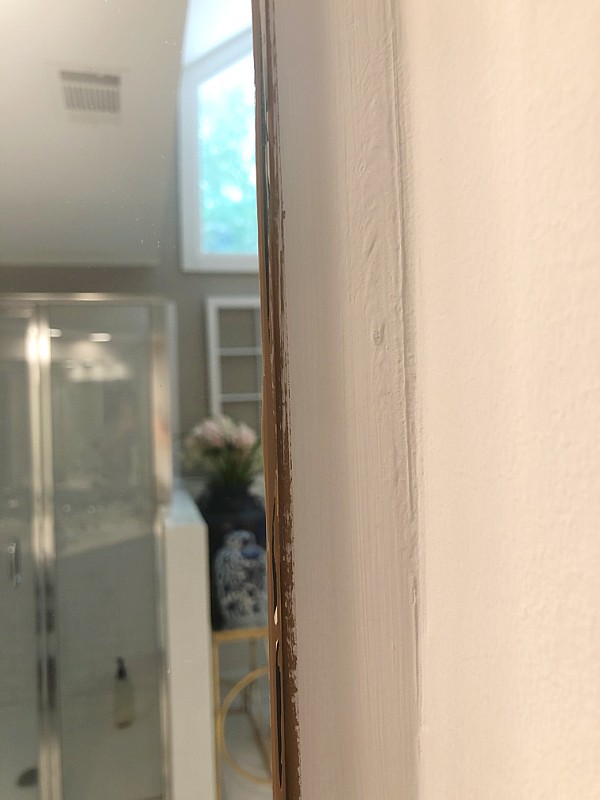
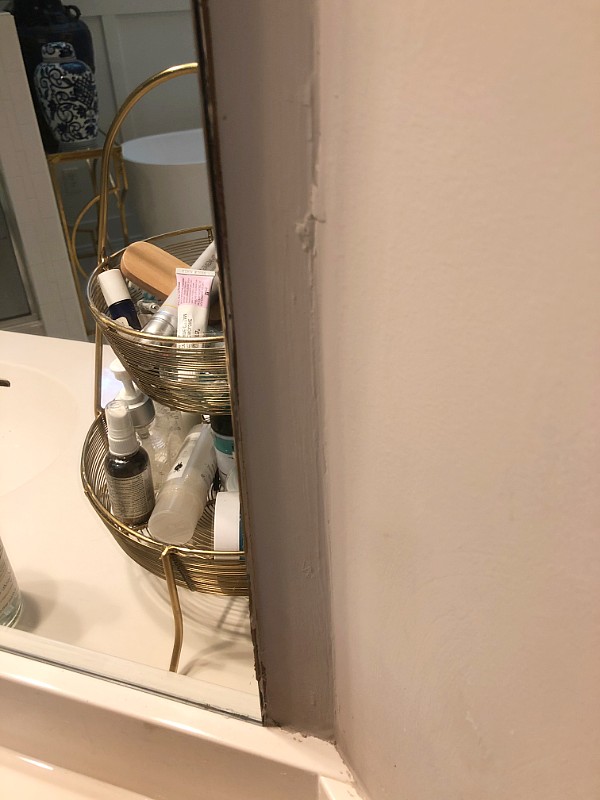
It really caused a lot of deliberation between my hubby and me because we both had different ideas on the amount of work we wanted to do, the amount of money we wanted to spend, and the benefit we would receive from doing it.
If we were going to get new vanities after all, then the one mirror would actually hang below where the new vanity would sit. Which meant we should actually do the vanities and floor first or leave it all as is.
If the vanities were replaced, the mirrors would either need to be replaced or they would not sit flush against the wall.
We decided an update that’s relatively easy and economical, and was an improvement to what we currently had, was the route for us to go.
Framing the mirrors definitely fell within these parameters.
Picking Out Supplies
So my hubby went to Home Depot or Lowe’s to pick up the boards. They’re the same ones that I used in the other bathroom. Cheap 2 inch plastic straight edged molding pieces. Already white, which alleviated the additional need to paint.
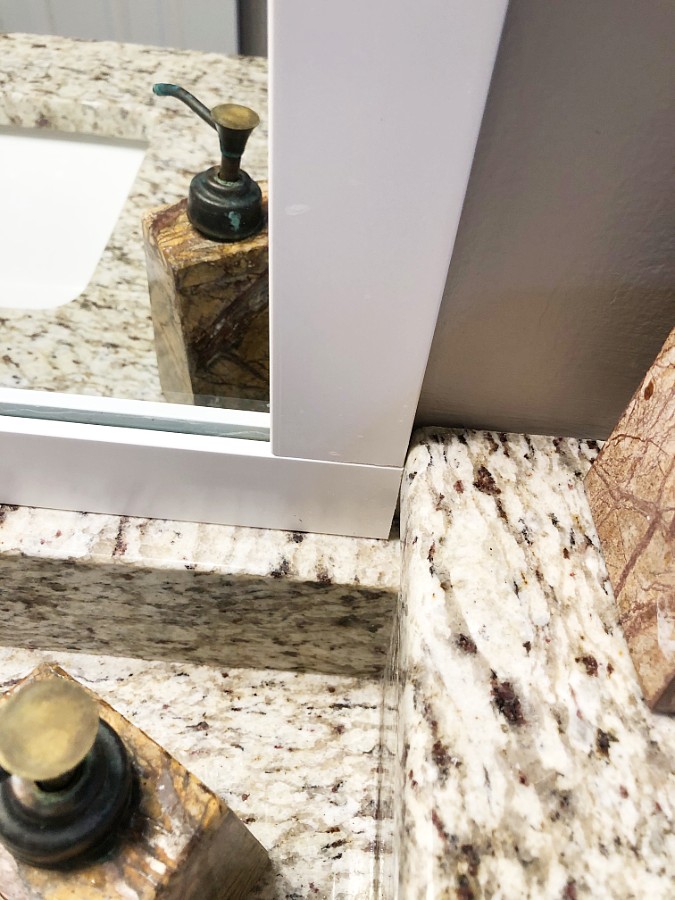
He wanted the mirror framing to meet up at the edges close to the wall seams. This meant the frame was not sitting directly over where the mirror was sitting, but extending over a bit to the corner of the wall.
He felt he needed some additional support for the frame and this could be accomplished by adding two layers of smaller molding pieces behind the actual frame to support the boards.
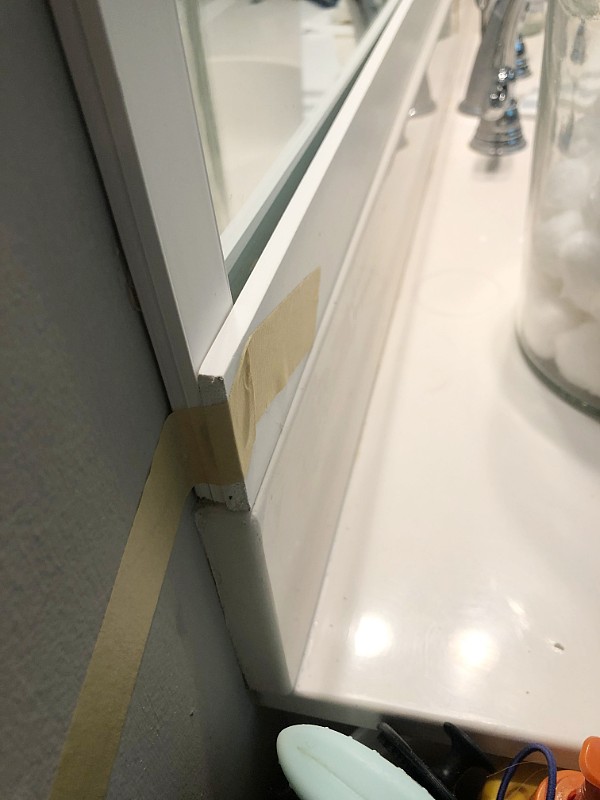
Additionally, he thought the front frame board would either have extra space or canter slightly out if he didn’t do the two layers.
Personally I would have just done one because I think it sticks out a little too far and you can almost see the glue underneath.
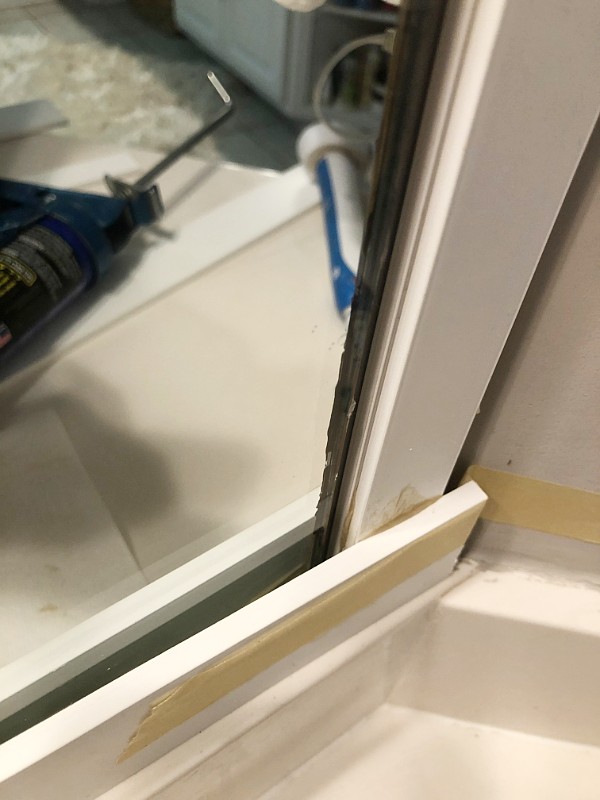
I would definitely test this before you make a decision.
He chose to start at the top instead of the bottom.
He also used masking tape as we had run out of the painter’s tape.
Well the first board came down across the mirror, so that needed a quick clean up. Oooops!
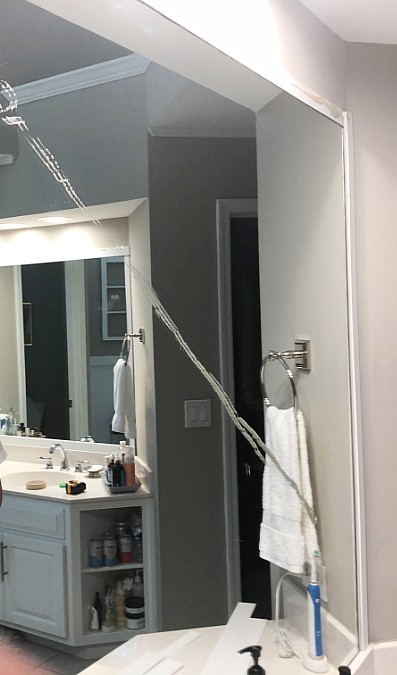
This wiped up nicely using dry paper towels and then rubbing alcohol.
These are the things you learn, sometimes the hard way.
Completing the Project
Even though the master bath was not as easy as the first one, it was still relatively quick and inexpensive, once we decided to move forward.
The look is a noticeable improvement to the space. I think it brings a more updated style to the room.
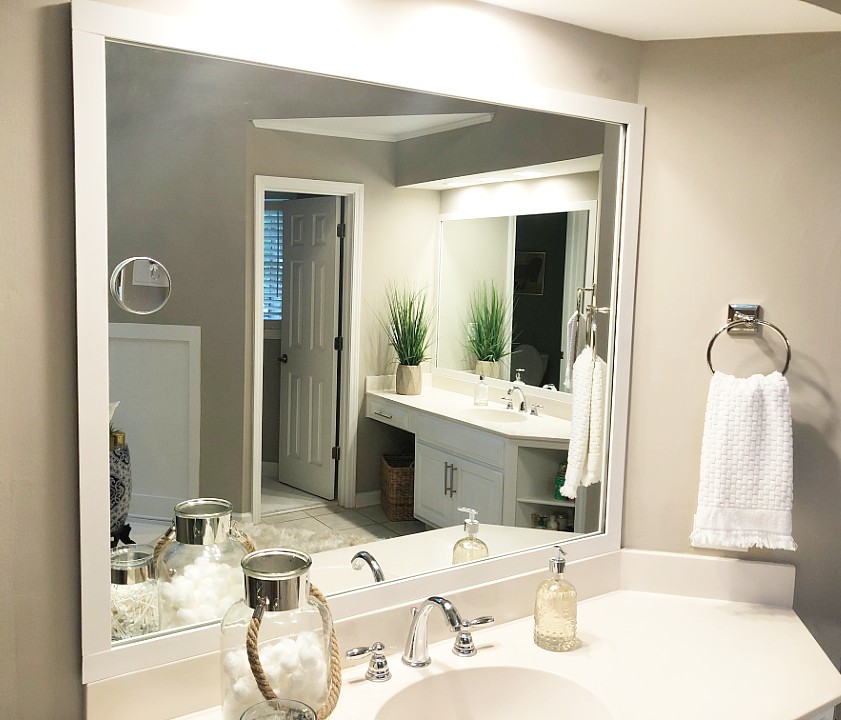
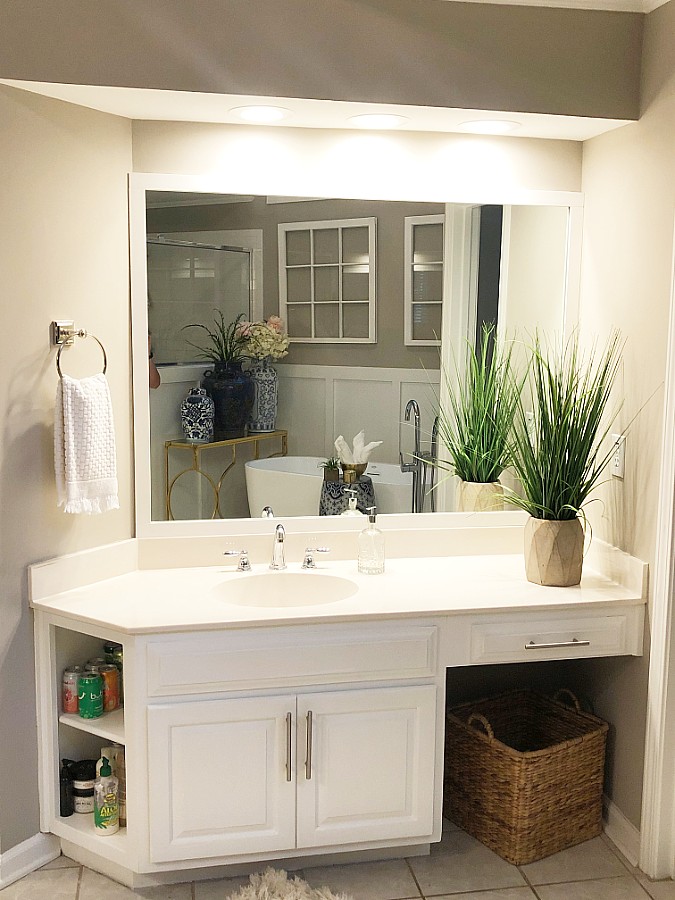
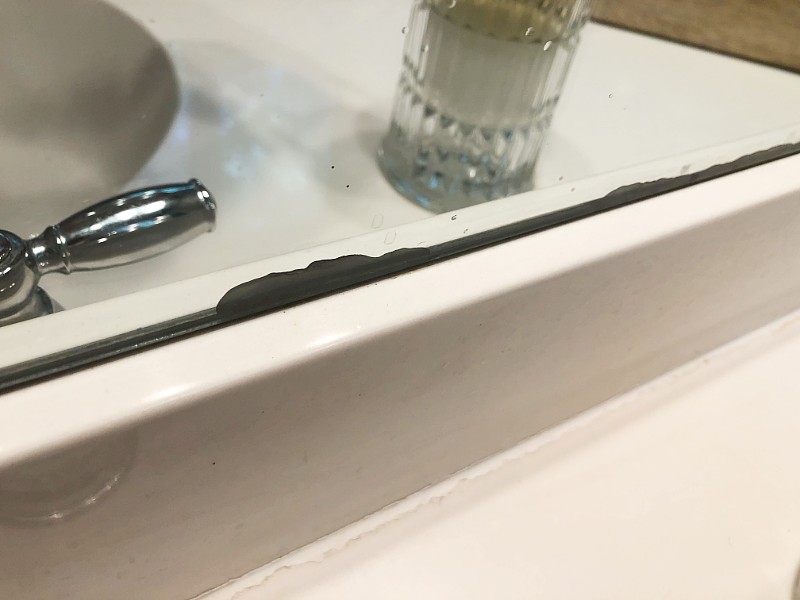
An added benefit is it covers up damage on the backing of the mirror from cleaning products.
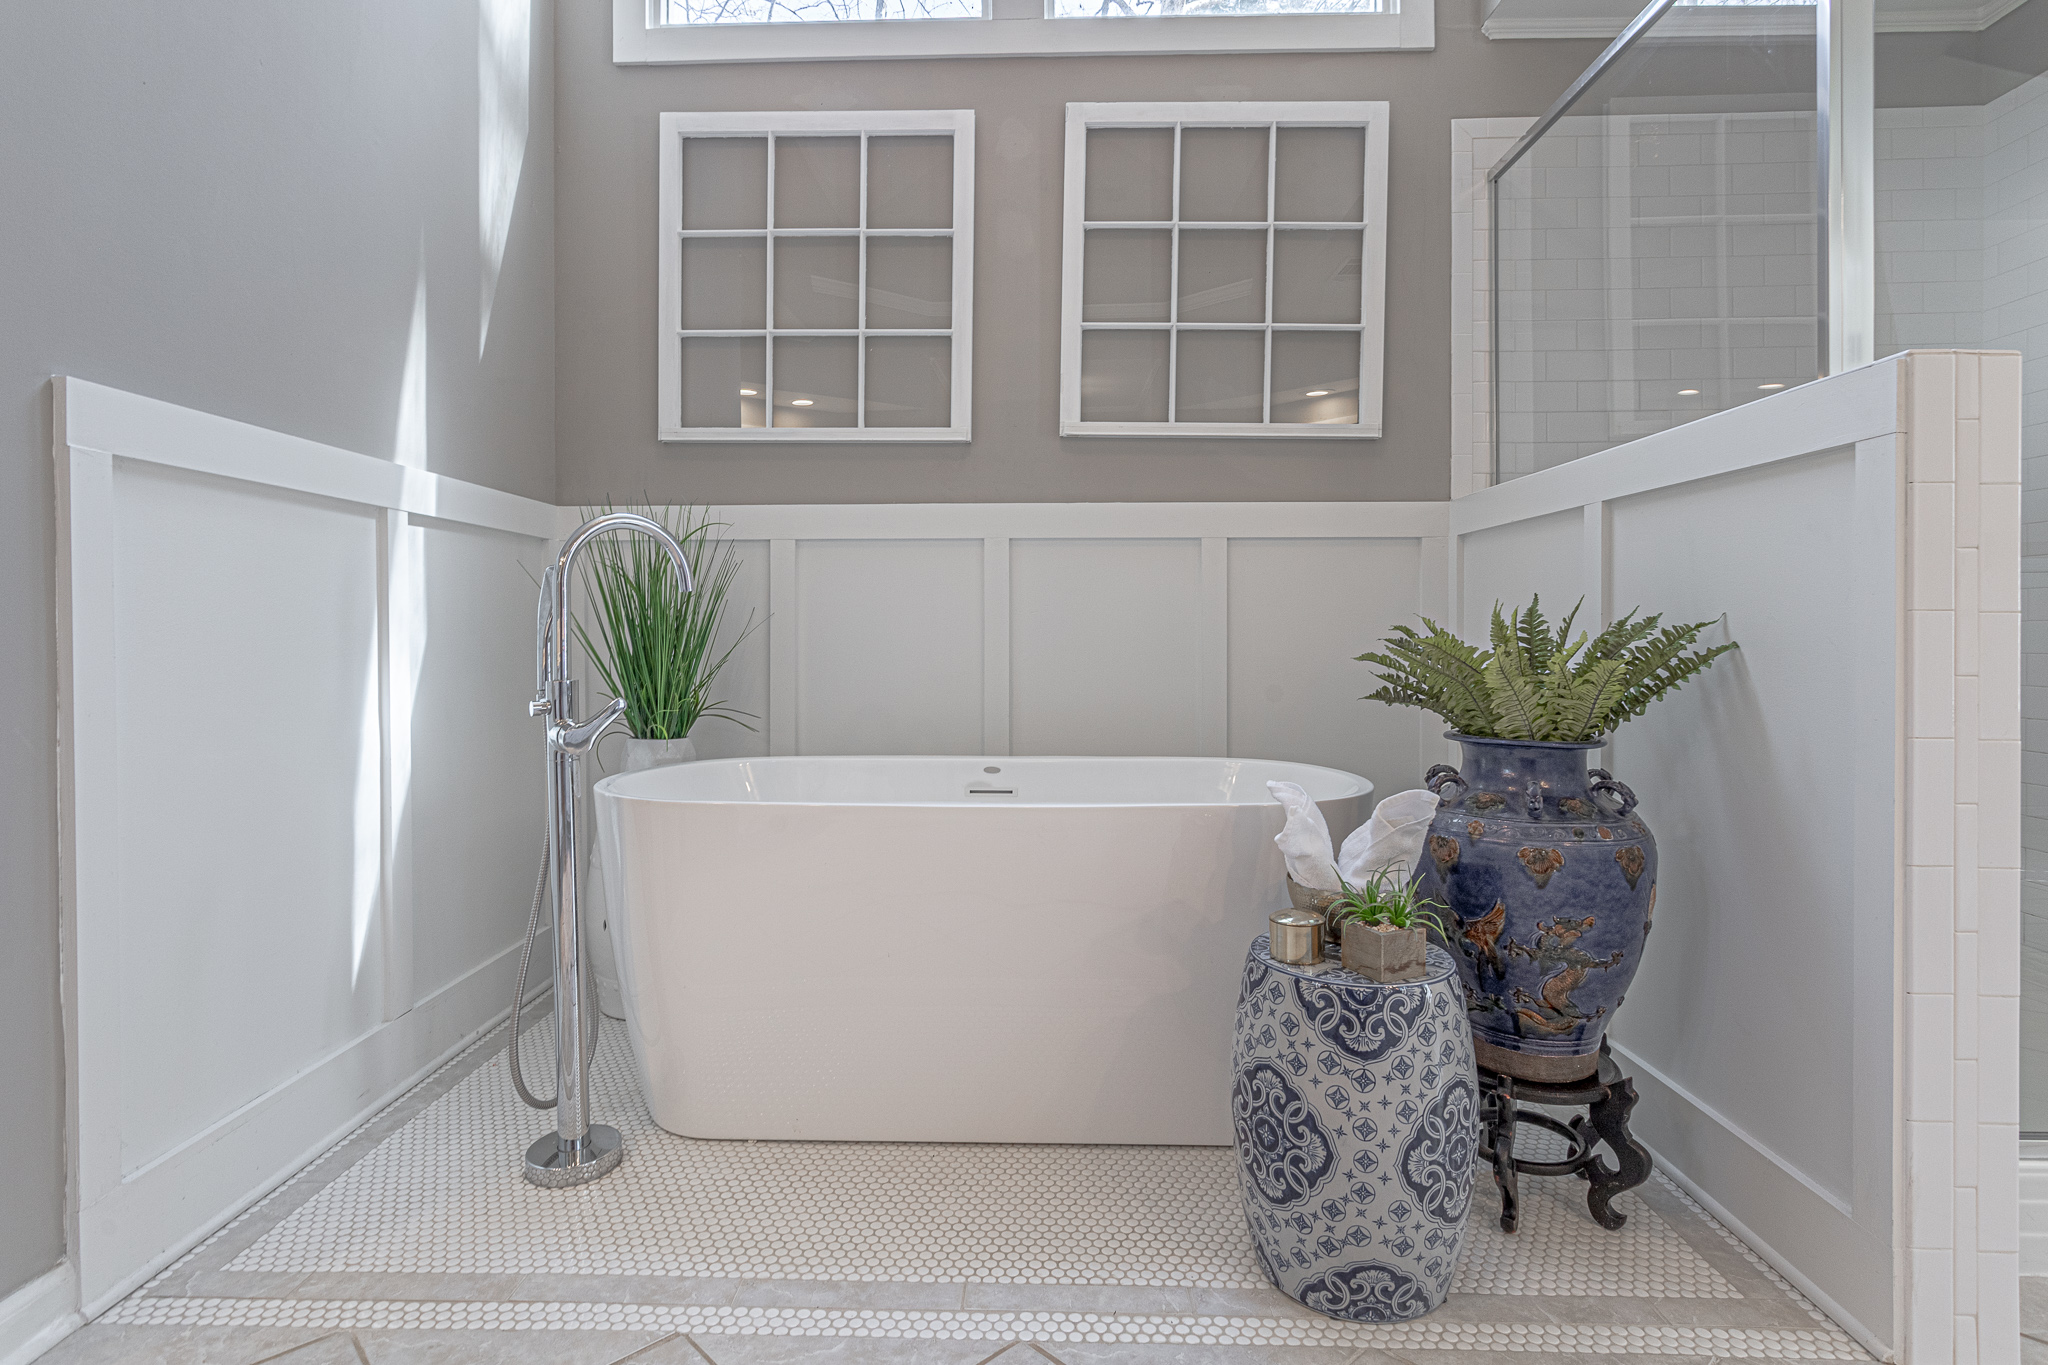
I think anytime you can add some character and updates to a home, it can only add value. To complete the look for me, I added a couple of French style windows along with some accessories.
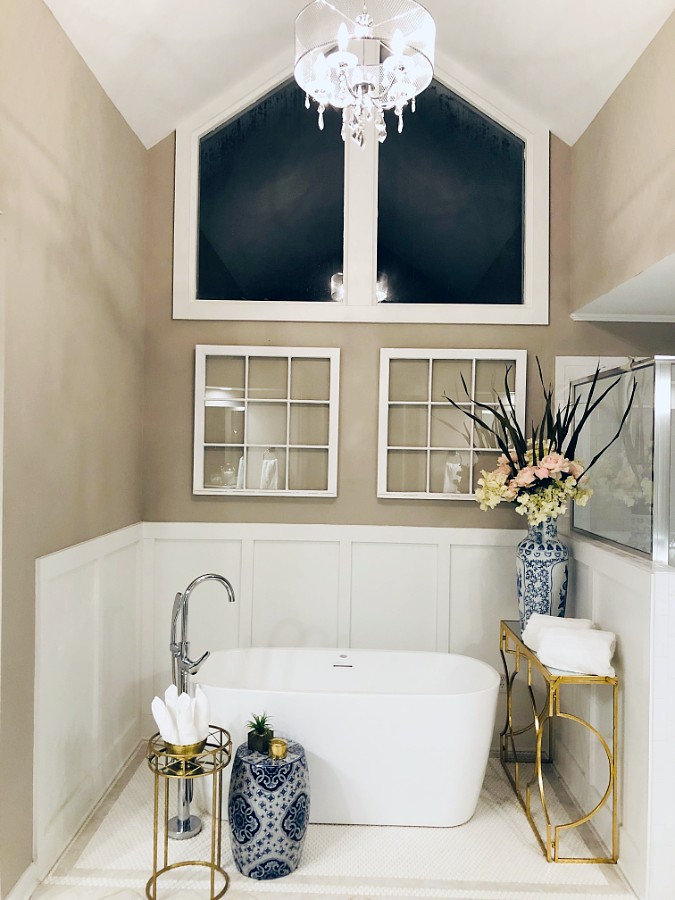
I have a tendency to fiddle, even in the bathroom, with rearranging things a bit. Sometimes it’s because I don’t know where to put something, sometimes it’s to create a more spa-like experience.
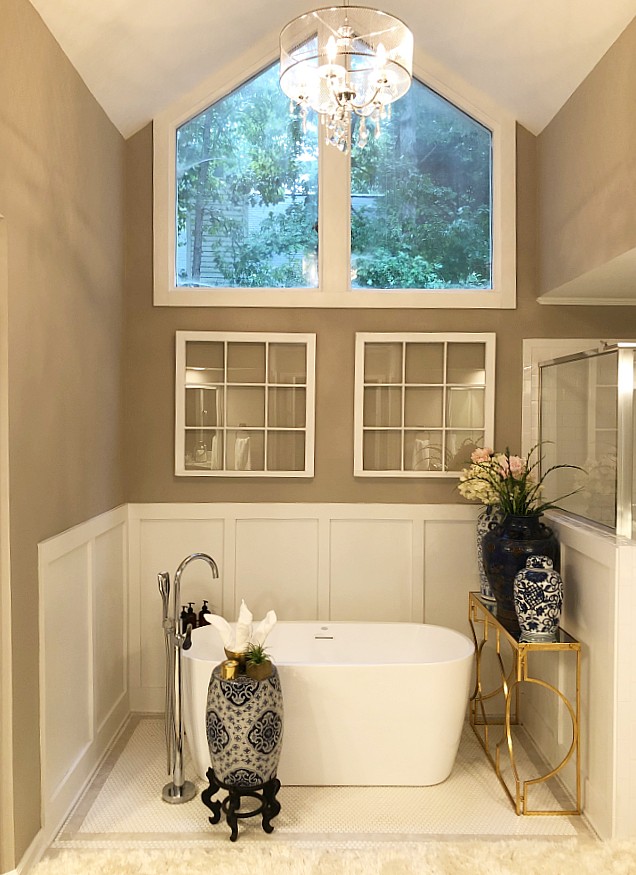
Adding character or improvements to a home sets it apart and can give you a quicker sale in a competitive market when the time comes. Added bonus – you get to enjoy living in a beautiful home!
Adding the mirror frames adds character and value and is a very cost effective way to do so.
This project can cost anywhere from $15, and a couple of hours of time, or it could cost a whole lot more, depending on the supplies you choose.
We kept the cost down by choosing economic molding and doing the work ourselves.

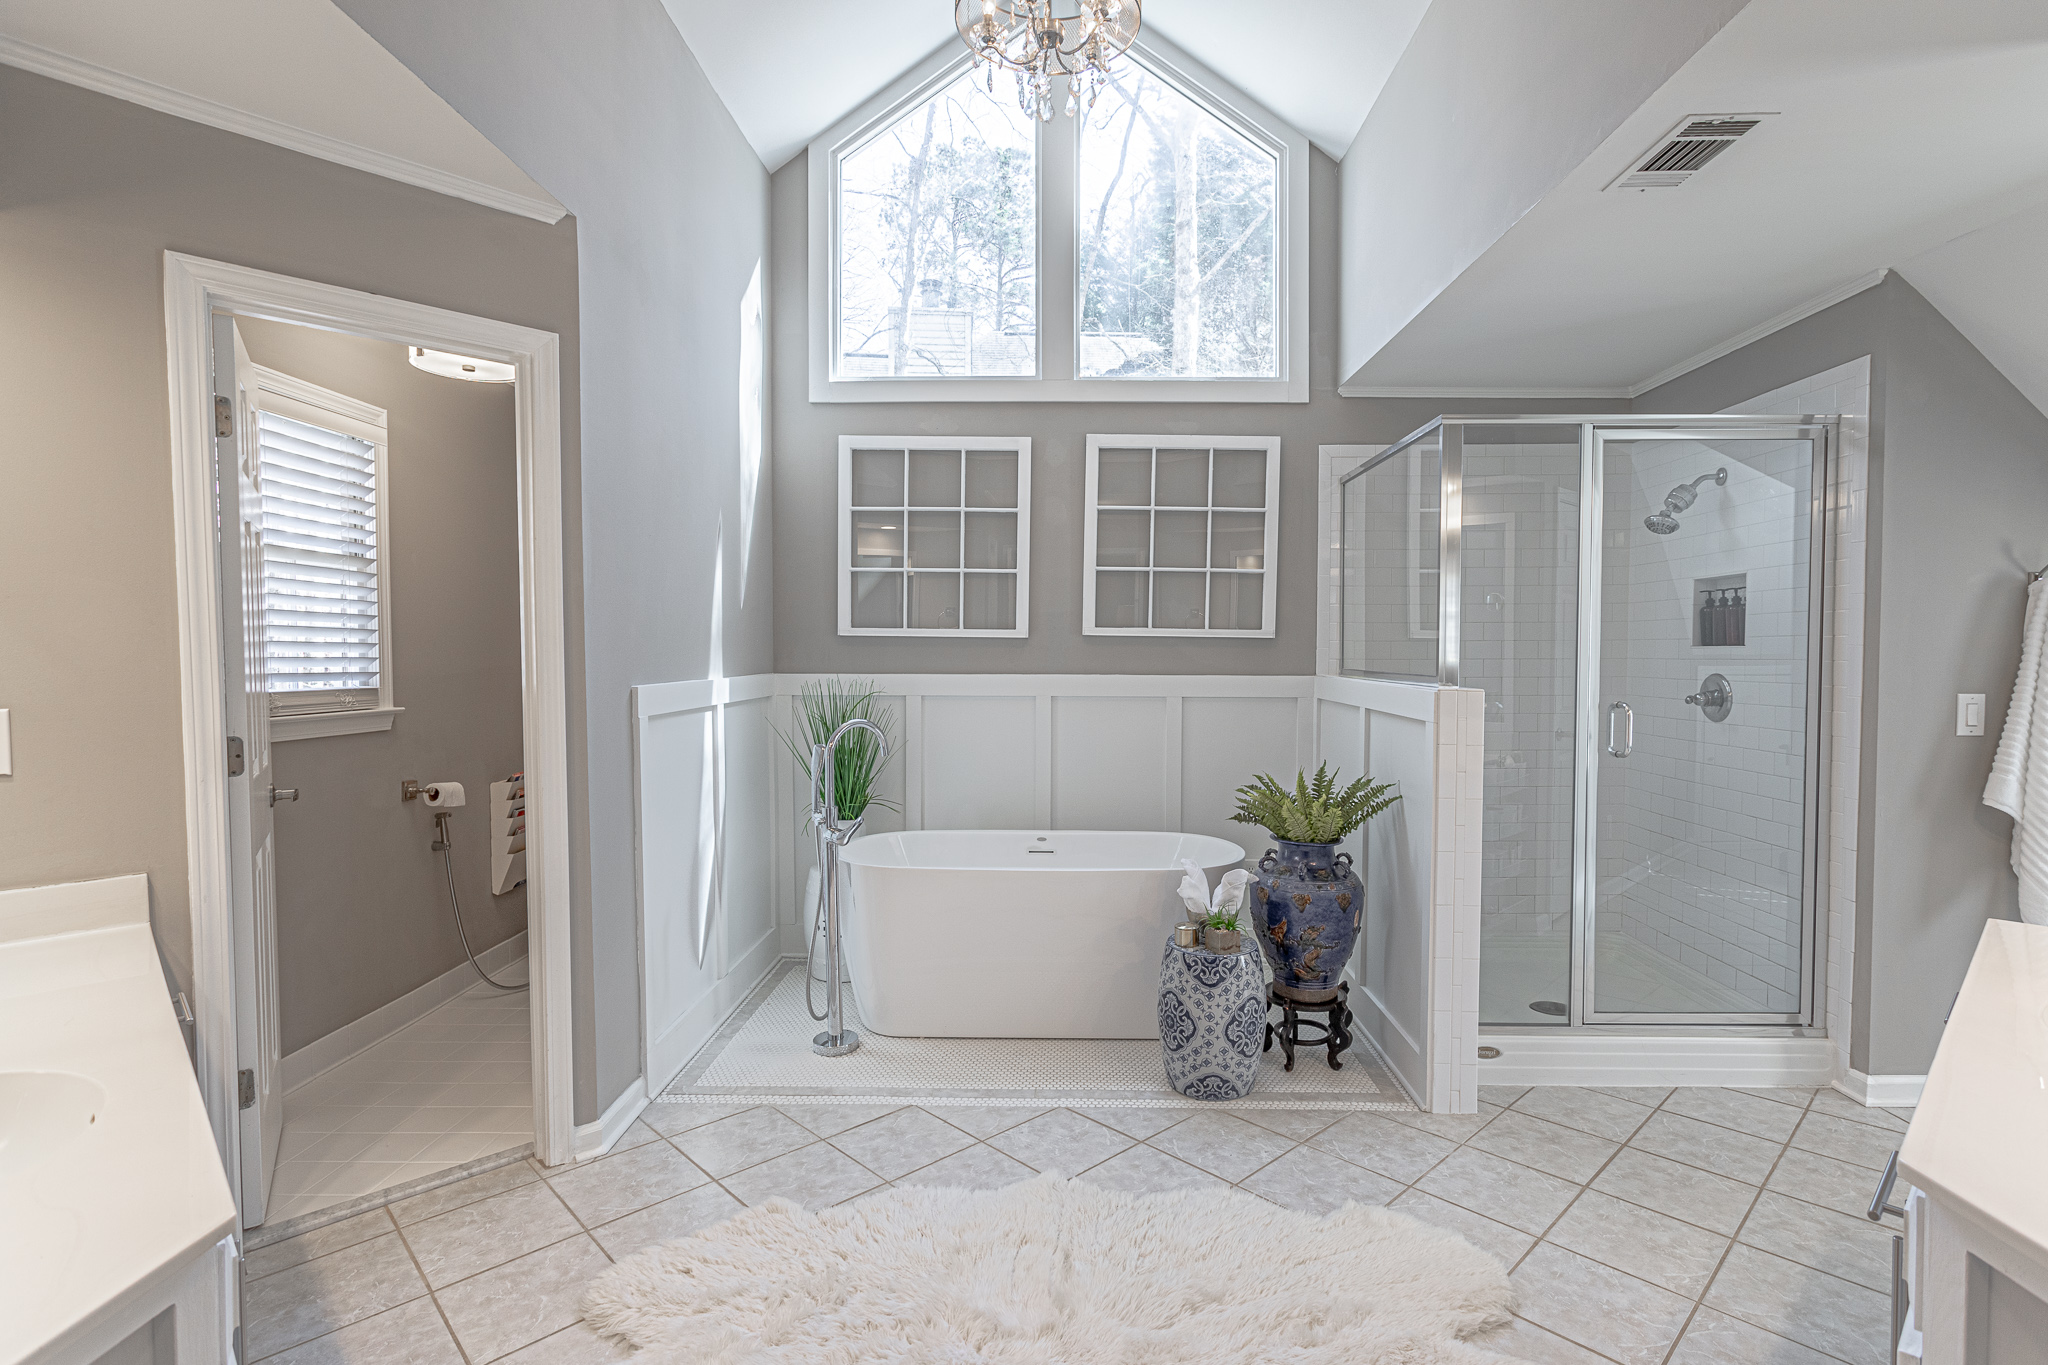
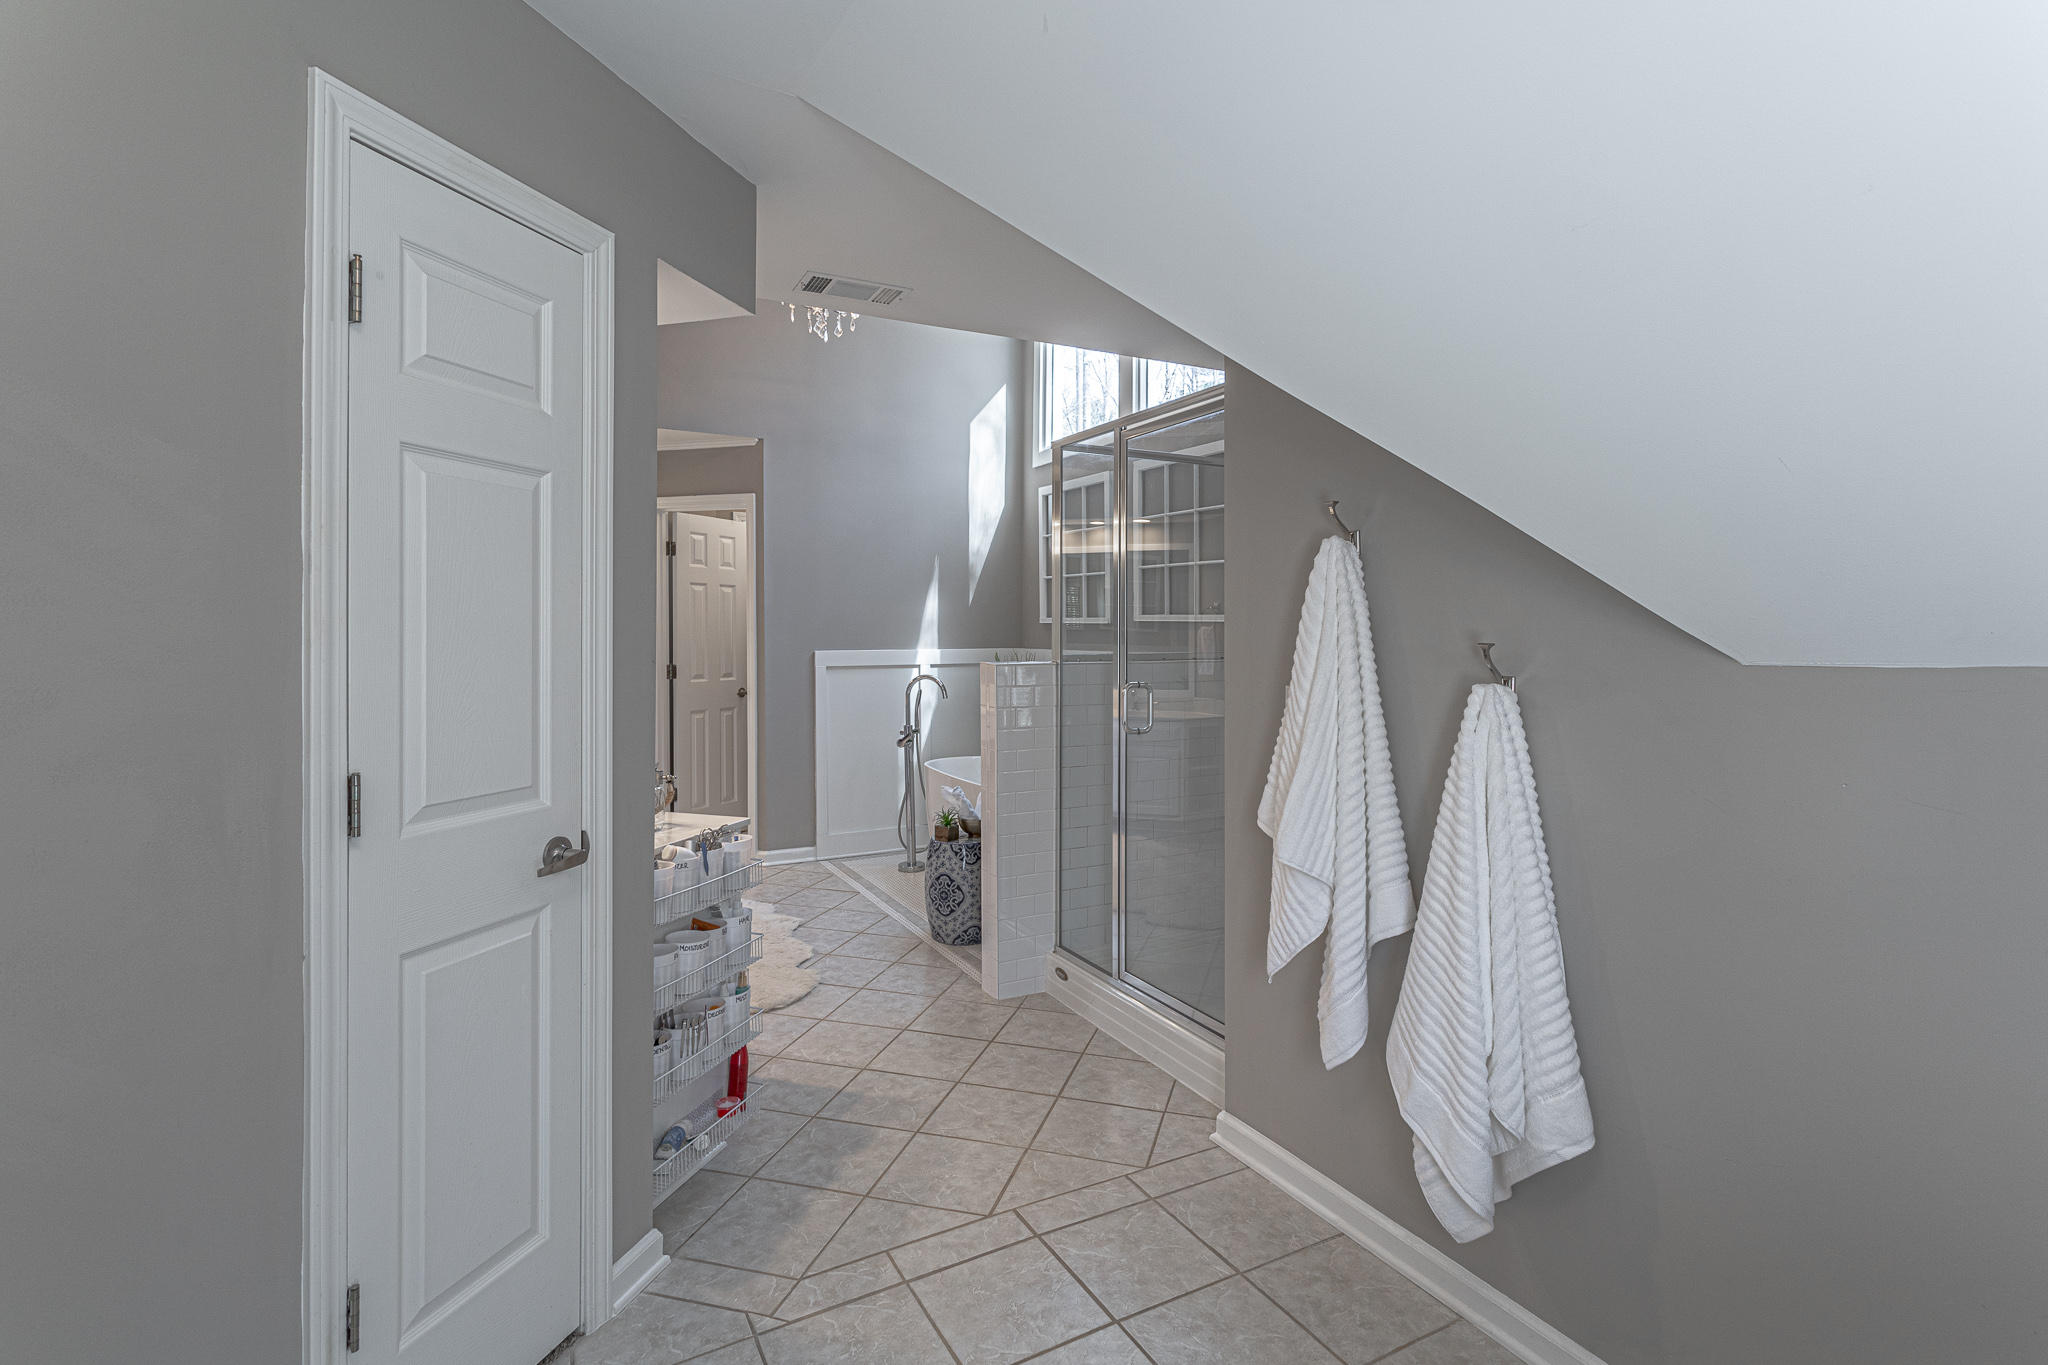
I have seen, even in some higher end homes, builder grade mirrors put in. I think any time you can update the look, you improve the feel, which equals, at least in a buyer’s mind, value.
Hoping you are inspired to tackle some small projects for your enjoyment and the added benefit of increasing the value to your home.
Happy Homemaking!
[…] you do have a builder’s grade mirror, you could just add a coordinating frame to it and it will spice up the […]