If you’re wondering how you can make new wood look like old wood, you’ve come to the right place!
In my desire to make a rustic wine room, I did some research on how I could use newer pallet boards to make them look old.
I had some old pallets with weathered boards, and unfortunately had run out. I didn’t want the hassle of hunting down perfectly aged pallets so I wanted to see if I could quickly age some to blend.
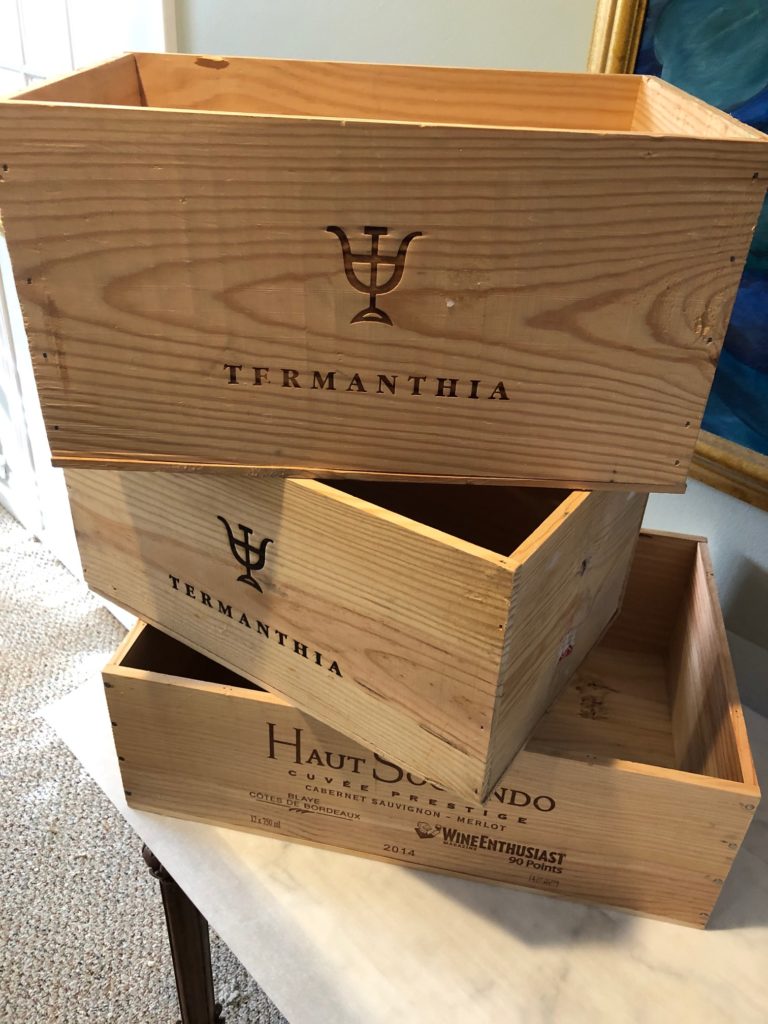
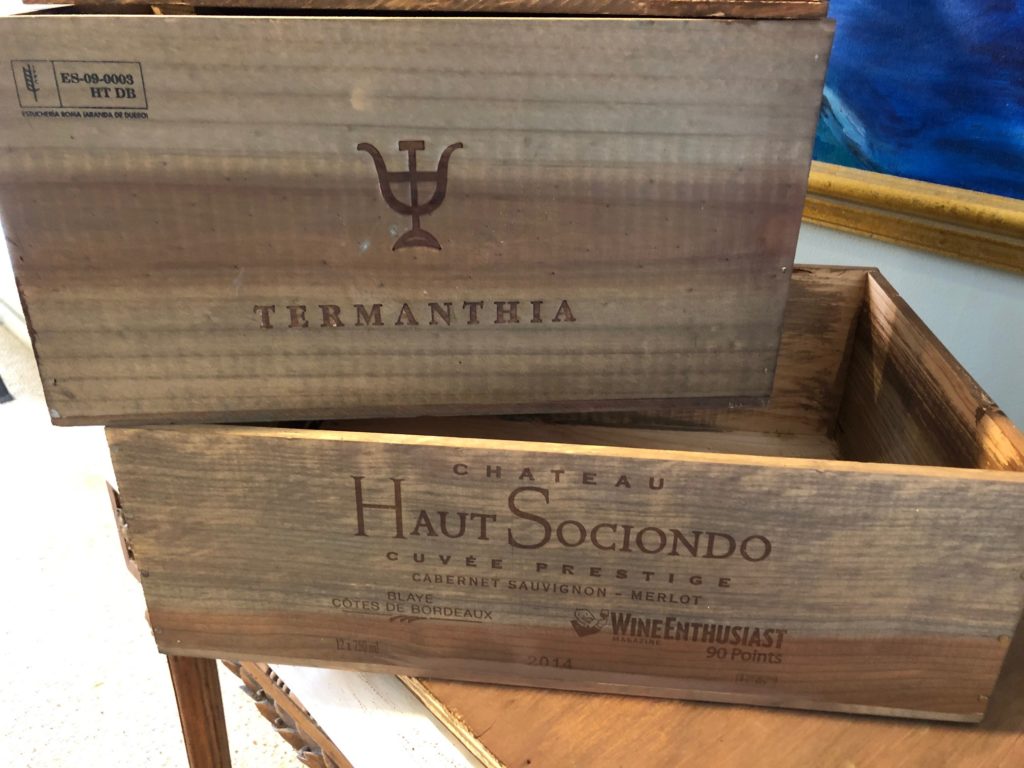
I also had some pinewood wine boxes that I wanted to use to decorate within this room. I wanted their color to blend with the aged pallet wood that was currently on the walls of this room too.
I set forth to learn what the options are and any useful tips and techniques.
What I found was that there are several ways of doing this, one of which is inexpensive and likely with materials you already have on hand.
I chose to use this method.
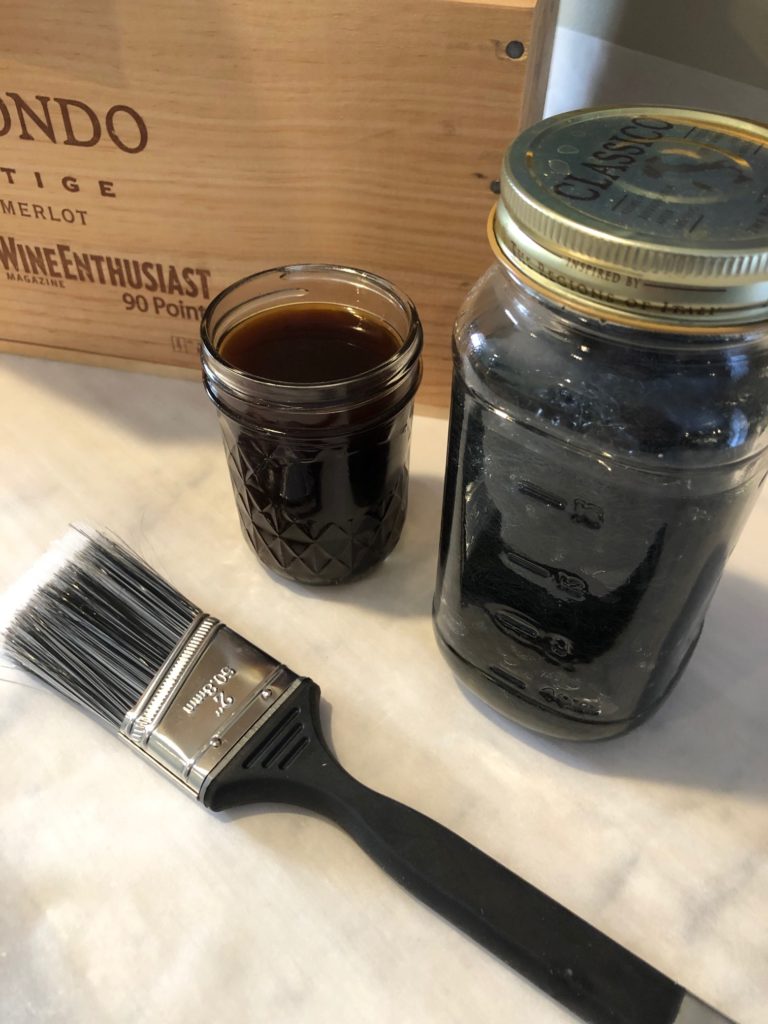
Here’s What You Will Need:
Steel wool pads
Vinegar
Coffee grounds
Jar with a lid for the vinegar and steel wool
Jar for old coffee grounds
Paint brush – I recommend one with bristles and not a foam brush as it has more of a potential to stick to the fibers of the wood.
Latex or rubber gloves
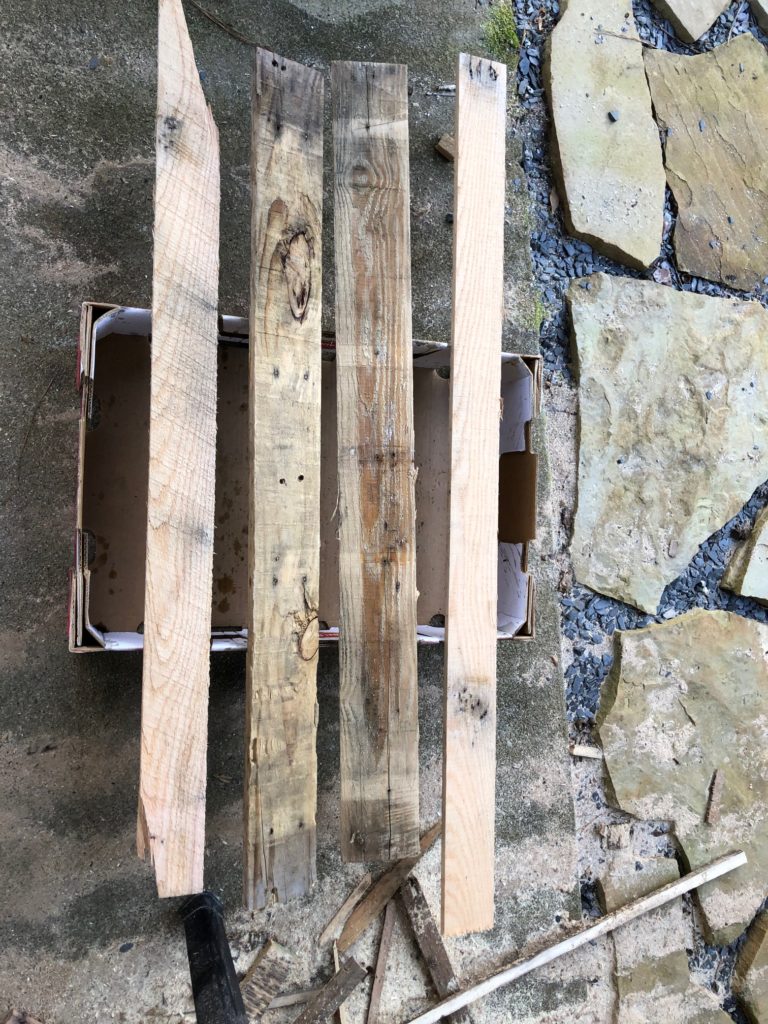
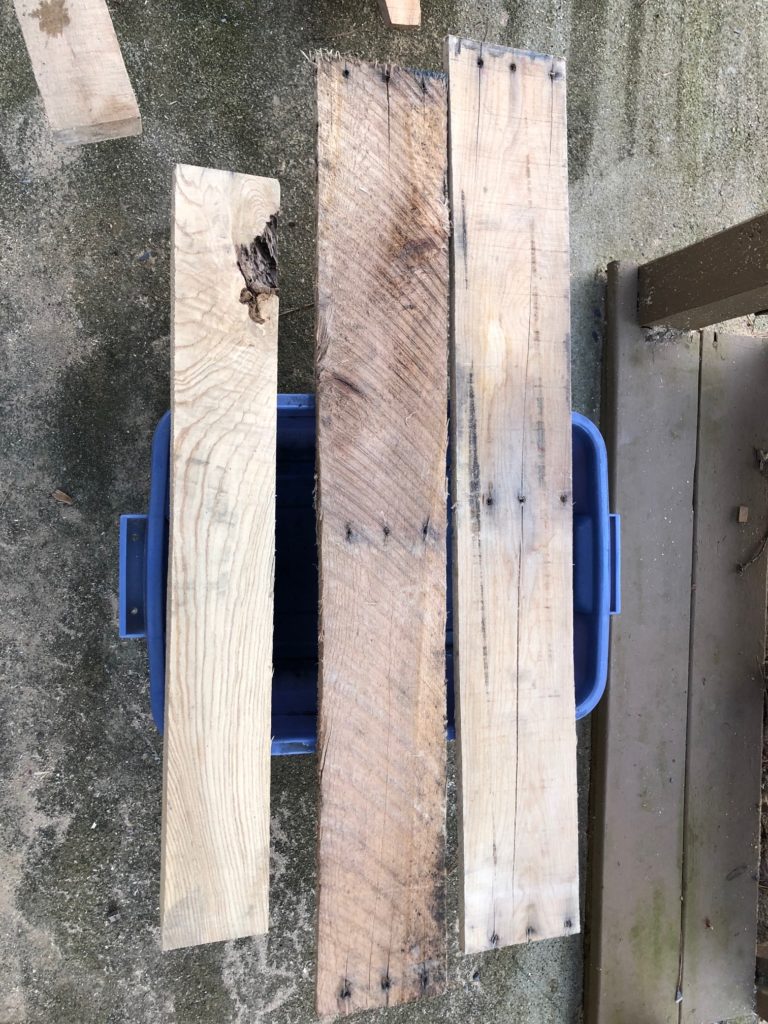
Wood – either new boards or disassembled pallets
Something to protect your work surface. I used parchment paper, but a vinyl tablecloth or tarp would work great.
What I learned
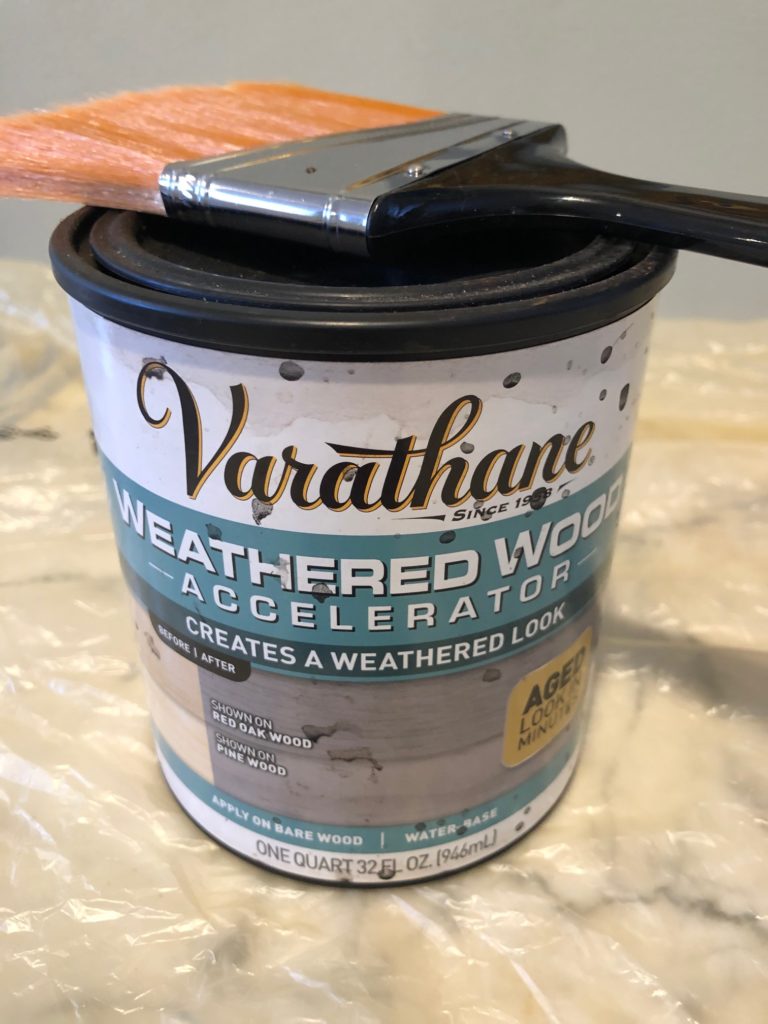
In addition to this inexpensive method, there are also a number of stains you can purchase from a home improvement store or online that will give a barn wood or weathered look quickly too. I ended up doing some of the boards with the Varathane Weathered Wood stain to add some additional tones.
Here’s the Technique
First you need to soak the steel wool pads in the vinegar for at least 24 hours. I used 3 pads in about 2 cups of vinegar.
The amount of time that the vinegar and the steel wool pads are soaking will determine the color depth or darkness of your final color. I chose to soak the vinegar with the steel wool for 4 days.
Protect Your Work Surface
When I was ready to begin the staining process, I prepared my surface area by covering it with parchment paper. A tarp or vinyl tablecloth would have also worked great.
One thing I realized after doing this, is that it can also splatter on the wall. I washed it off quickly to prevent staining, but you will either want to move away from the wall or to protect that surface as well.
Start With Coffee
I started by laying down my first piece of wood on the covered table.
I heated up my tea kettle and poured it over my used coffee grinds that were in my French press from my morning brew.
I allowed it to sit there as if I were brewing coffee for a few minutes then pressed the grinds down and poured it into a jar. I then brought this down to my working area.
This became my base coat. I dipped the paint brush into the jar of coffee and thoroughly painted it on the wood. I did this with all surfaces of the wood that I wanted to age as well as my pine wood wine boxes.
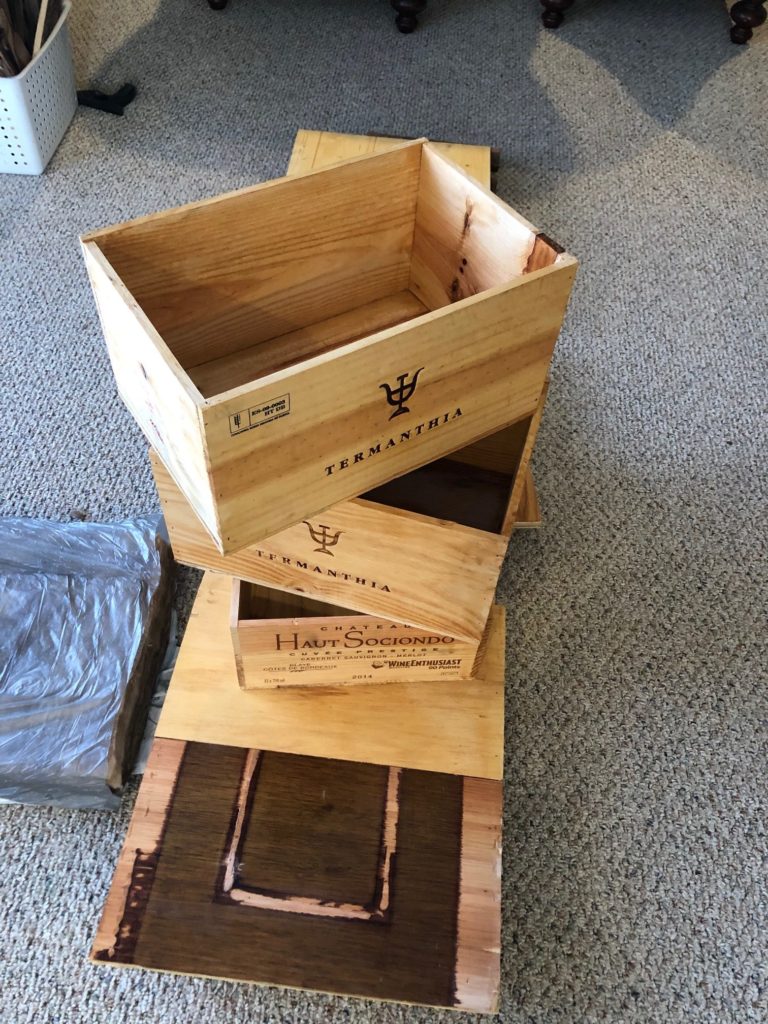
I set everything aside to dry and then went back to my first piece. None of these were left to thoroughly dry. All of the wood pieces were still somewhat damp when I began the next step.
Steel Wool and Vinegar For the Win!
I used the same paint brush without washing it in between. I then dipped it into my vinegar with the steel wool pads mix. I did not drain this, I just left it all together.
This became my second coat. I brushed it onto the pieces of wood and almost instantly they started changing color. It changed right before my very eyes! It was absolutely amazing!
Once I completed that first piece, I set it aside and continued to do this with all of the pieces. Setting them on a surface to dry that would not get wrecked from any seepage.
Do A Recheck
I went back and checked every piece to see if there were any parts that I missed, sure enough, there were. When they are wet, you don’t necessarily notice that spots have been missed.
As they sit, the color deepens and darkens. I went ahead and added some additional brush strokes as needed, somewhat blending into the surrounding area.
Additional Clean Cuts
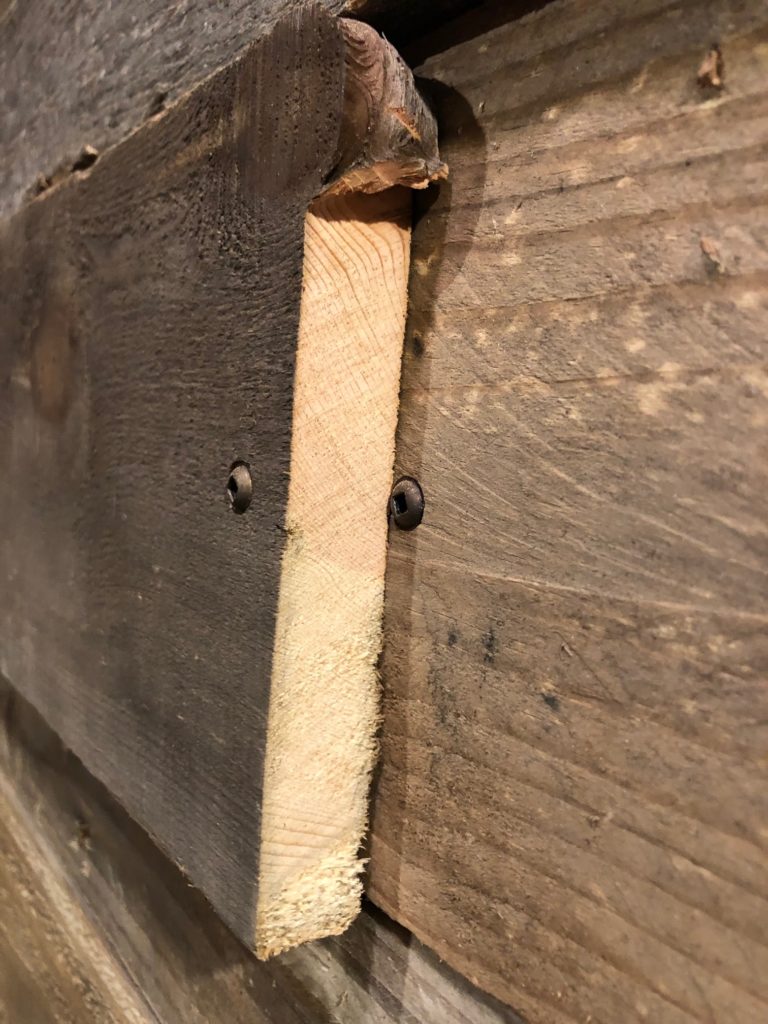
In my wine room, there were some areas where the wood boards had been cut and so you could see a clean light colored edge from that cut. I wanted to age those spots as well.
I followed the same procedure of painting with the coffee grinds and then the vinegar/steel wool to complete the look. You will want to be especially careful if you are going right next to another surface or if it touches, as it will stain that also. I needed to go back with a smaller brush and do the fine details.
Wear Gloves
Also, I learned the hard way that I needed to wear gloves. I did not think this would stain my hands to the degree it did, but sure enough it did. Not only did it stain my hands brown, but I could not wash it off.
I tried using toothpaste to get the stains off of my hands but they were quite brown, it almost looked like I had used a self tanner and did not wash my hands. So my advice is to protect your hands with some gloves.
Variations of Color
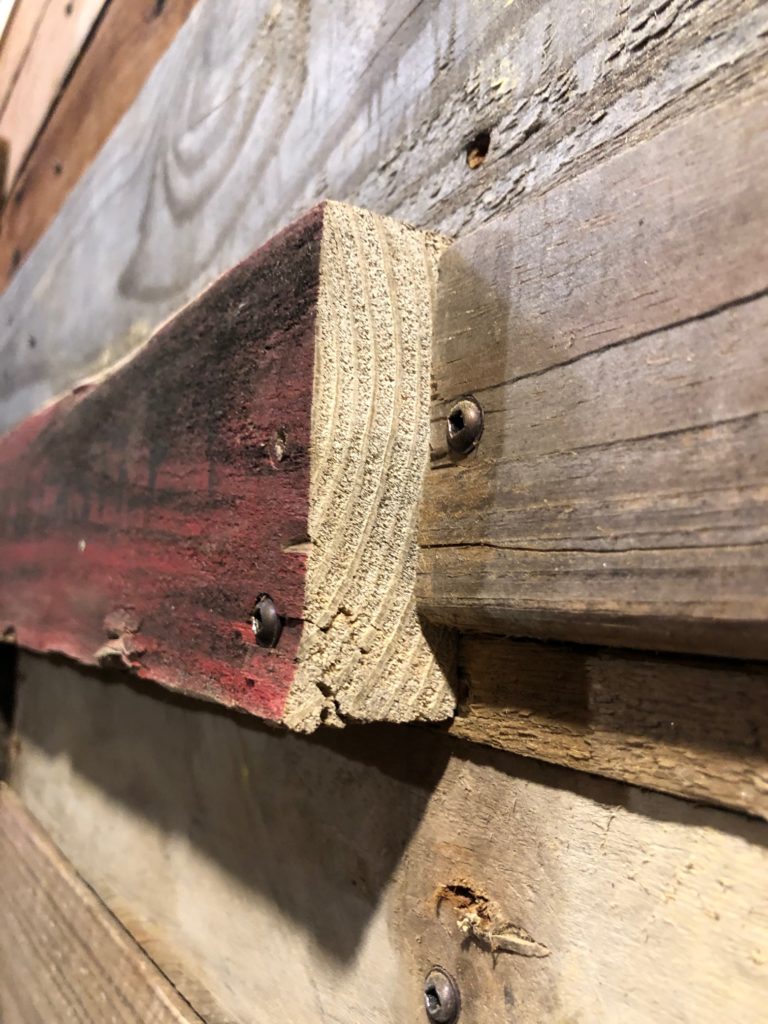
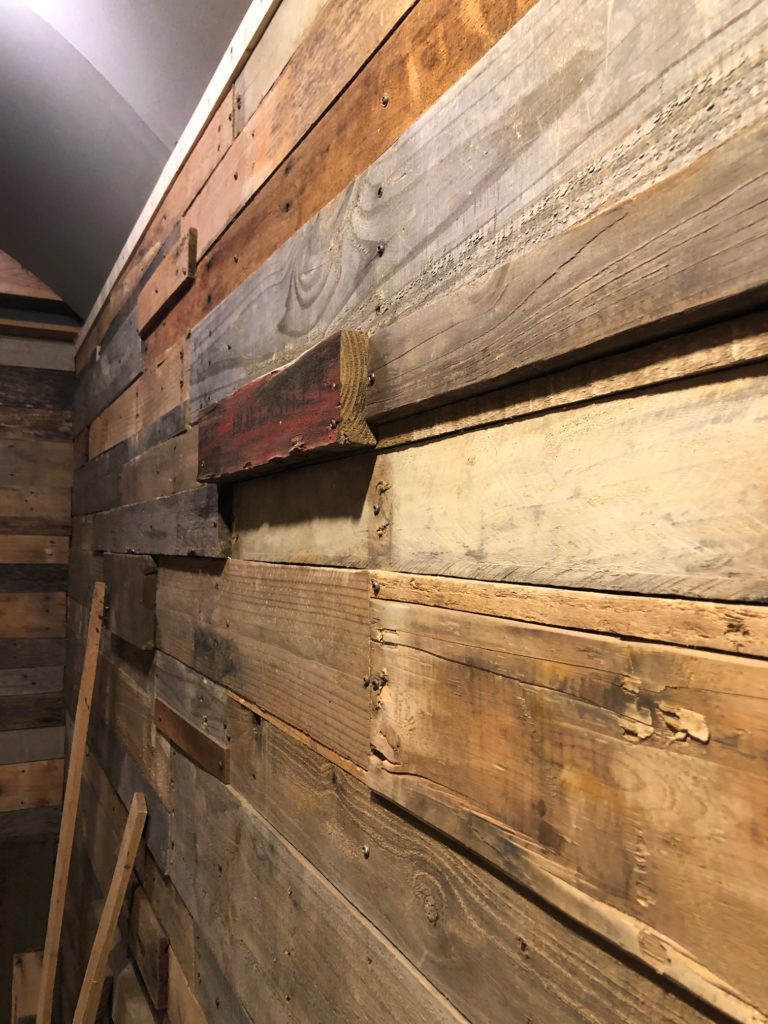
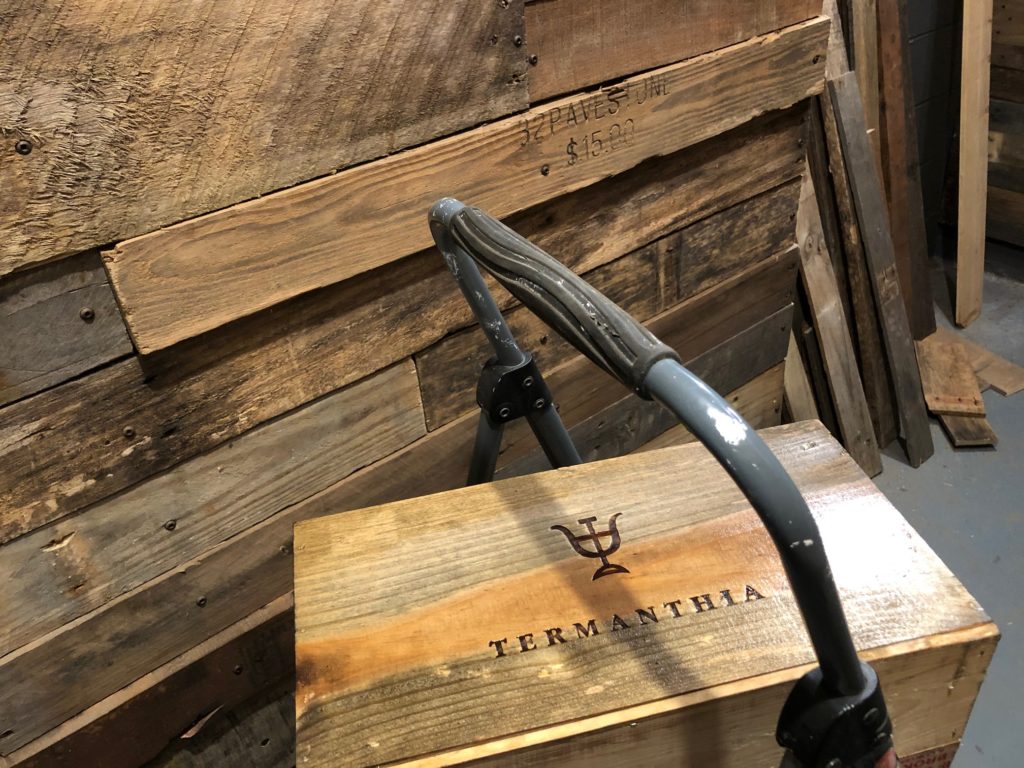
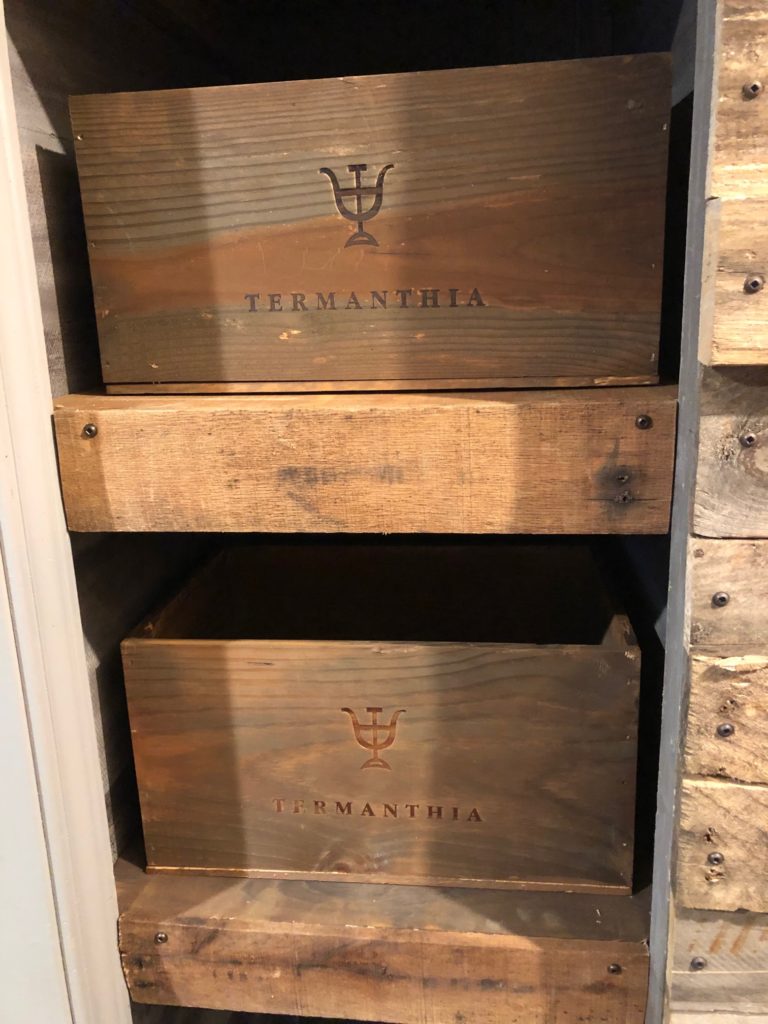
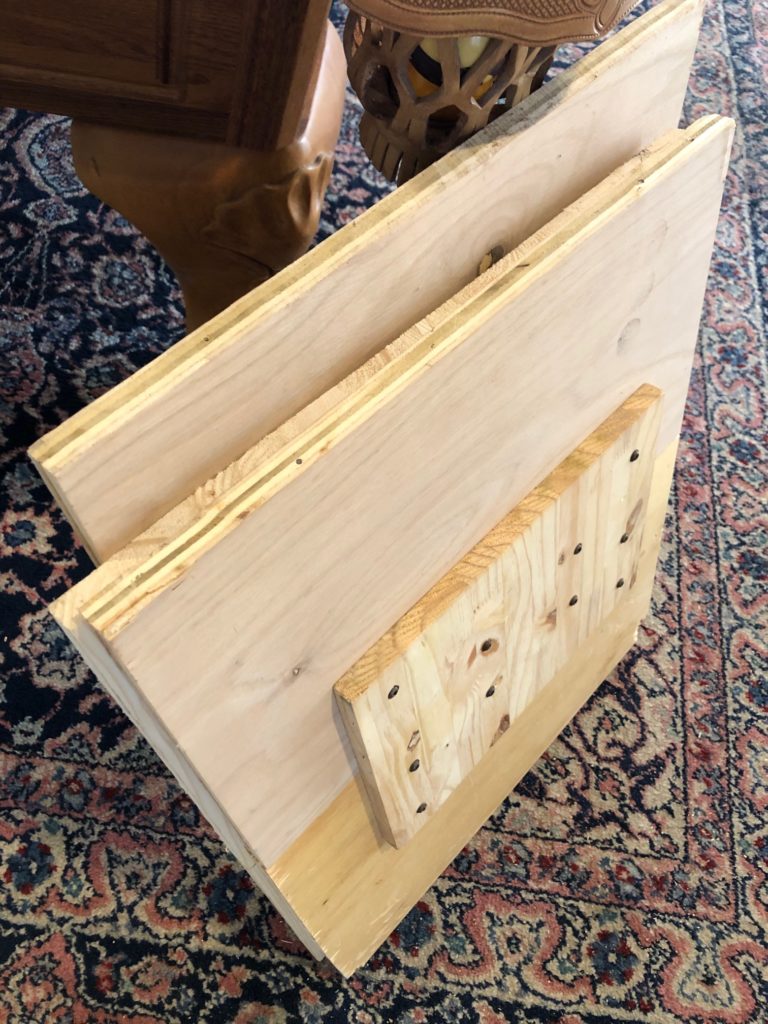
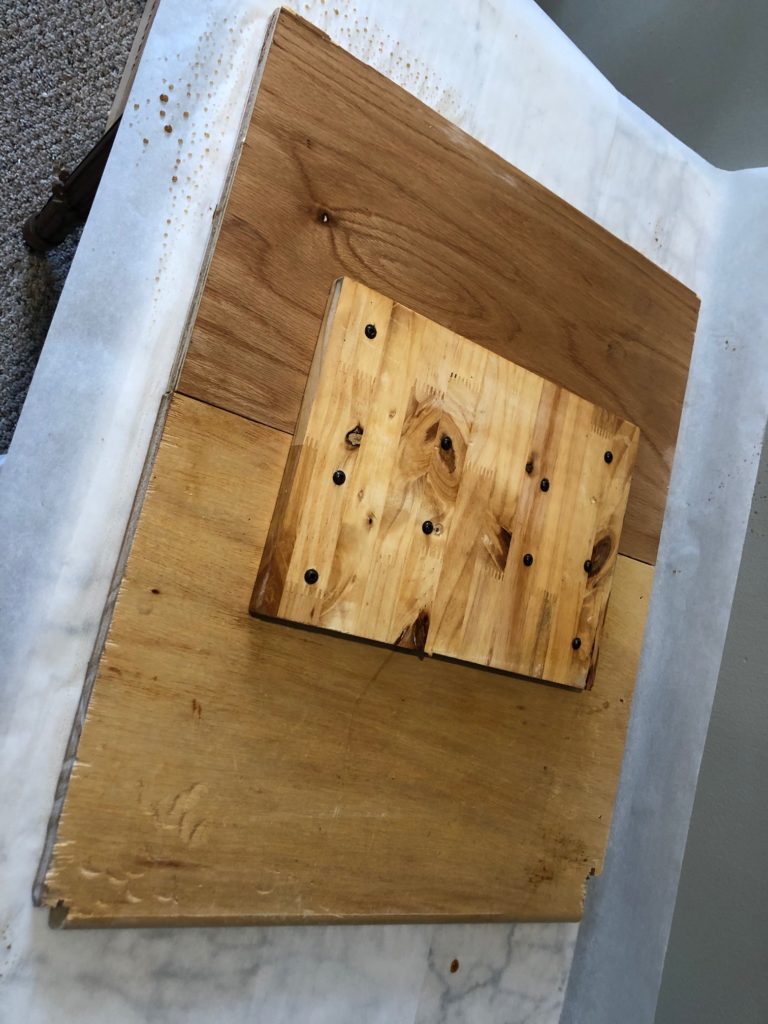
As you will see in the pictures, the wood color really changed on these boards. The pine boxes had different colors that came forth, instead of them being all one shade, even though they were all made out of the same wood.
There was quite a bit of variance in the tones. Some almost looked like cedar with reddish and dark brown tones that appeared.
Thankfully, they blended well with my pallet boards that were naturally aged.
As one might expect, different wood grains and types of wood will give you a different stain. Some of the wood that I used was oak which gave a much darker color and some of it was pine which gave a lighter tone.
Even though the wine boxes were made out of pine, they came out pretty dark.
I personally wanted a dark color, but if you don’t want a dark color, I do not recommend soaking the steel wool for as long as I did. Again, I soaked mine for four days in a jar. You could test it after 1 day to see if it’s the color you want, or you could do a few boards after 1 day, a few after 2, a few after 3 and so on, to create some variance in the tones you are using.
Using Only New Boards
I ended up needing some additional boards as I decided to finish an additional wall that I wasn’t planning on doing at the time. The pallets that we found were all new, lightly colored wood.
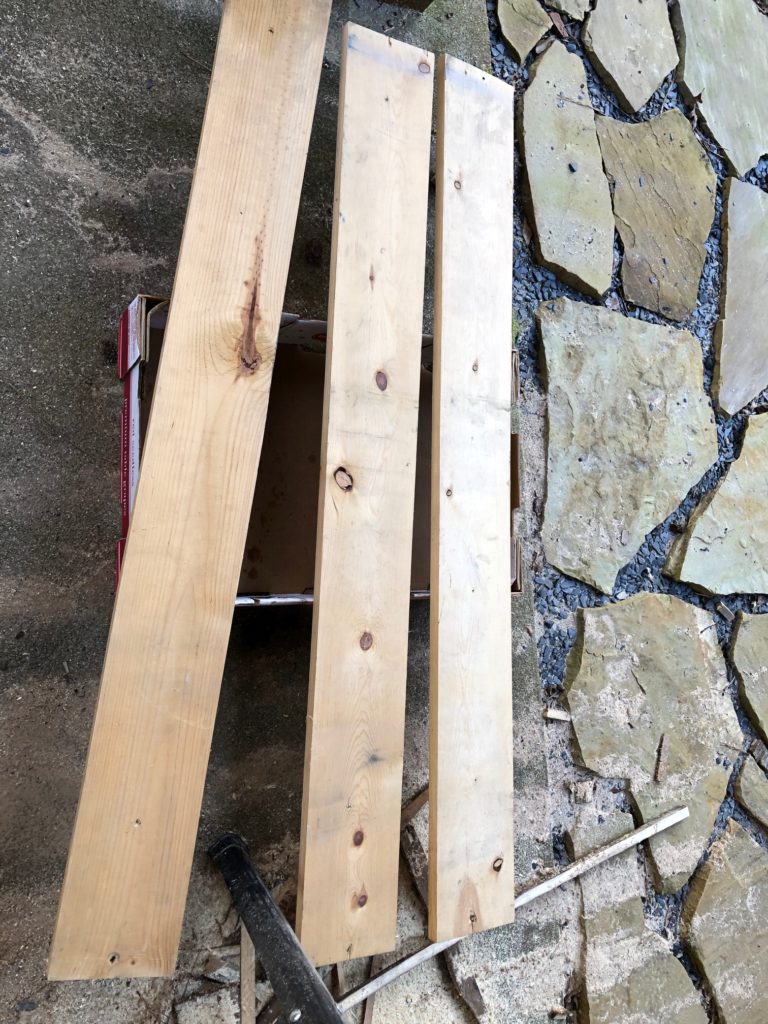
I still had some of my steel wool / vinegar blend left over and sitting in a jar.
It had been sitting there for a couple of weeks at this point, so I decided I would try to make some variations by adding vinegar to three additional jars in different amounts. I wasn’t particularly picky about what color I ended up with, so I just randomly poured some different vinegar amounts and different amounts of my old blend.
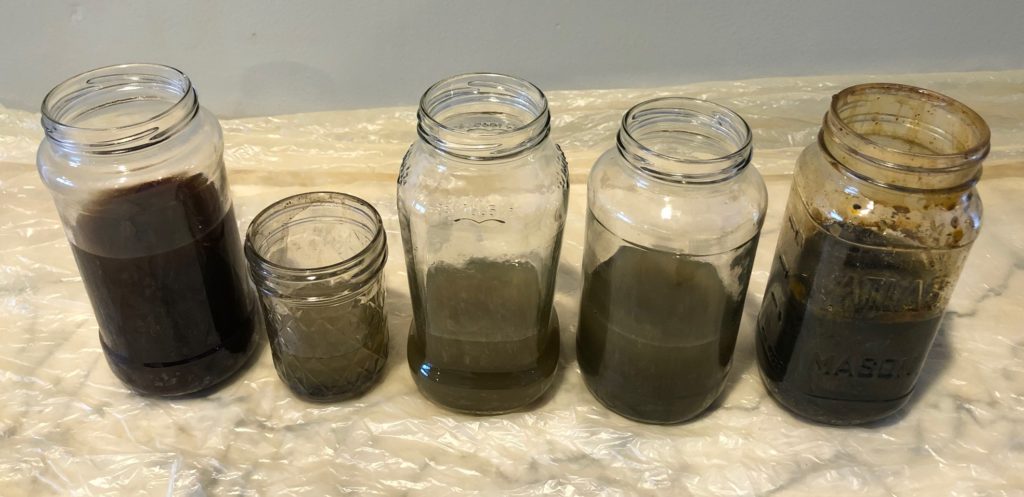
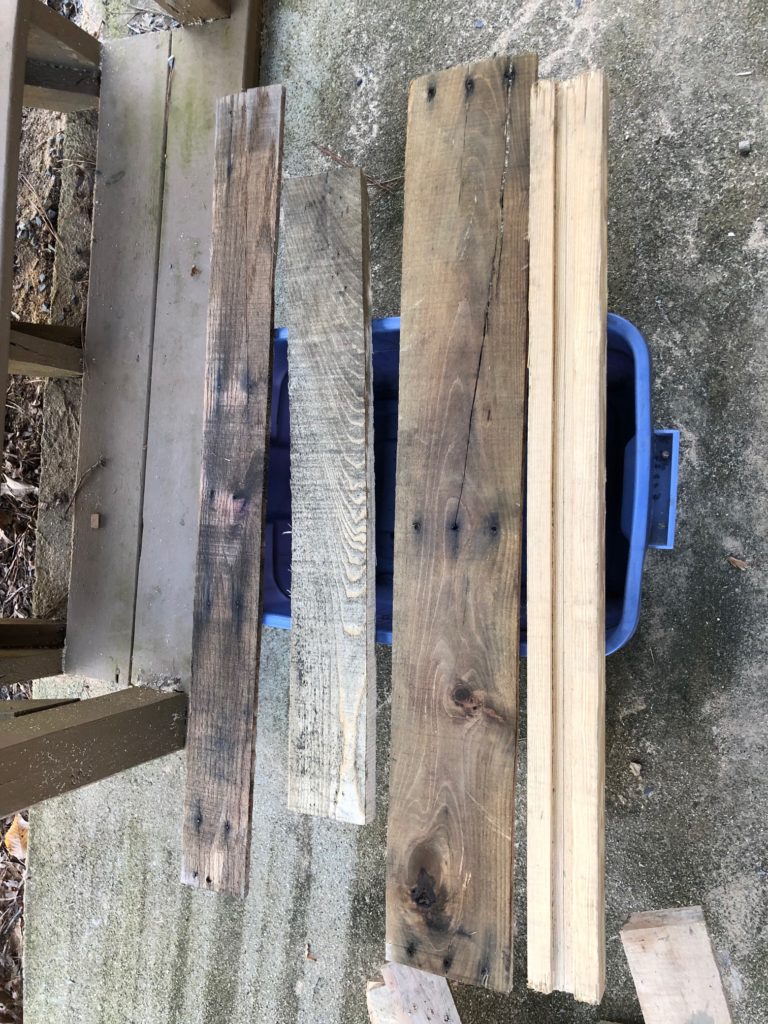
I again went through the process of painting on rebrewed coffee and then the vinegar blends. I tried mixing up the boards with the different jars in hopes of having different variations that blended with my already built walls of aged wood.
I felt like these boards came out with a little more of a green hue this time. I think if I were doing it over, I would have let the vinegar sit with the steel wool pads at least overnight.
I feel like adding the fresh vinegar almost neutralized the intensity that it would have been. Even still, the boards did show several variations of color and some came out quite dark.
Mixing It Up
On a few of the boards, I ended up using a Varathane Weathered Wood stain to try to add some additional variance to the wood pieces. I could not really tell the difference with using this stain versus using the coffee, vinegar/steel wool method. On the one board with the groove, I didn’t feel the Varathane really changed it, so I went over it again with the coffee and vinegar method. I had no regrets in using both methods to get the desired effect.
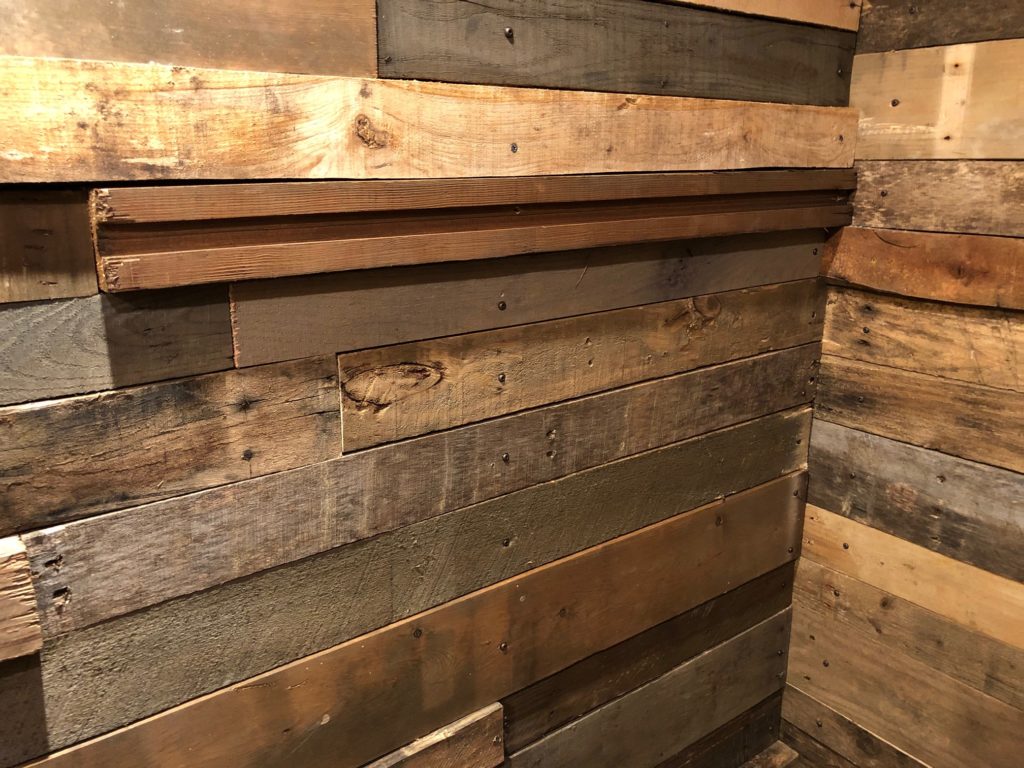
New Wall With Stained Wood vs Old Pallet Wall
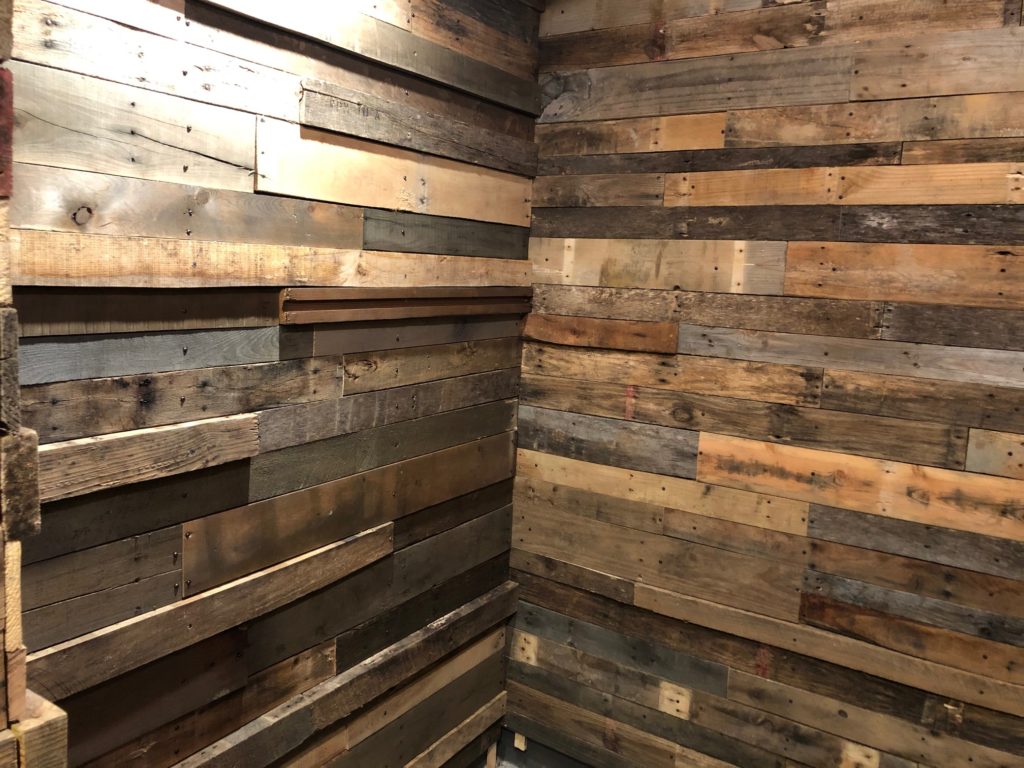
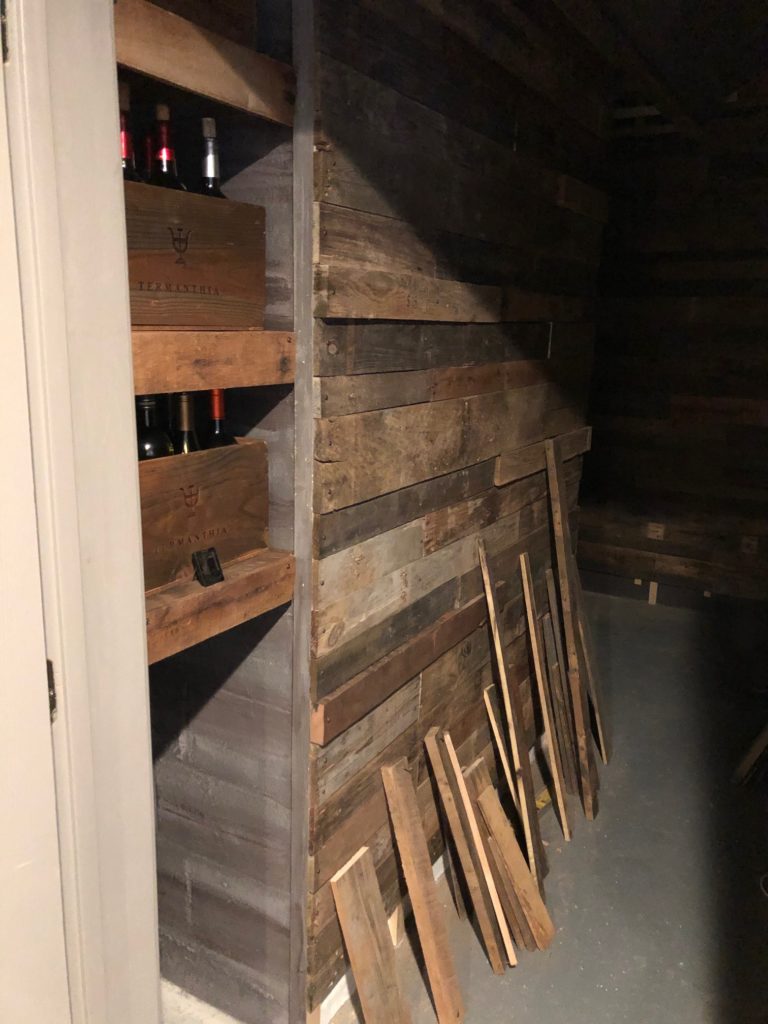
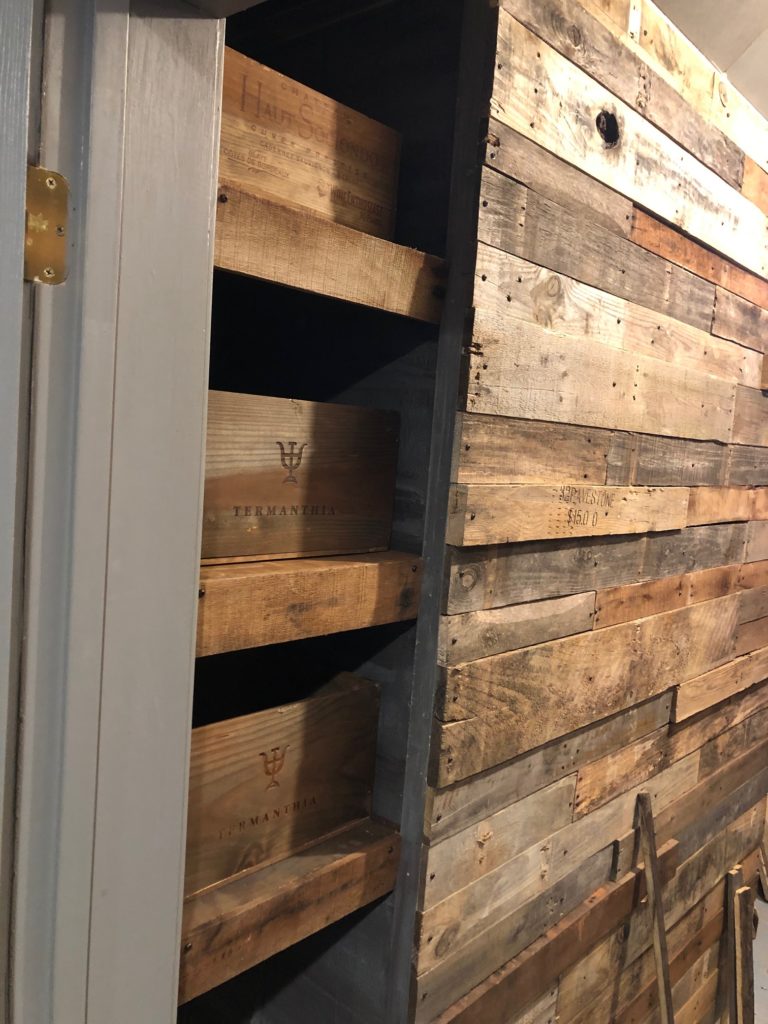
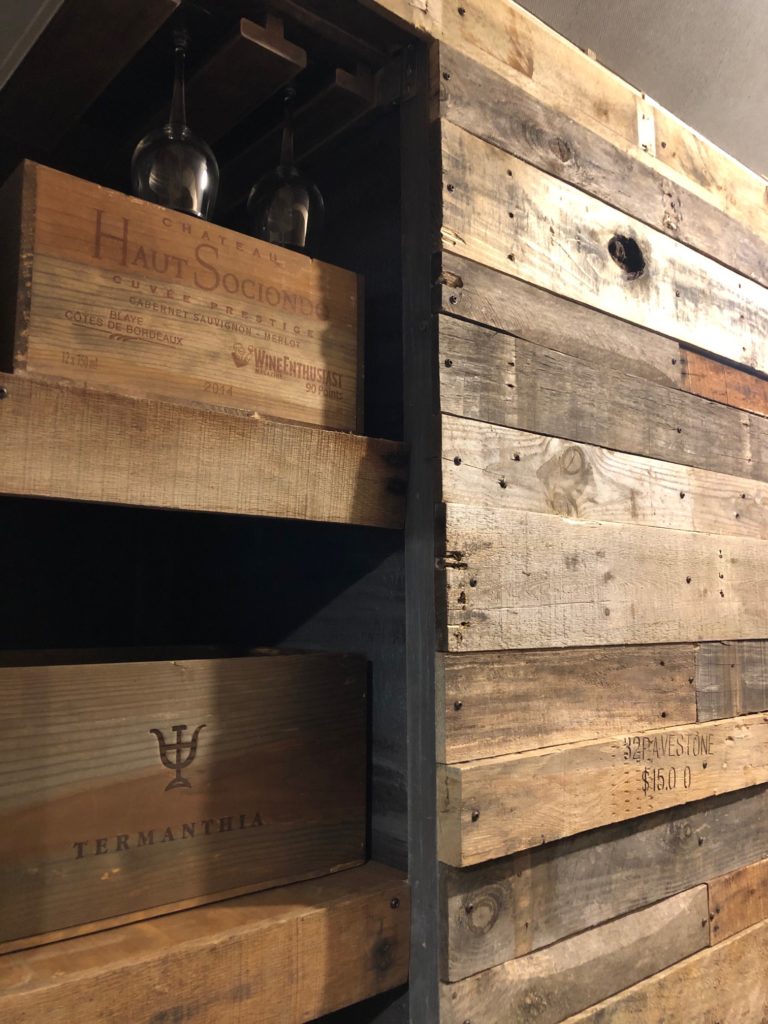
I will show you the new wall next to the old pallet wall so you can see that even though these boards were new, once I completed this process, they blended with those that were naturally aged.
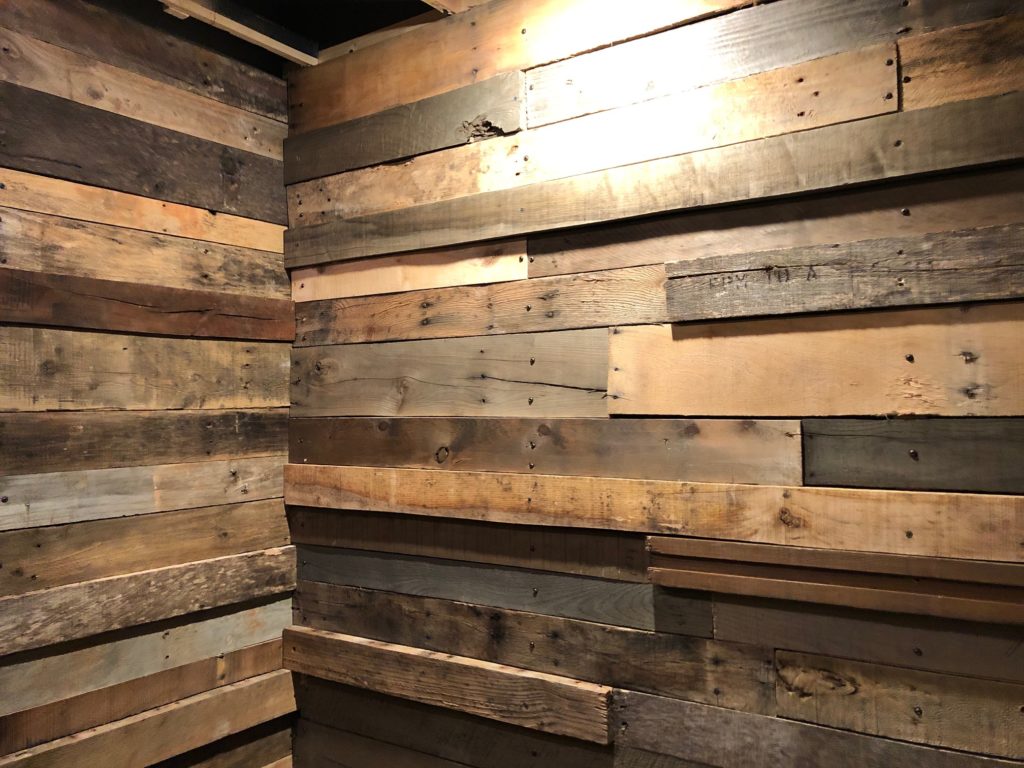
I don’t think that if I hadn’t mentioned it, that you would know that I had done anything differently between these two walls.
What If It’s Too Dark?
What do I do if it’s darker than I wanted? Well, a way to avoid the potential of that is to test it in advance. Another way, is to sand it down and re-do with vinegar that has been soaked in steel wool for less time. You could also go over it with a weathering stain in hopes of lightening it up a bit.
Ultimately, wood is unique. It will age naturally differently than a stained piece. If you want uniformity in color, then a stain may be a better choice for you.
I wanted to have a barn wood style weathered look without the wait. I think this is a great way to achieve that look. I was still aware that I’m not picking an exact hue. The wood will absorb and change and become the color it becomes.
Things to remember
Wear gloves. Protect your surface and surrounding areas. Prepare the steel wool blend in advance. Test the wood in an inconspicuous area if you are picky about the color, before doing the whole project, or before soaking the steel wool for multiple days.
Remember you will have a variety of color tones. This is not a specific stain and changes with the hardness and variety of wood you are using. Even though it is an easy process, is relatively quick, and close to free, you will still have to plan ahead. Disassembling pallet boards is a bit of a pain, but close to free. You could also purchase boards to avoid this extra step.
Have fun!
I’d love to see what you’ve done and how it turned out for you!
Happy Homemaking!
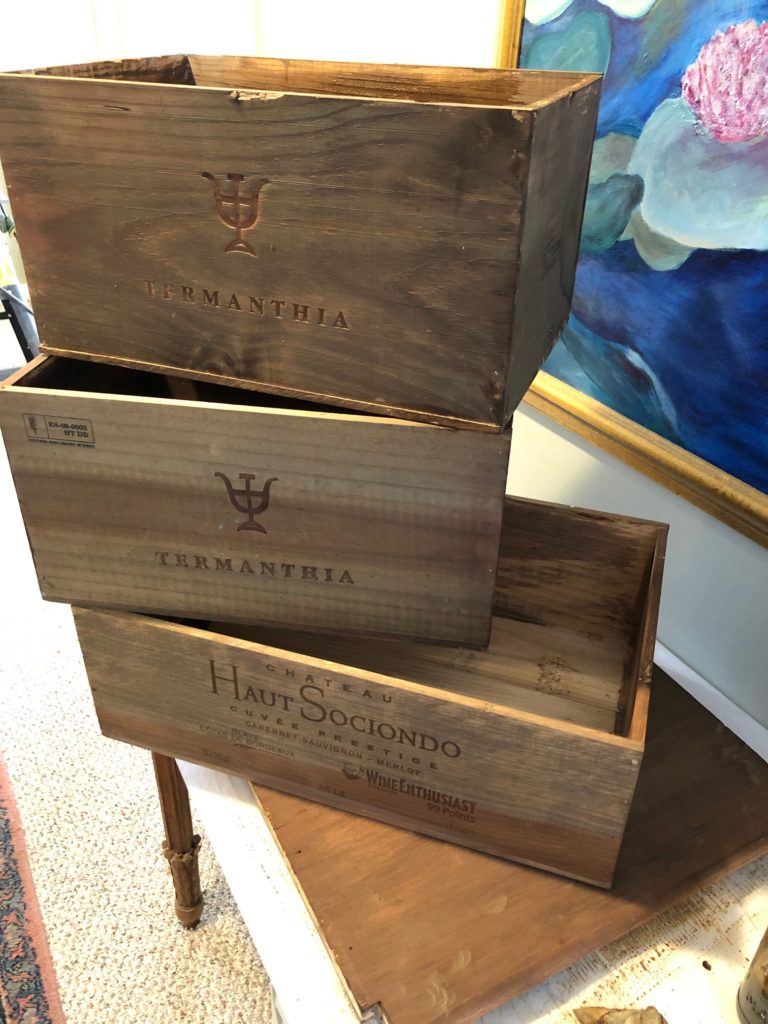




[…] decided to age the wood using a steel wool and vinegar technique. I did this so they would blend with the rustic looking […]