Picking the Space
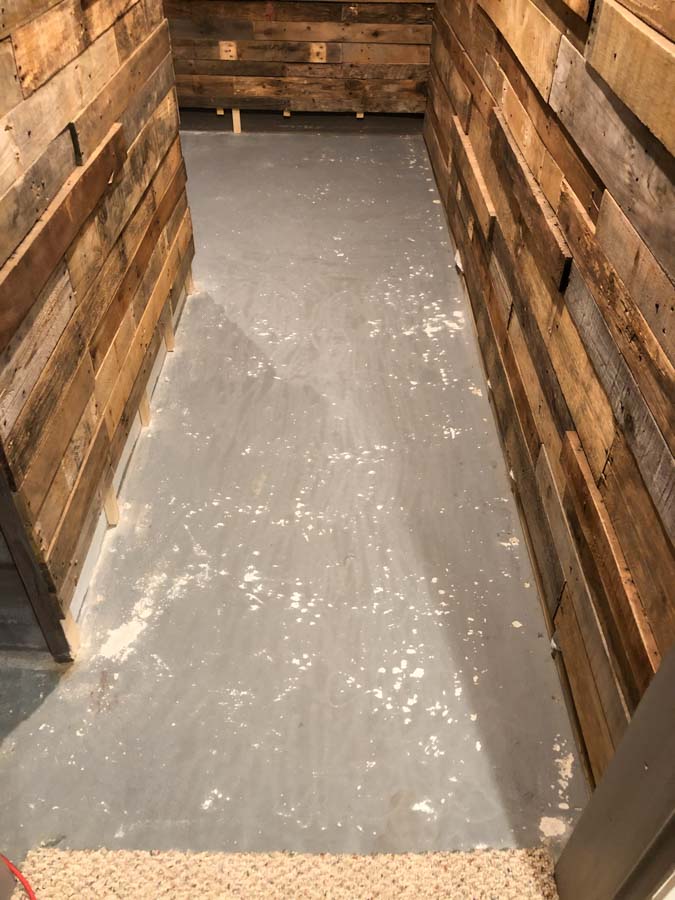
I had a little space in my basement that I wanted to use to make a wine room. One of the things I needed to decide was whether or not I wanted to install flooring in this room or to just paint the floor.
Picking the Flooring
Since this floor was below grade, I looked at some luxury vinyl plank flooring that could work. Most of these ended up being around $3-$5 per square foot. Granted this was a small room so wasn’t going to be overly expensive either way.
I also looked at ceramic tiles and cork flooring. Since this was a wine room, I thought this could be pretty cool. The cork ended up costing between $3-$12 per square foot and the tile would have required too much preparation.
After further inspection of the floor I realized the floor was not completely level and there were many uneven divots and bumps. This would work fine if I were installing something on top of it that had flexibility but not so much with the ceramic tiles.
Due to the nature of the floor, I thought the easiest thing to do would be to paint it.
New Discoveries
Upon further examination, the floor had many nails still in it, (probably from carpet tack strips) anyway, they needed to be removed.
I found the easiest way to remove these was to use a hammer and hit them from the side to break the nail off. I then needed to fill in any gaps and chips.
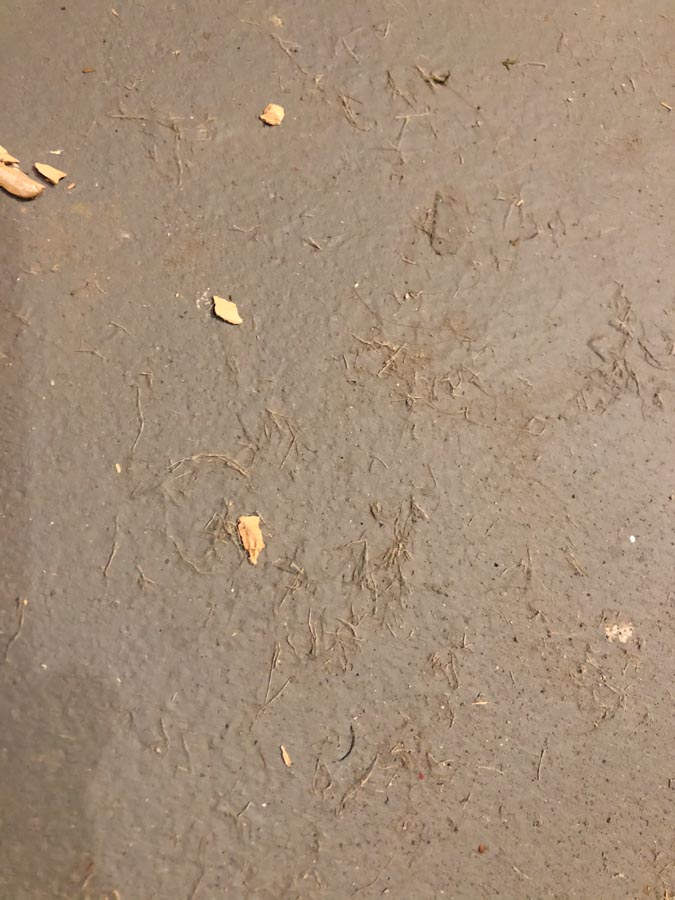
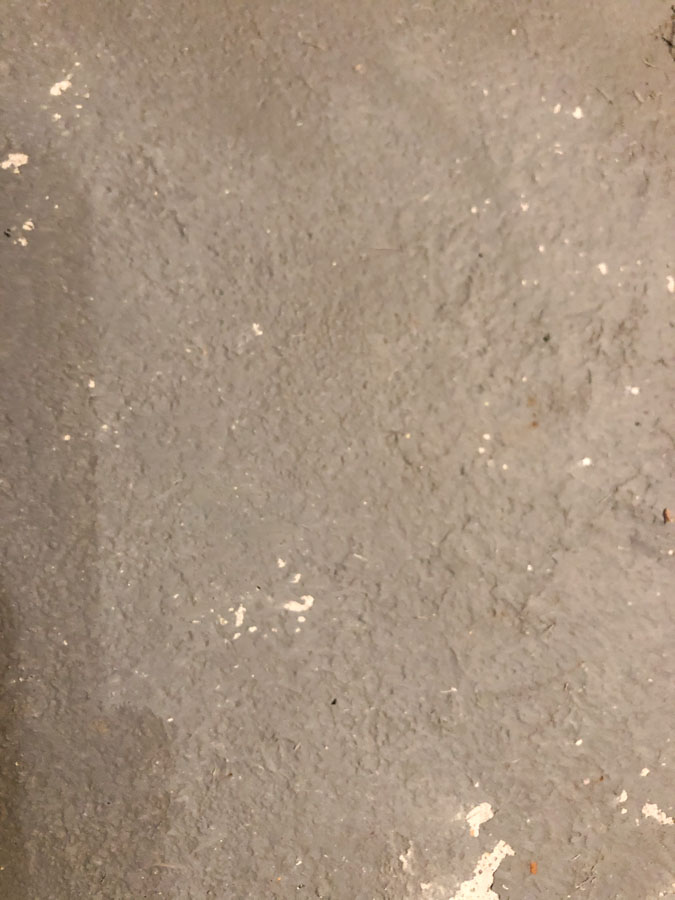
While I was down there, I realized the previous owners had actually painted dog hair into the floor. This took additional prep for me because it didn’t just wash off. It was actually now part of the paint.
Tools
I tried using a scraping tool which really didn’t work and it was very slow. I also tried using a sponge sander as well as a handled style sandpaper, both of which were very slow and ineffective.
After pulling out my husband’s drill and adding an attachment, which is probably the wrong tool for the job, I found it still worked the best and most efficiently for me.
I was able to remove all of the hair and smooth some rough areas in the process.
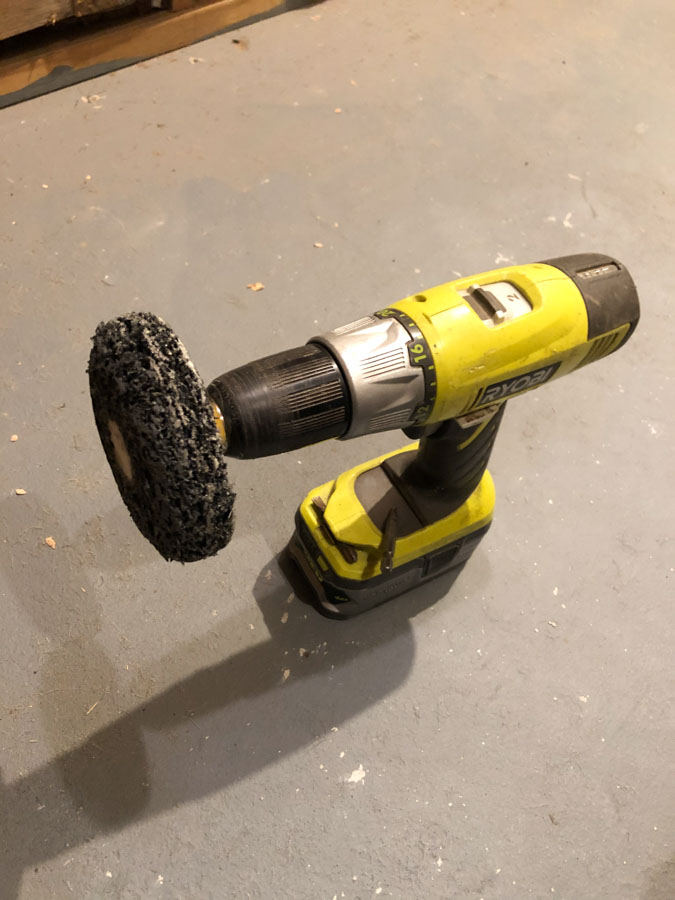
This tool had to go over every square inch of the floor. So still slow, but way more effective.
At least I wasn’t having to use all my own elbow grease to do the job and it was still significantly quicker.
I did need to wear a mask as it was quite a dusty job. One never knows what kind of paint you’re working with.
Sometimes houses have old paint that can contain lead, so you definitely want to protect yourself.
Clean Up
Once this was all sanded down, I vacuumed the floors.
I recommend vacuuming as opposed to sweeping because the sweeping seems to kick up a lot more dust in the air.
After vacuuming, I needed to fill in any divots and chips. My hubby had purchase a tube of cement, unfortunately it was a sanded style. This now required additional sanding to make it smooth.
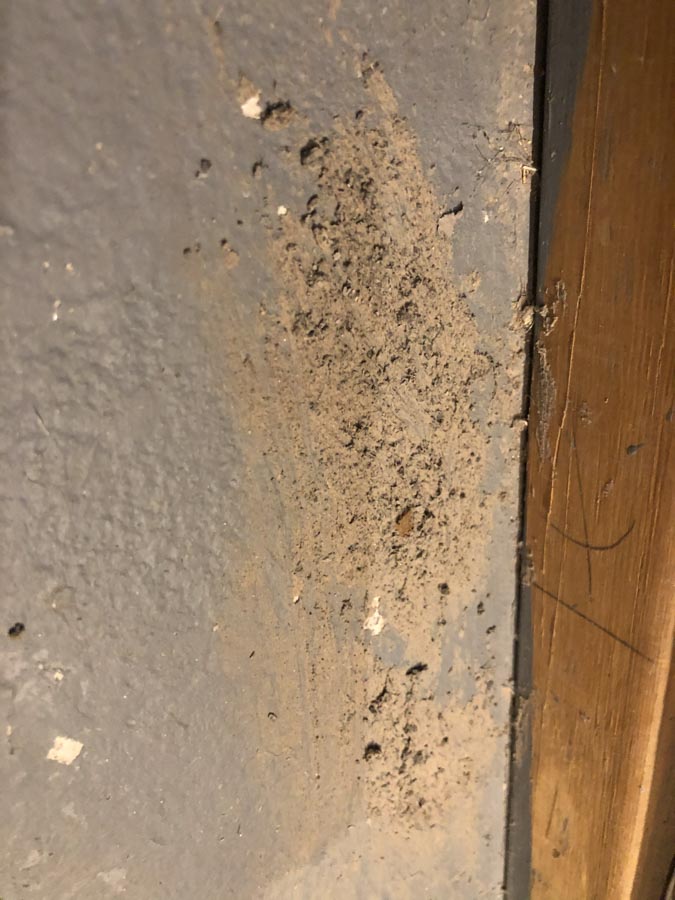
I vacuumed the floors again and gave them a good washing. I made sure I did a final rinse with just water so there was no residue as I wanted the paint to adhere well.
I allowed them to completely dry overnight so there wasn’t any issue with moisture.
Inspiration
I got my inspiration for painting the floor from a counter surface that was displayed outside of a Home Depot store. It had grays and dark browns, almost a rustic looking industrial-style surface.
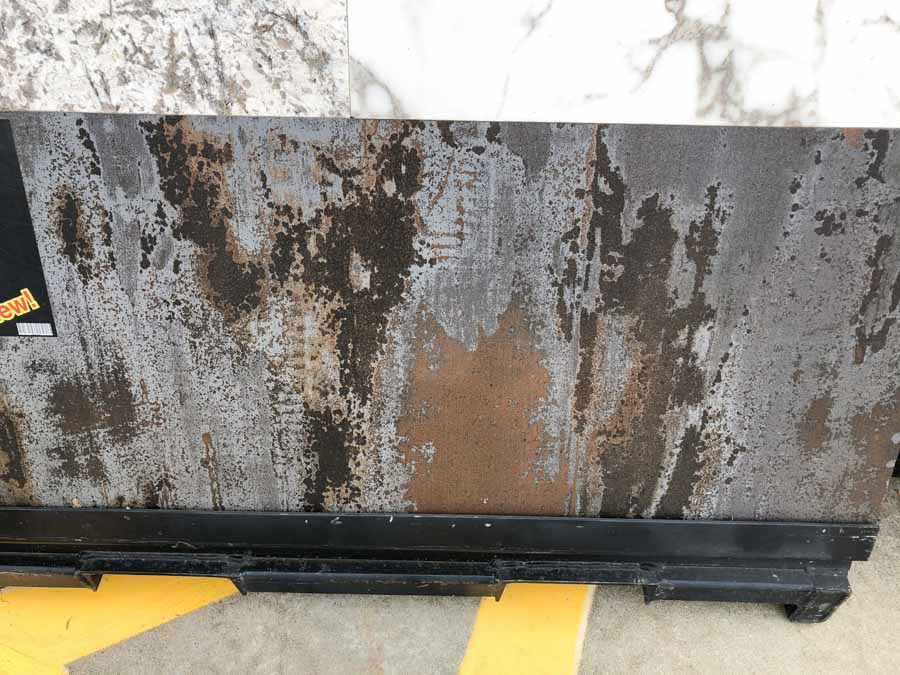
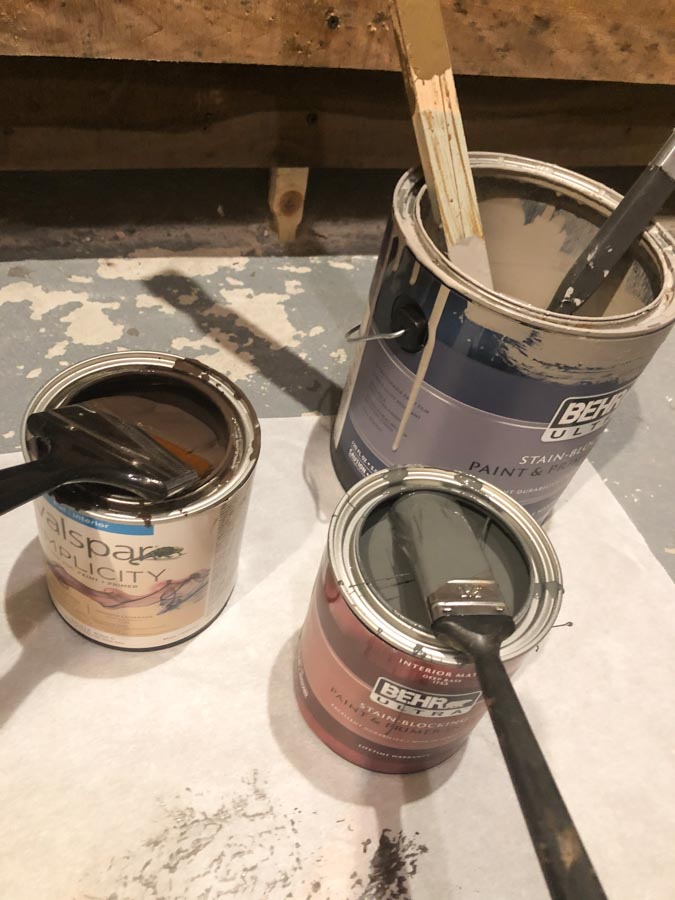
I had many of these colors at home already as I was using them for other areas in this room.
Technique
Looking at the style of this counter, I considered how I could do the technique. It appeared to almost be scraped. I wanted to have that same effect on my floor.
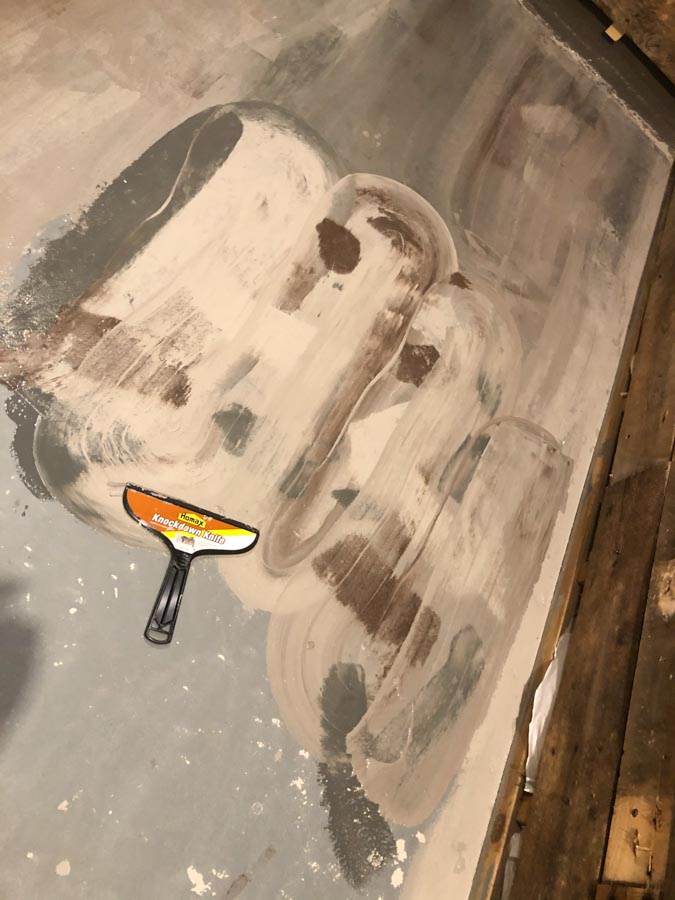
I picked up a little tool that I thought would work for this job. It was called a knockdown knife. The cost of this tool was about $5.00. It looks kind of like a scraping tool but it’s foam on one side.
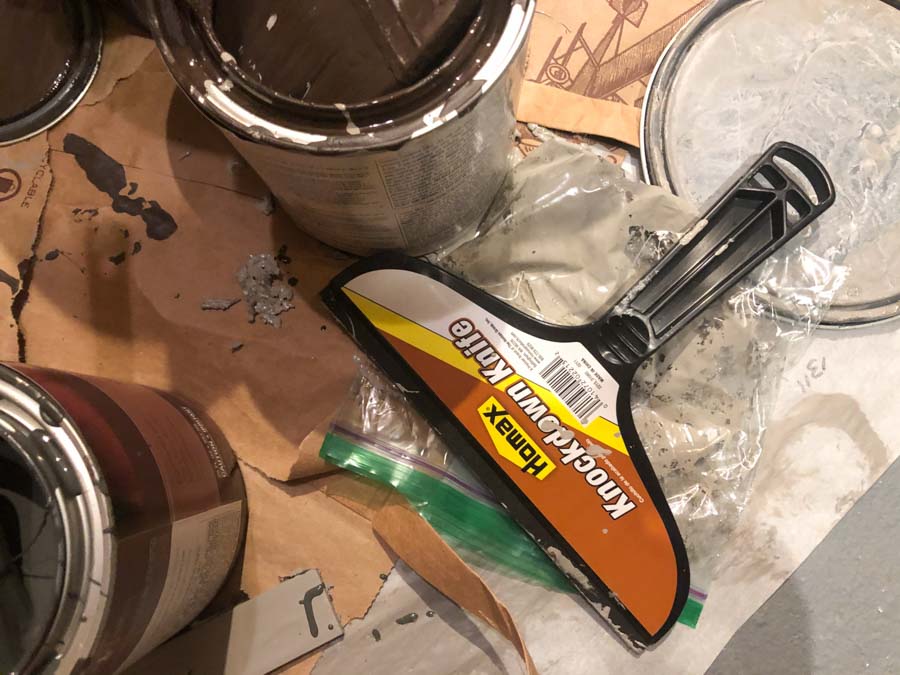
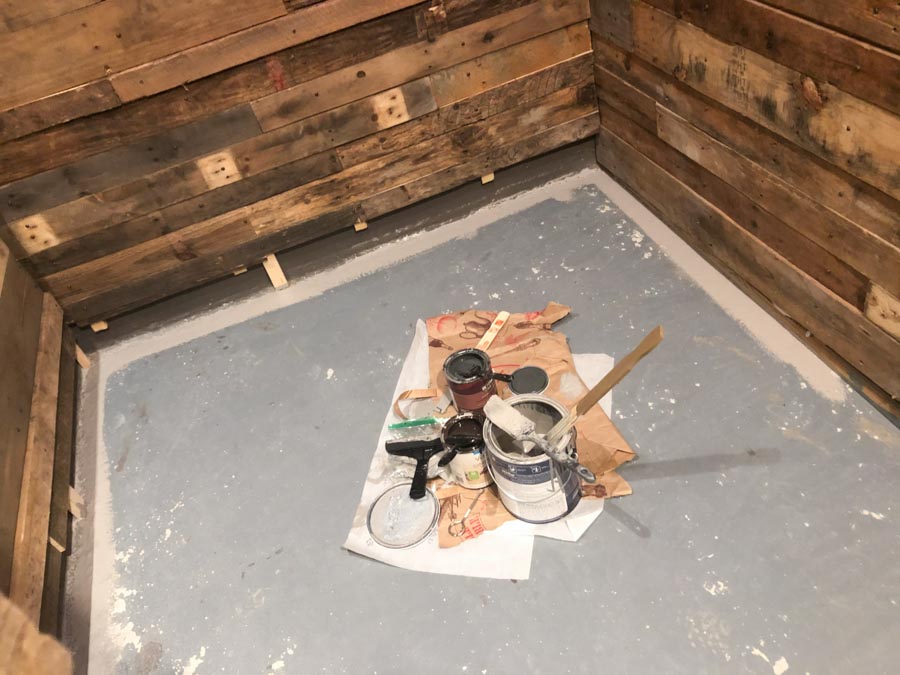
Once I had my colors chosen, and the cans all mixed, I set them close enough to me to reach and yet not right directly over where I was working. I also went around the edge with my main color.
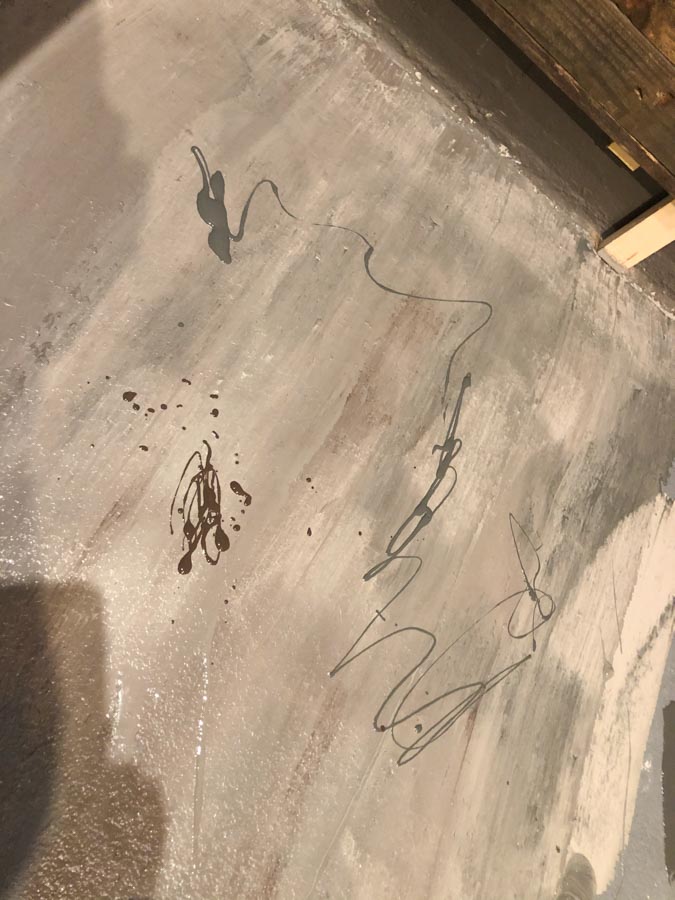
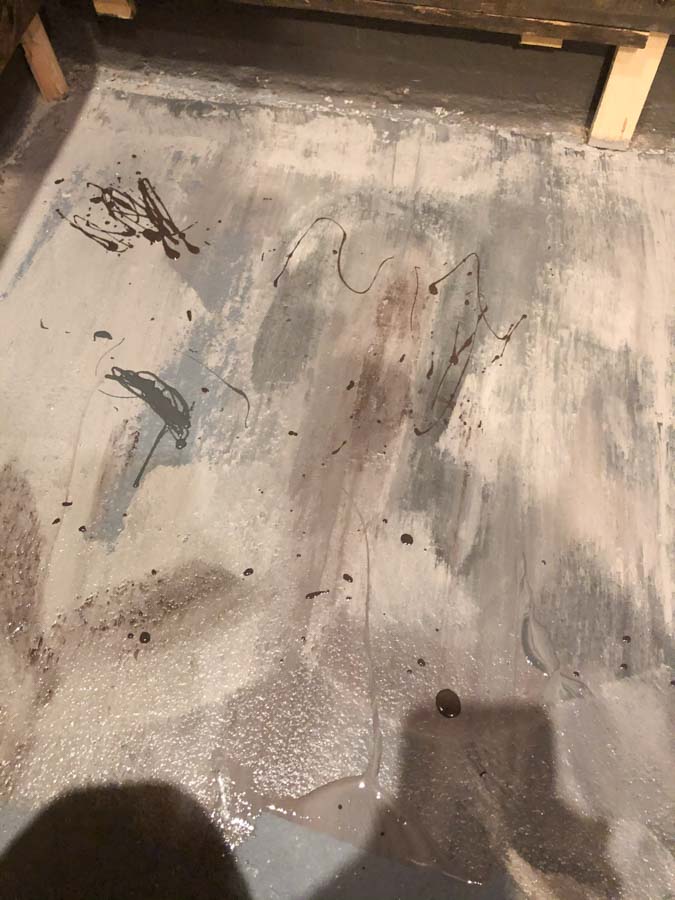
Anyway, I went ahead and just used a thick brush and threw down some various strokes of the different colors of paint. I was working with about a two foot by two foot space at a time. I used the knockdown knife to blend them together.
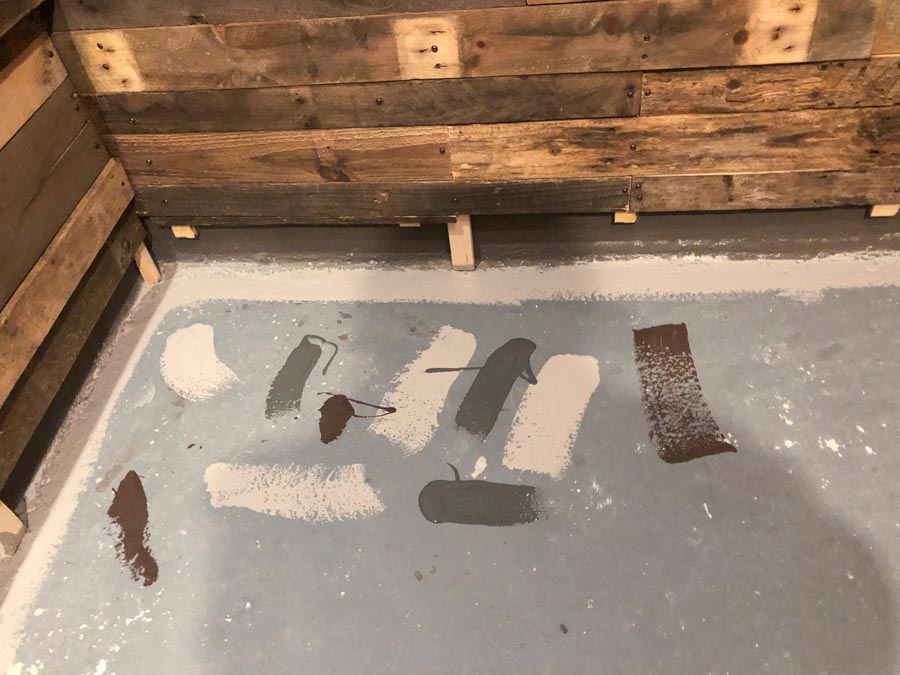
There were some areas where I needed to go back in and drizzle some additional color as some areas were lighter than the look I was going for.
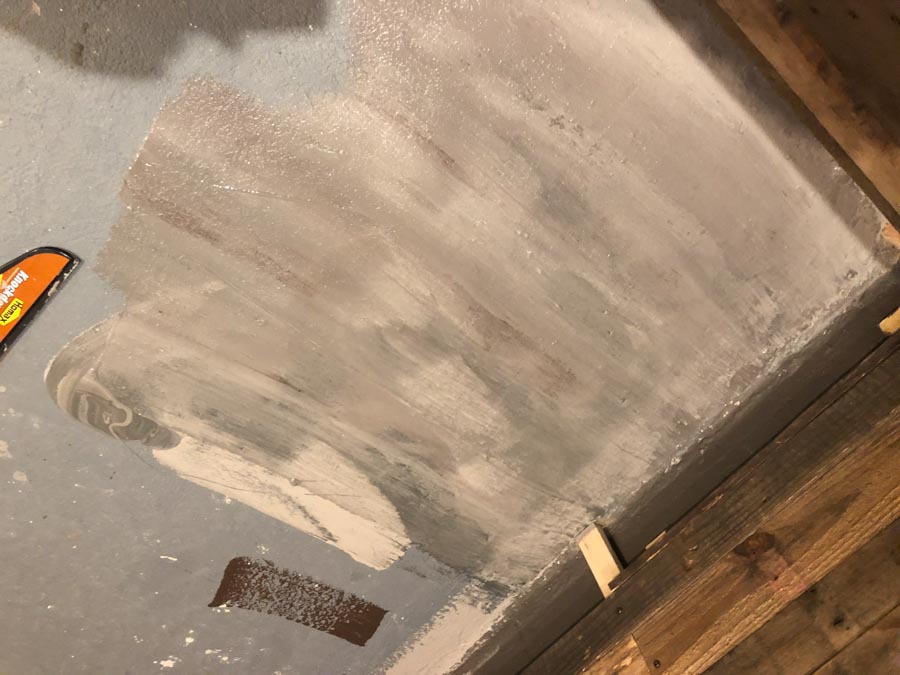
I scraped vertically to achieve the desired look. I then proceeded to the next two foot by two foot section. Slightly overlapping on my end strokes.
Once I was pleased with the look of the area I was working on, I continued on until the floor was complete.
Looking Back
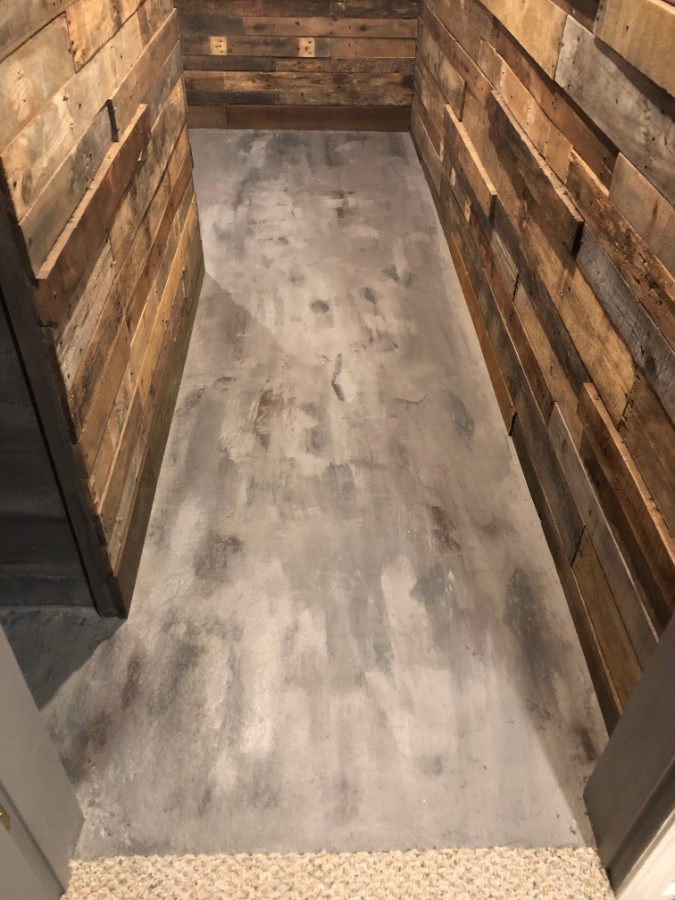
I personally preferred a little darker color than what I ended up doing, but it is sufficient for me.
I liked the original look of the counter as it had larger sections of the same color, whereas mine are smaller.
I think this could have been achieved by dropping additional paint in the same color down or larger swathes and then scraping it.
Repairs
After I had completed the job, there ended up being a couple of areas that got chipped. (My hubby knocked over a drill from a ladder.) Point being, I needed to go back and touch it up. I ended up adding a small amount of one of the colors that was close by and just did a single scrape.
This seemed to fix the blemish.
Allow to Cure
I allowed the floor to cure for a minimum of twenty-four hours before I moved furniture, or in my case, wine racks onto the floor. I also kept a fan blowing on there at a low rate of speed as it’s in the basement and a little more humid and moist in general.
Feeling Grateful
I wanted this room to have a rough rustic look and I think that this floor added to that vibe. I was thankful I didn’t need to do any extra leveling of the floor and the overall cost was relatively low.
Options
I could have sealed the floor but I feel like it’s sufficient as is. There are also some epoxy sealers that you could add that give extra durability. This would be especially useful if it is a heavy traffic area like the garage.
In the end, my room will receive very little traffic. I have no regrets with choosing to paint and like how it tied in with the rest of the room.
I’m hoping you’ve learned some techniques and have been inspired to consider a faux painting style on your next project. Happy painting!
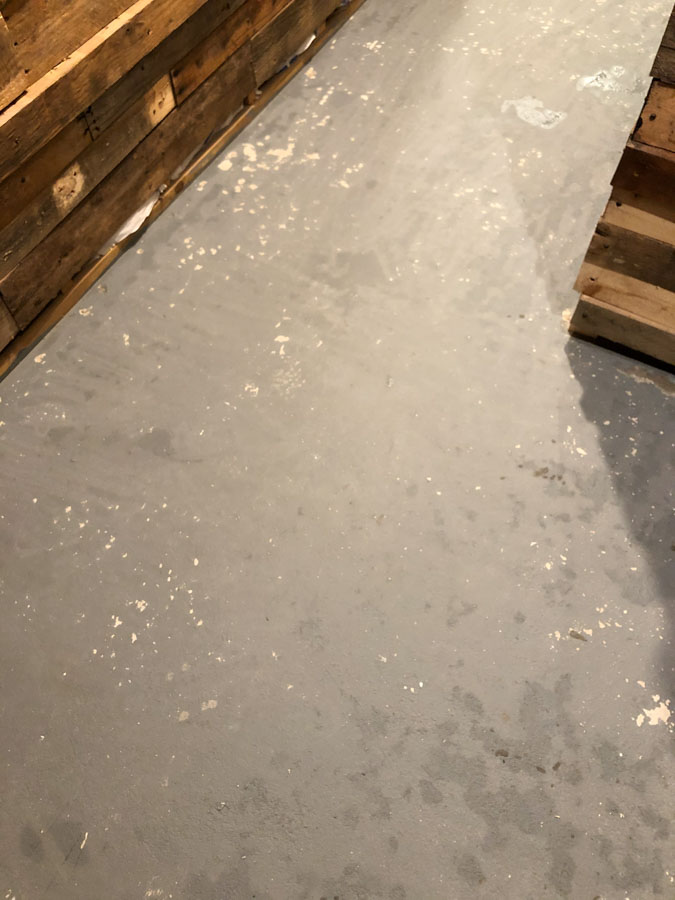
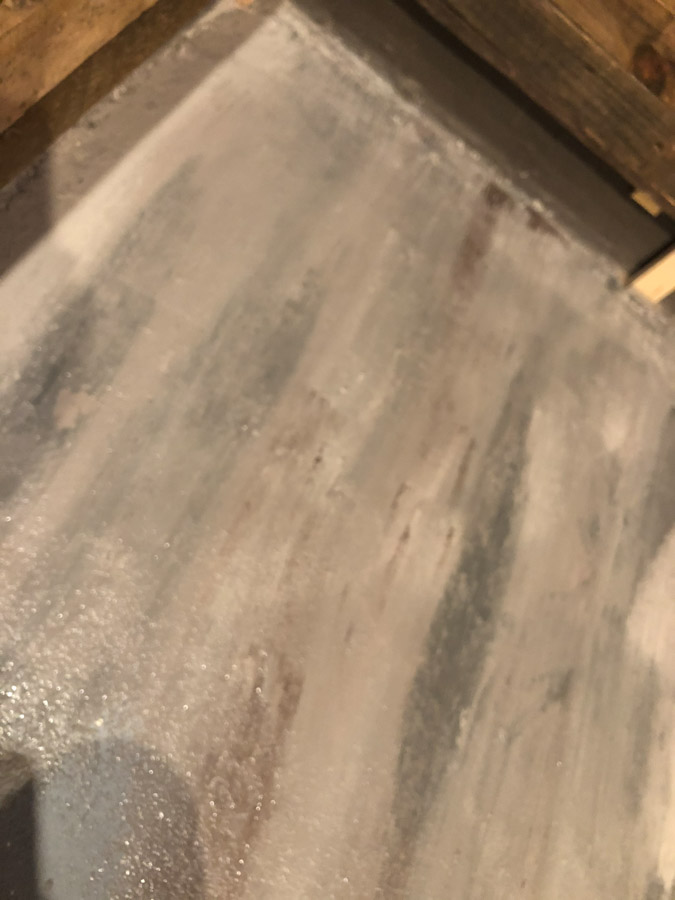
[…] painted the floor before the final boards were put up to give a polished look. My hubby then added the final boards […]