After making a wine room using recycled pallets, I learned a few tricks of the trade to make this a more efficient process.
What You Will Need:
Numerous Pallets
Hammer
Table Saw
Pliers
Prybar
Screws
Drill and Drill Bits (Both for wood and masonry)
Sanding Block or Electric Sander
Level
One by Twos
This is what I discovered:
Finding Pallets
The first thing I needed to do was to find pallets. I personally wanted to have pallets that were weathered and had some gray tones in them. I wanted a more rustic vibe.
I was able to locate pallets, for free, by putting a request in a local Facebook group and getting some direction. My husband’s workplace also had some pallets that were just sitting around.
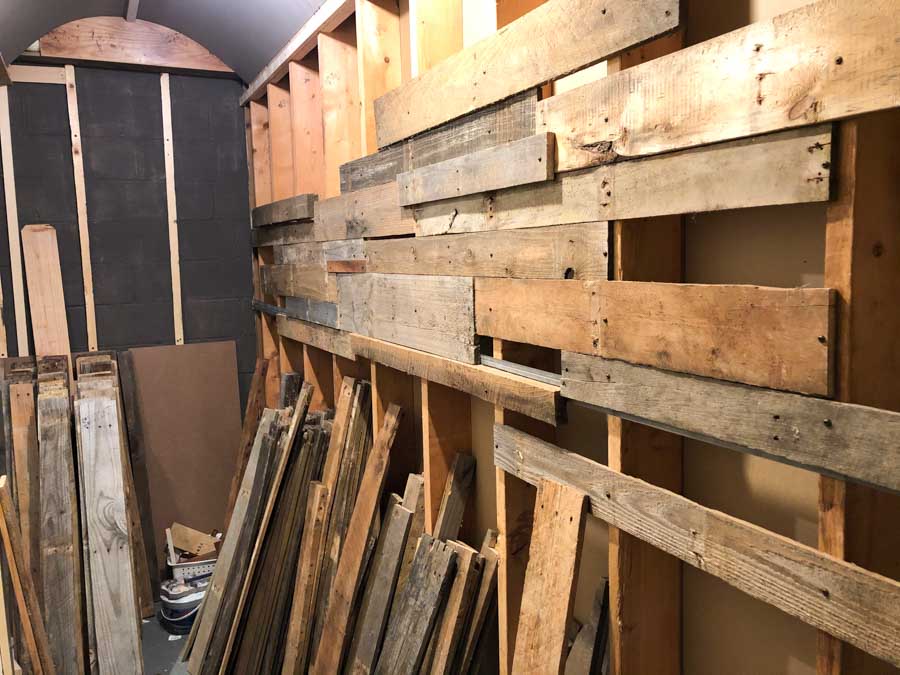
Even after collecting numerous pallets, we ended up running out of wood. We were able to call over to Lowe’s and they had a number of pallets that we could pick from for free.
Costs
So this project can be done for a relatively low cost. Pallet wood is generally free if you do some digging.
The parts that you will pay for are going to be the one by twos that you use for framing and of course the screws.
If you don’t already own a drill and drill bits you will need those as well. You also need to have some form of a saw. We happened to use a table saw.
Choosing Pallets
Pallets come in all shapes and sizes. There are some standard sizes, but there are definitely many other odd sizes out there. When you’re picking pallets, you want to pick ones with the most intact wood.
Some of them have broken boards. Some have nails sticking out all over so they require some care when handling them.
I also picked pallets based on the coloring and in some cases the type of wood. Some pallets are actually made out of oak although most are pine.
Once you pick the pallets that you want, you have to transport them. Some of these are quite large so you need to have a vehicle that can accommodate them. We found it took more trips than we originally thought.
Disassembling the Pallets
Disassembling the pallets is probably the most tedious part of the job. They are held together by tons of tiny little nails, staples and some long nails too.
It could be easier to just cut the edges off where the nails are, but then it shortens the wood length.
Sometimes hammering until you can begin to pry two pieces apart works. Then you still have to remove the little nails and staples. Sometimes they can be removed with pliers, other times they require more hammering.
We ended up using both methods depending on the pallet.
Cleaning the Wood
Once we had our pallets disassembled they needed to be sprayed off with a pressure hose. A few of them had cement dust sitting on them or some red clay, as we live in the south.
Putting Up the Framework
If you are putting the pallets up over an existing sheetrock wall, you can use a stud finder and directly attach the boards to the studs.
If you are adding them to a basement cinder block wall, you will need to put up one by twos at a standard 16 inch distance apart.
The easiest way we found was to measure them out vertically on the walls for spacing and draw a pencil mark.
Then to pre-drill 3 to 4 holes through the wood pieces. We could then hold the board up and either mark the drill spot on the wall with a pencil or use a drill bit to mark the wall.
Next we’d pre-drill the masonry holes and begin attaching the boards.
This is a slow and steady job and requires some muscle. You need a different drill bit for both the wood and the masonry. You also need masonry screws.
My husband used some glue to hold them in place, but it is not required as the screws do the job.
Once you have all of your framework attached, you can begin attaching the boards and designing your pallet wall.
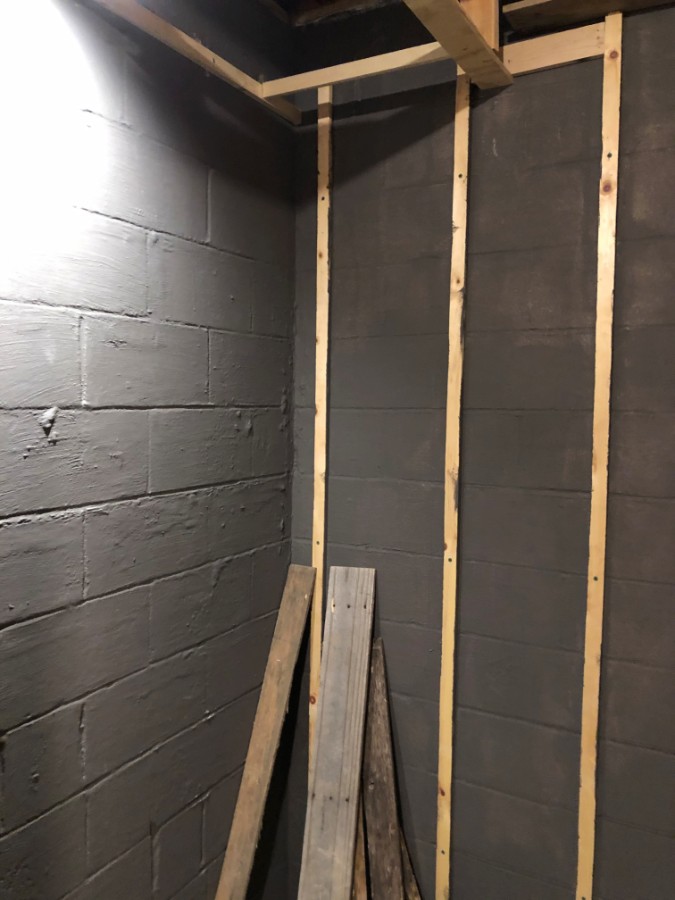
Creating Your Pallet Wall
Some people like to lay out their design ahead of time. We found we could just pick and choose boards as we go.
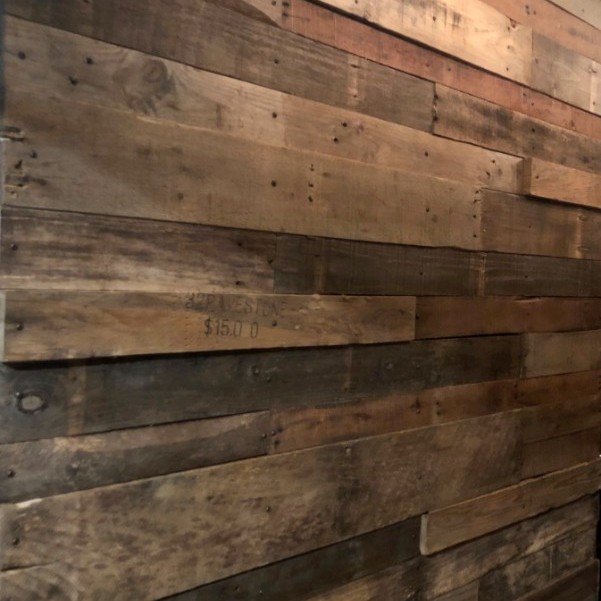
Here is the biggest tip I can give you: It is important to separate the boards by width and not length.
When you are putting up the pallet wall it is much easier to grab the same size width boards and go across an entire row than it is to try to patchwork it together. Then you have to try to find specific sized boards to fill in all the gaps.
We learned this lesson the hard way as it is how we began our wall. After doing about 5 to 6 rows we learned doing the full row in one size width not only looked better, but was significantly easier.
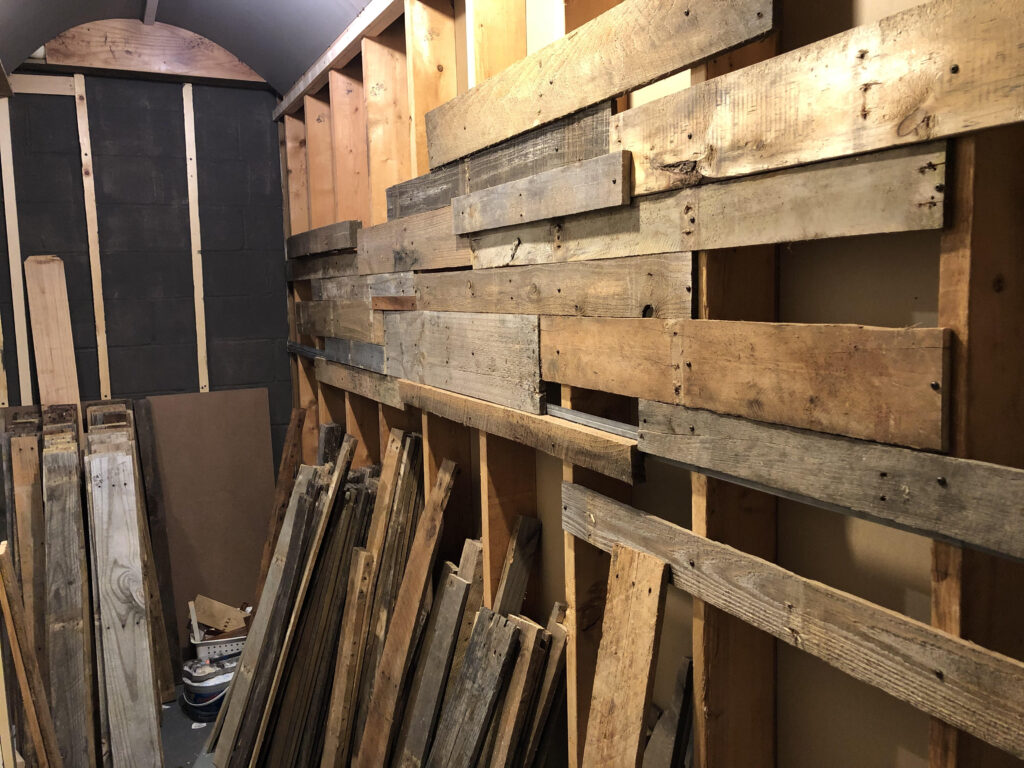
Picking your starting point. We chose to go out from a light switch plate.
We wanted this area to look flush once the plate cover was attached so we chose thinner boards surrounding this spot. (There are also electrical box extenders for a buck or two to bring the outlet out past the wood.)
Point being if we had installed different depth boards there would be a gap around the switch plate.
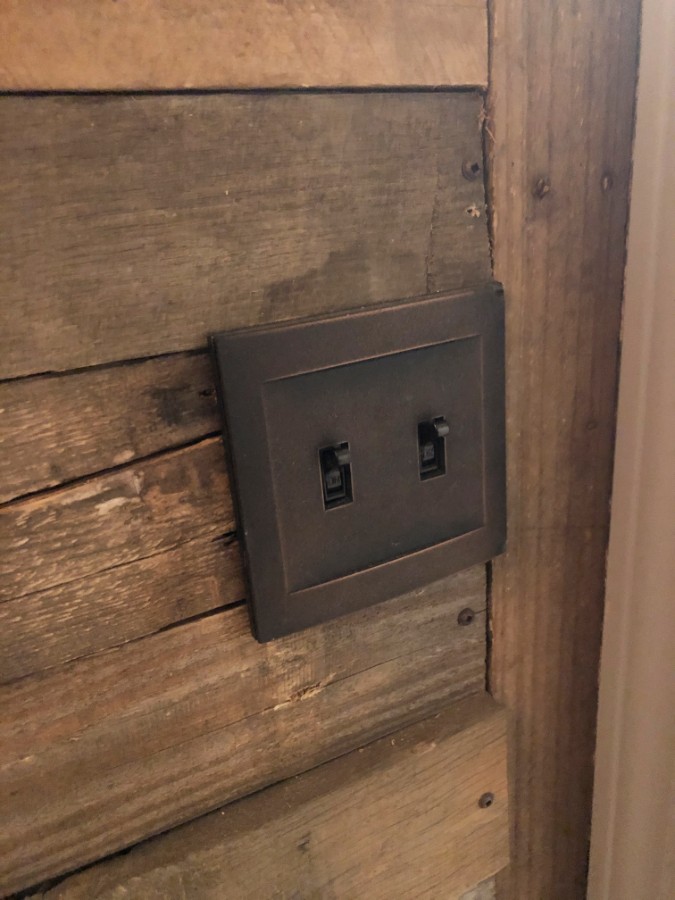
We began working our way out from there.
You want to use a level starting with the first board. You would not want a slant that will be more noticeable as you go. Make sure you use the leveler periodically throughout the project.
You could also start in the middle of the wall and work your way up and down. I think you get a better perspective by seeing the different size boards and contrast of colors if you start somewhere in the middle and you work your way both up and down from there.
It’s also a good idea to vary your board sizes as you go up and down from each row. So say you use a 3-inch board to start off with and you do the full length across the wall.
Then in the next row, you will want to start with a different length board so they don’t end up at the same point. You don’t want to see a common line going up or down your wall.
You also want to choose a different width board, say a 4 or 5 inch and alternate them from row to row.
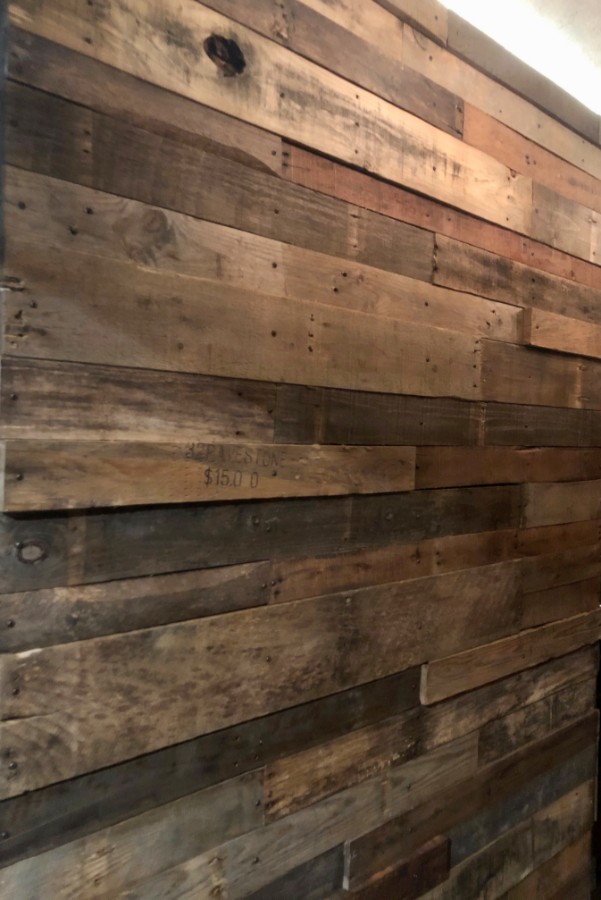
You want to have some shorter boards and some longer boards going out from each direction at the ends of the wall.
I also liked to alternate colors of the boards. So dark, brown, gray, light, etc. I also alternated depths and textures where I could.
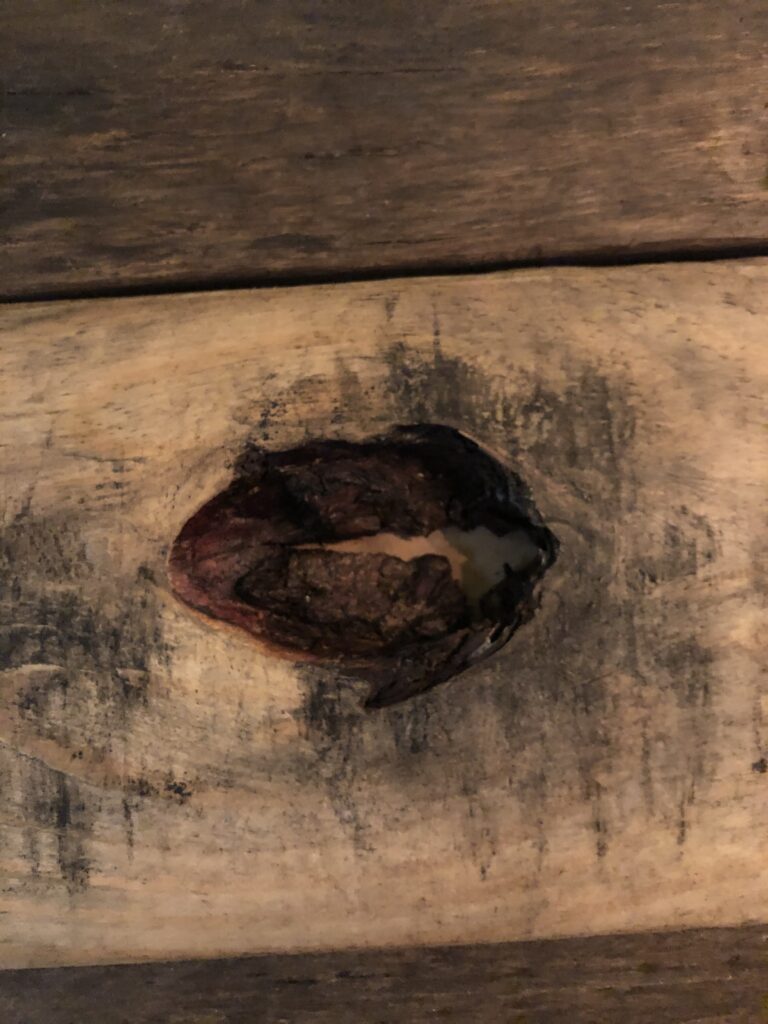
I personally like a variety of colors and tones, but I especially like some of the unique features of the boards.
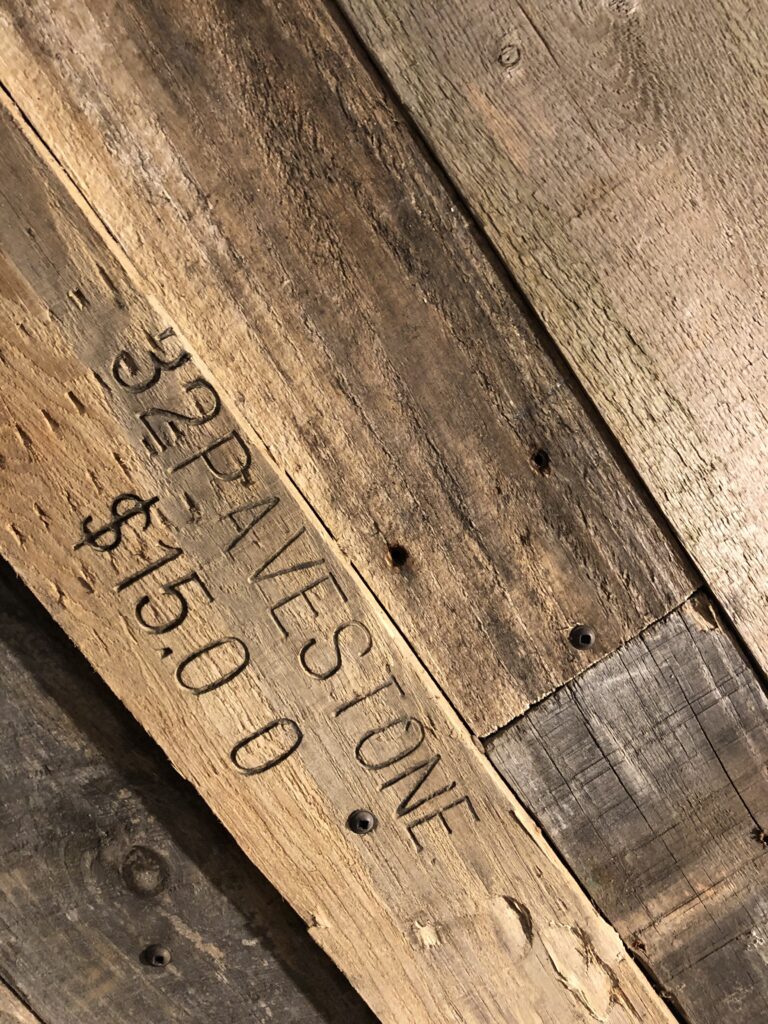
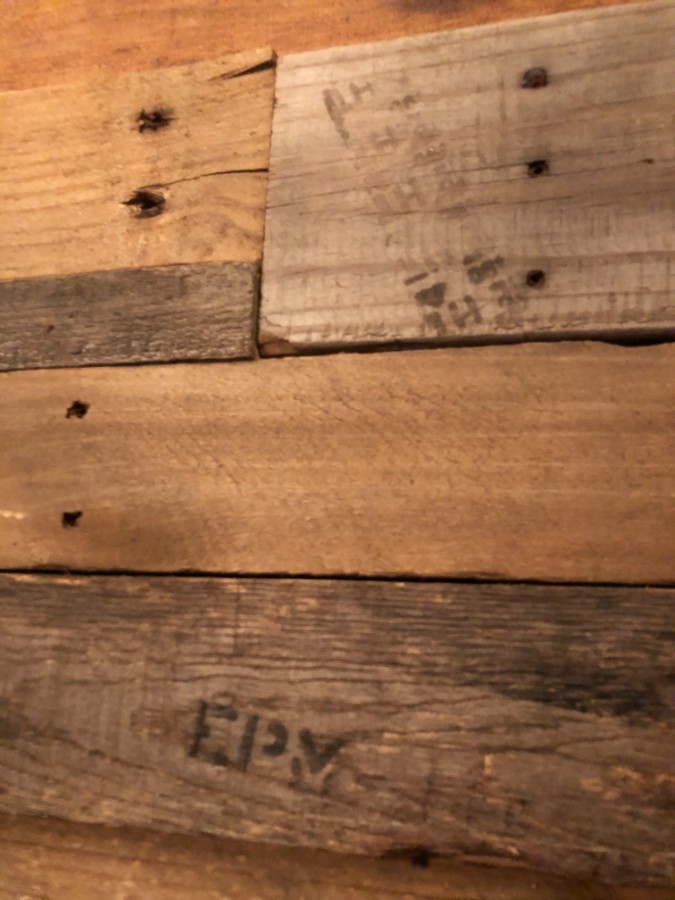
If they had letters and numbers stamped in the wood or little blemishes I wanted to feature those things. I placed them in more noticeable spots and with that side facing out.
I hand chose each side of the board that had the most character to be visible. I liked some of the staining, texture or markings and wanted to display them as prominently as I could.
We attached all of these boards using little bronze colored square bit screws. They came in a variety of lengths and had a more rustic vibe we thought looked great with the room.
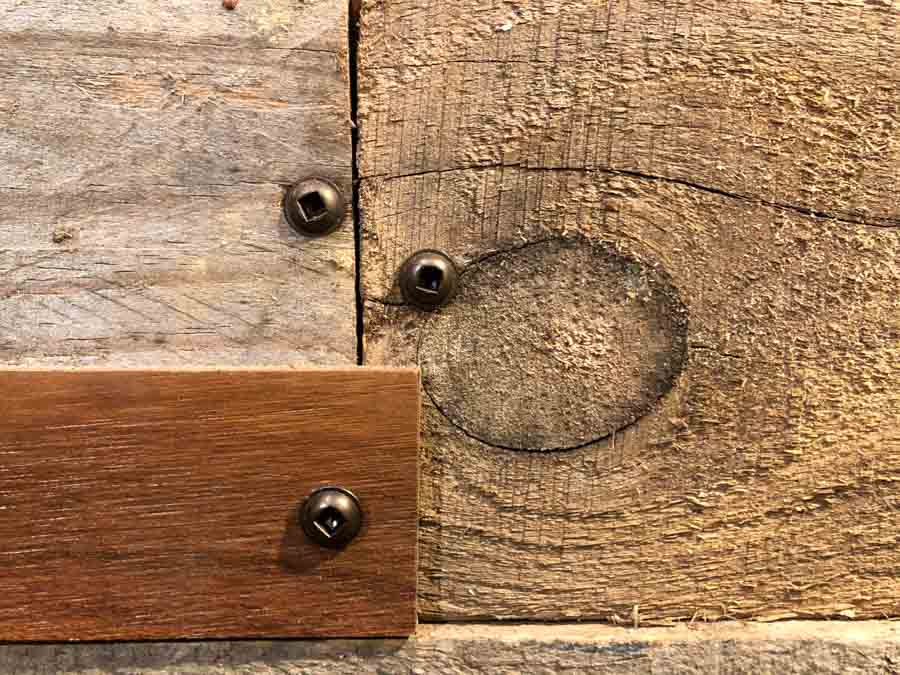
Patchwork Style
I have also seen some people put up varying sized boards and then do overlapping of the wood with additional pieces. I like the patchwork look with different textures and depths.
When we started this project, this is how we initially began. I can assure you this method takes more time to hunt for and/or cut specific sized pieces to fill in these spaces. We found in the end that it was a significant amount more work to do it this way.
After doing a few rows, I actually preferred the look and harmony of the same size width boards in a row.
Running Out of Boards
We ended up running out of wood and needed to track down some additional pallets. Unfortunately the pallets that we found were not all weathered and thus we needed to do some quick weathering work of our own.
I decided to age the boards. There are a couple of different techniques you can use to accomplish this.
You can use the Varathane Weathered Wood stain or you can make your own concoction which usually takes about 24 hours. All you need is steel wool and vinegar.
If you look at my pallet walls you cannot tell the difference between the wood that I’ve aged and the wood that was naturally weathered.
So if you are in a pinch and you want to have this look and you cannot find enough boards that are already weathered, this works wonderfully.
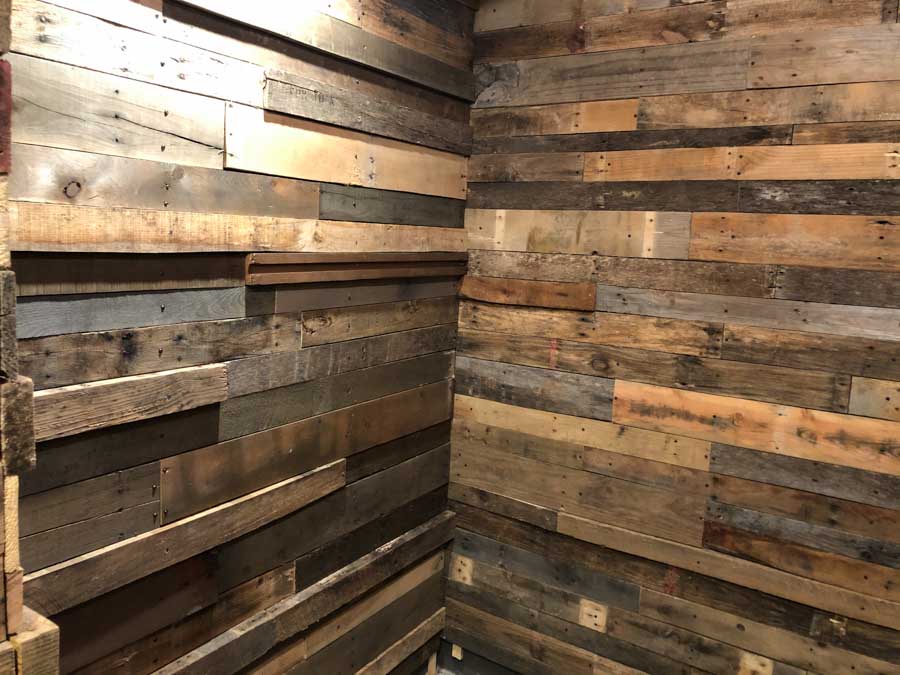
Sanding
Some of these boards had little splintery areas that stuck out from where existing holes were. I went over them with an electric sander but you could use a sanding block to smooth the edges. I also made sure to avoid the areas where the screws were so as to not mar the finish.
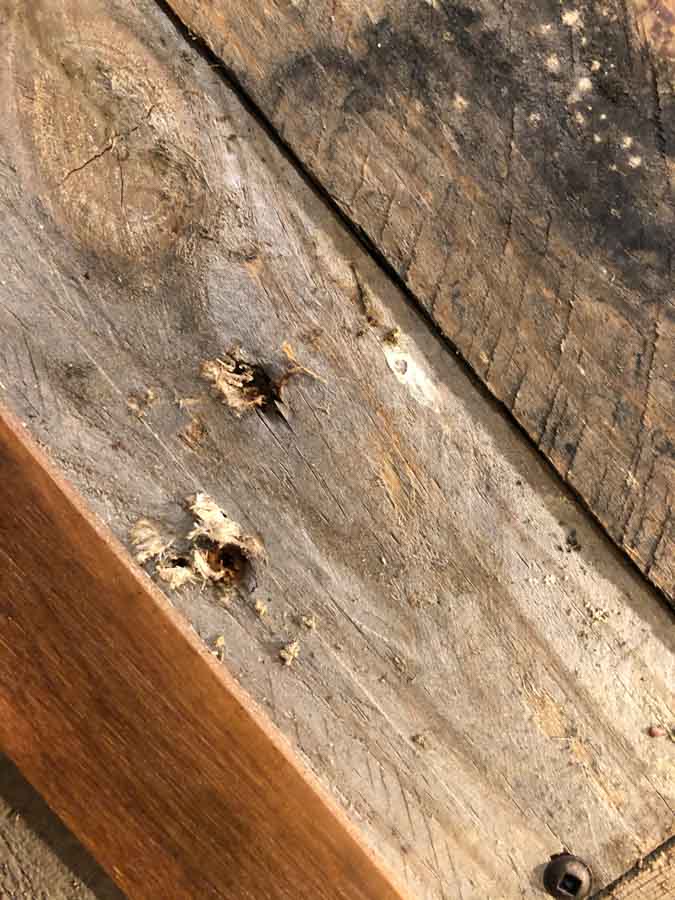
Lining Up The Corners
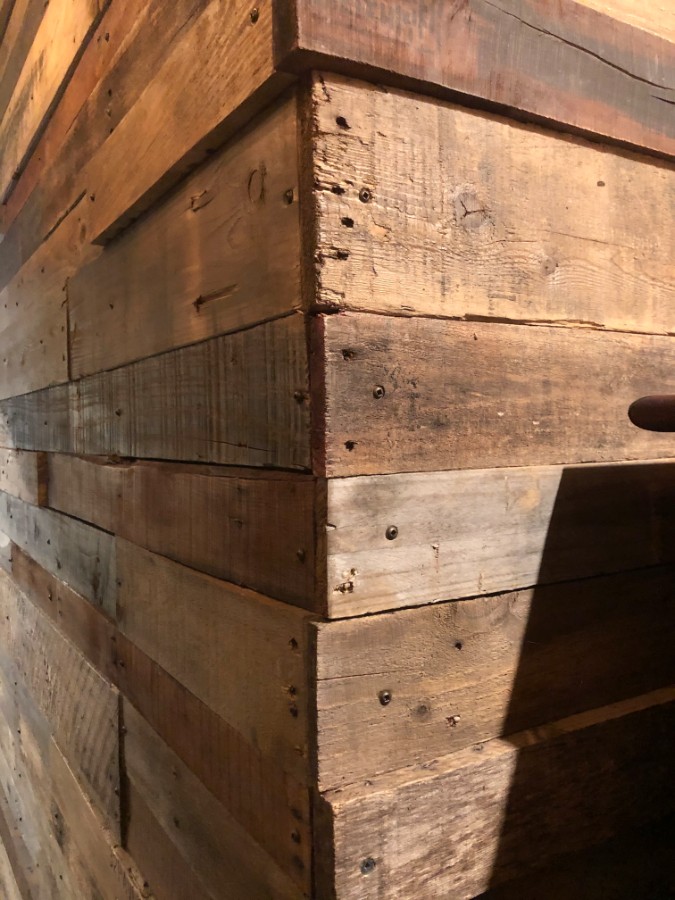
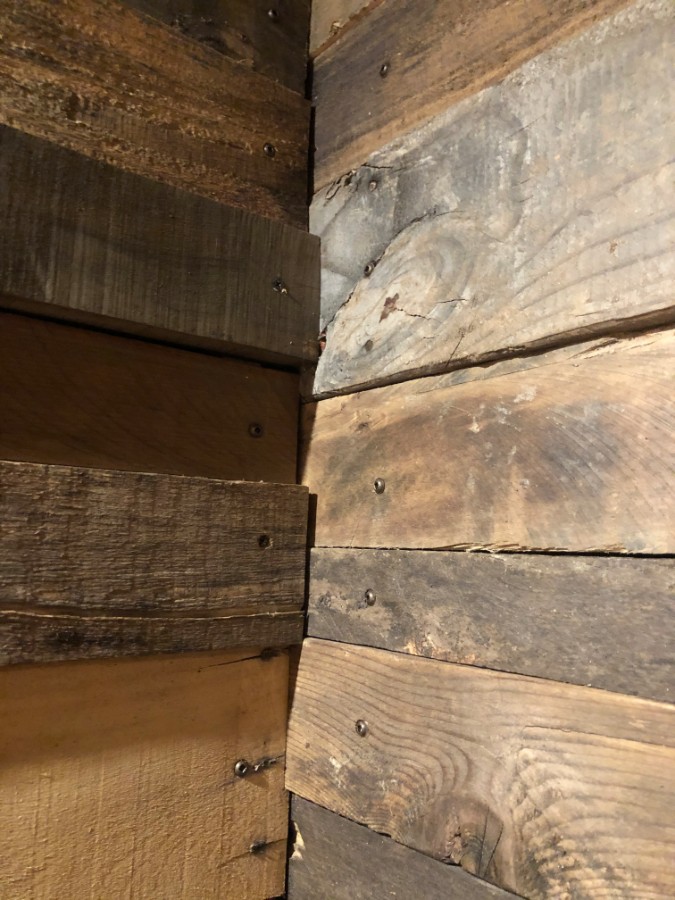
I had both an outside corner and inside corners as I was doing more than just a feature wall. If you are not doing more than one wall, you can skip this step.
I personally wanted the same sized wood width to line up both going out from a wall or in to a corner. My husband did not find the same importance in this or he didn’t have enough boards to easily accomplish this, so they are not perfectly lined up.
If this is something you’re particular about, just make sure to have the right width boards on hand. In the end, I am happy with the results as this is a rustic room.
Molding
At the base of the wall we chose to go floor to ceiling instead of adding an extra molding at the bottom. I liked not having a break in the wall at the base, but if you happen to have molding going around the room, and you are just doing a feature wall, then I would leave the molding in place.
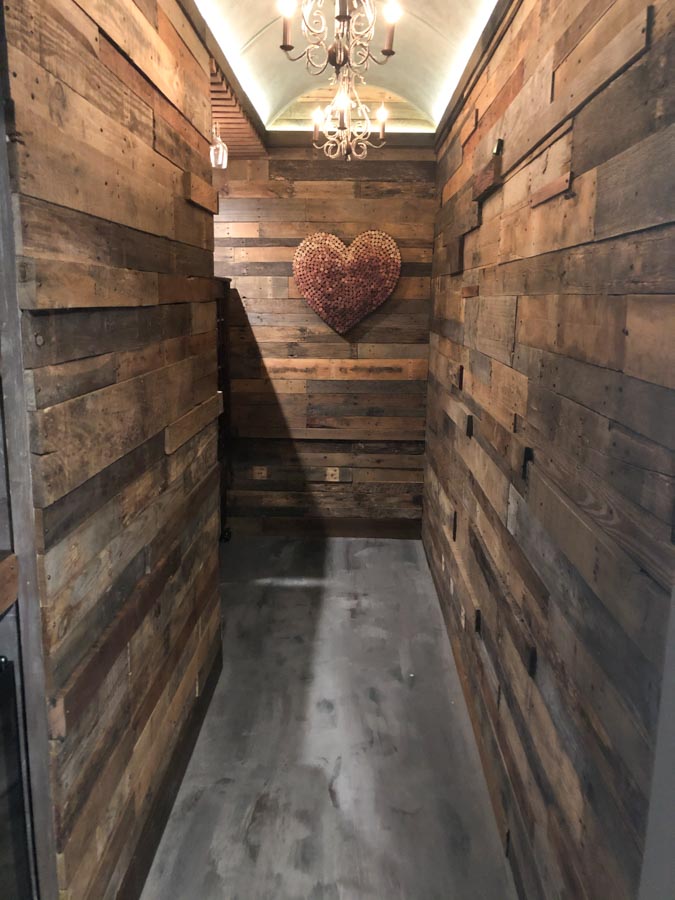
Sealing the Wood
When the pallet wall was completed, I went over it with a matte polyurethane to seal them. I feel this gave it a more clean look and if there happened to have been any leftover clay spots or blemishes they blended in with the wood and basically became part of it.
Final Thoughts
I really like how this turned out. I have no regrets with any part of this, in fact, I feel I could make even more things using free pallets.
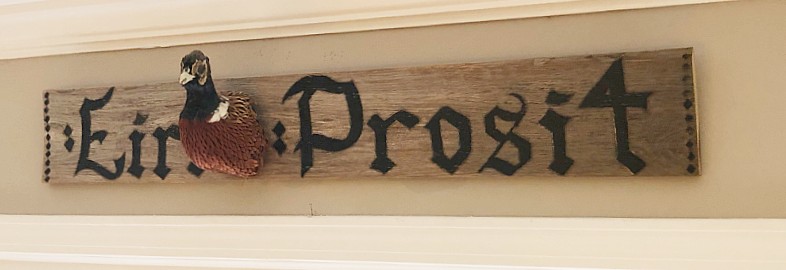
I have a couple of signs that I’ve made using an old weathered fence that could have easily been done with pallets instead.
One hangs outside and basically says Welcome in Swedish. One hangs in my kitchen area and says Ein Prosit, basically Good Cheer in German. A nod to both of our heritages.
My husband added the little stuffed pheasant head to the middle. Kinda fun, unique and crafty!

I think it’s great to get inspired and allow our minds to get creative and use some of the resources around us. It’s a great way to up-cycle existing supplies and craft things we enjoy having.
Let me know if you end up doing a pallet wall or making some neat projects with aged wood. Family signs and clocks are so popular now. What are you inspired to make?
So enjoyed reading your Blog!
Glad to hear Cathy! Thank you very much!