What To Do With Ugly Tops of Blinds
If you want to make a quick window treatment for ugly tops of blinds, this is your ticket!
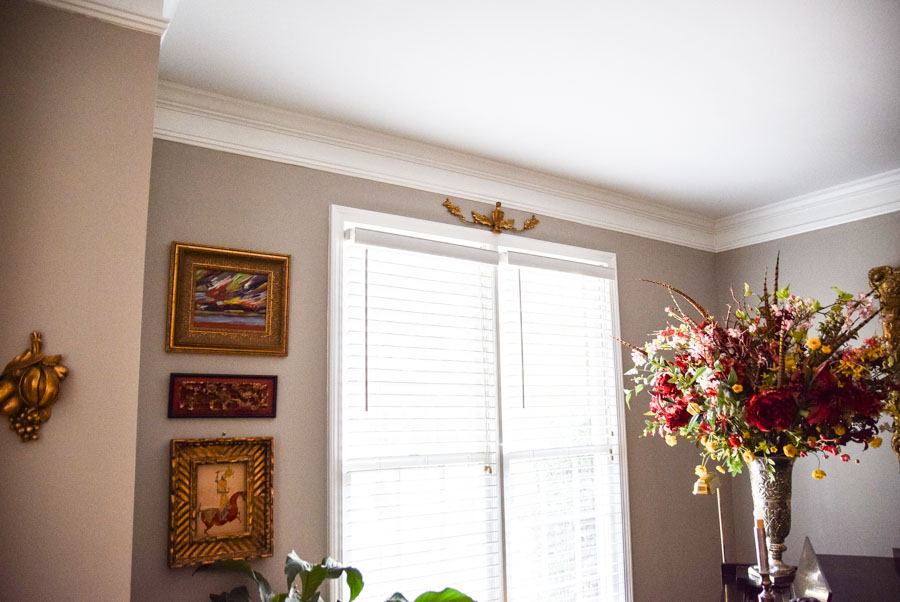
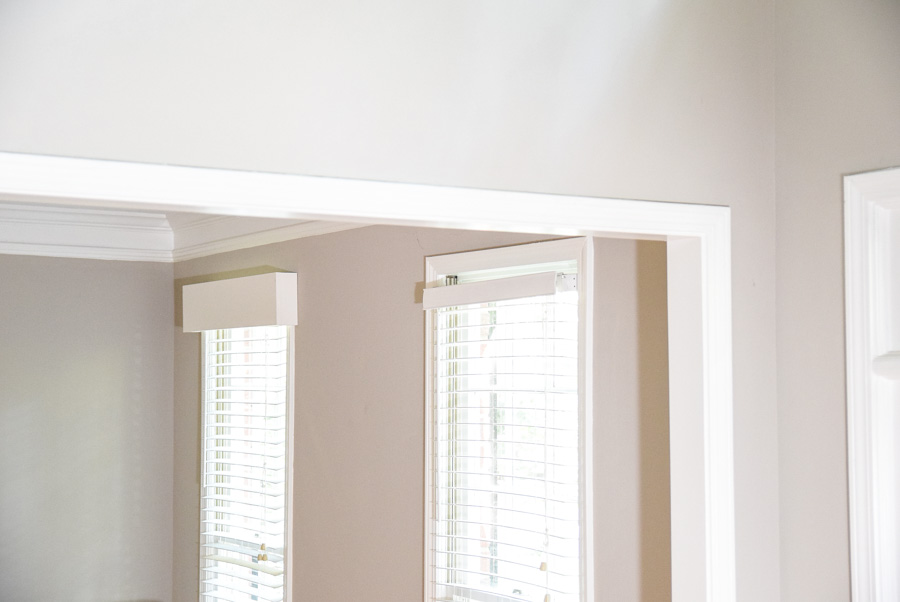
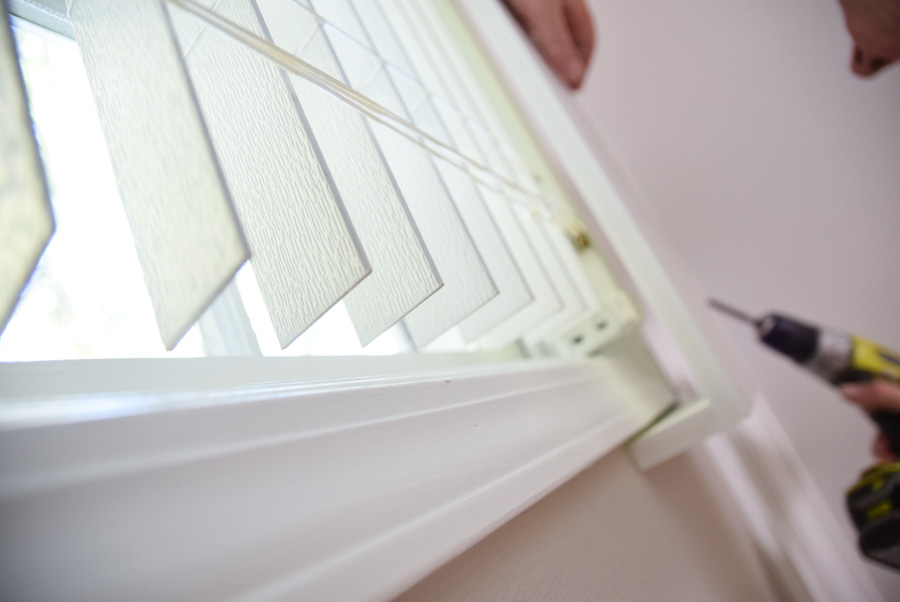
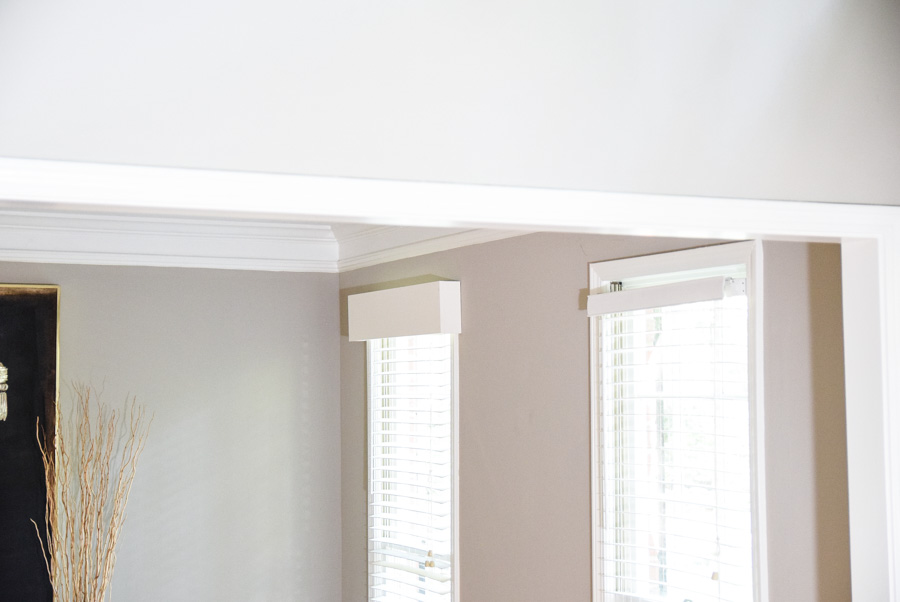
Sometimes at the tops of both vertical or horizontal blinds, you know that little decorative cover piece that never quite fits correctly? Well this is what I wanted to cover. To me, leaving it as is, makes for an unkempt cheapy look.
How To Add A Quick Cornice
Adding a quick cornice is easy and inexpensive. It is an upgrade that can take your room to the next level.
Maybe you’re a first time home owner, or someone who just likes to work with your existing supplies. Maybe you don’t want to put a lot of money into custom window treatments.
This is something you can easily do on your own, to improve up the space.
Why Do It?

I found that my window blind tops never seemed to look like they fit properly. There were always gaps and they had a cheap plastic cover that really didn’t seem to do the job. It always looked like it was hanging crooked with gaps all around.
I wanted to create a covering to hide all of that.
I also wanted to have it still be easy to remove if I wanted to change things up. I didn’t want to make the cornice out of fabric, as I’m not a fan of collecting extra dust.
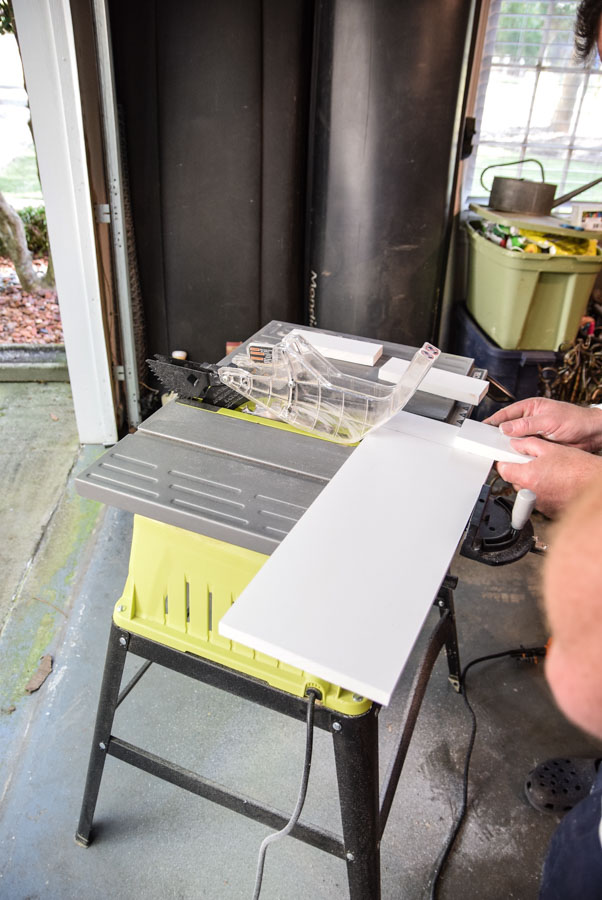
Supplies
I chose to use some simple molding pieces, as they are both inexpensive, easy to clean, and do not distract from the already overly accessorized room. They simply give it a more polished and intentional vibe.
Where to Begin
Take measurements so you know the total length of the materials you will need. You will need to measure how far across each window + how far out you want them to stick and add all the measurements. You would also want to make sure you’re having whole pieces of wood for the facings of the windows.
Once you have the measurements, head to a supply store like Home Depot or Lowes, and see what style of molding appeals to you.
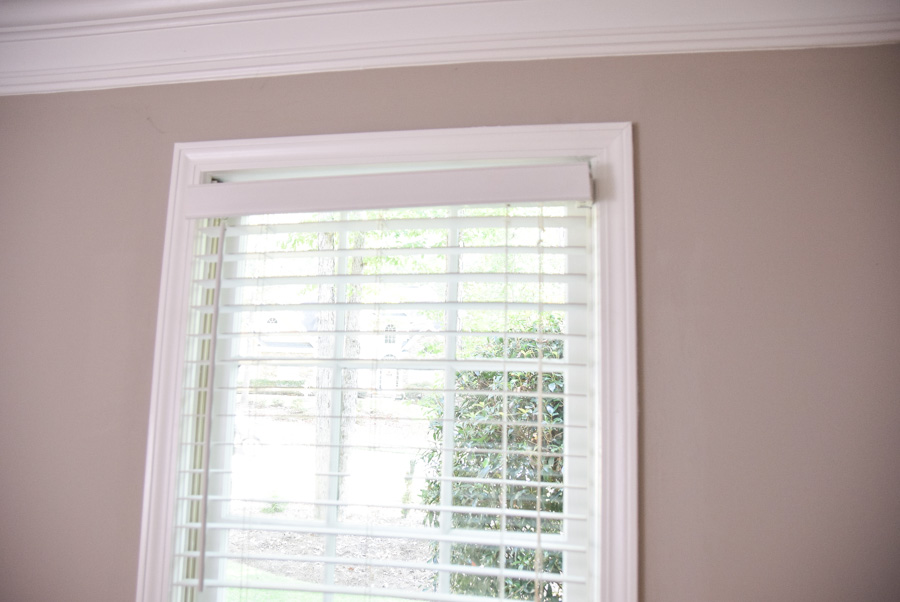
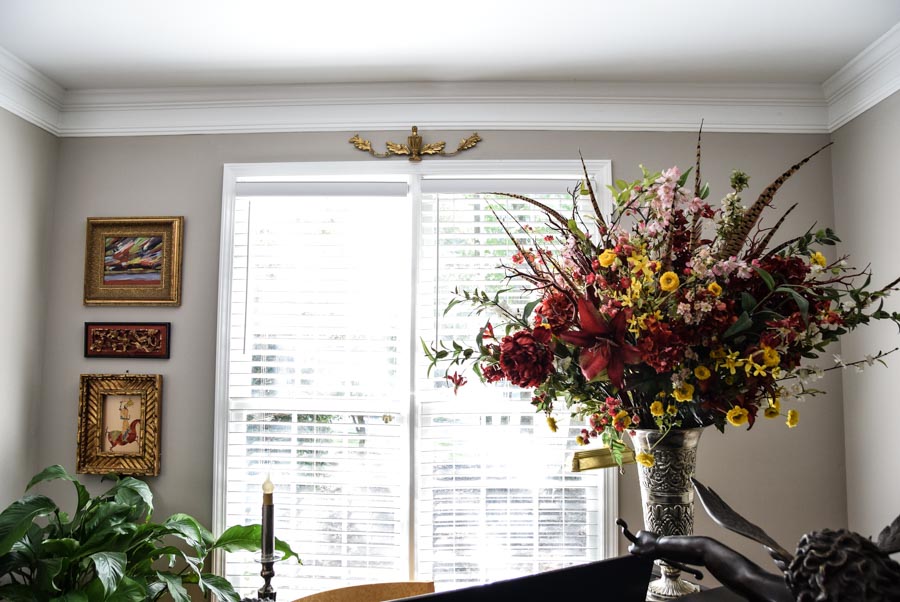
One thing to consider is how deep you want your molding to hang. I did not want to cover up the light coming through the window, and I did want it to cover all the ugly top pieces.

I needed it to hang down far enough that when I was sitting I wouldn’t see all the details underneath.
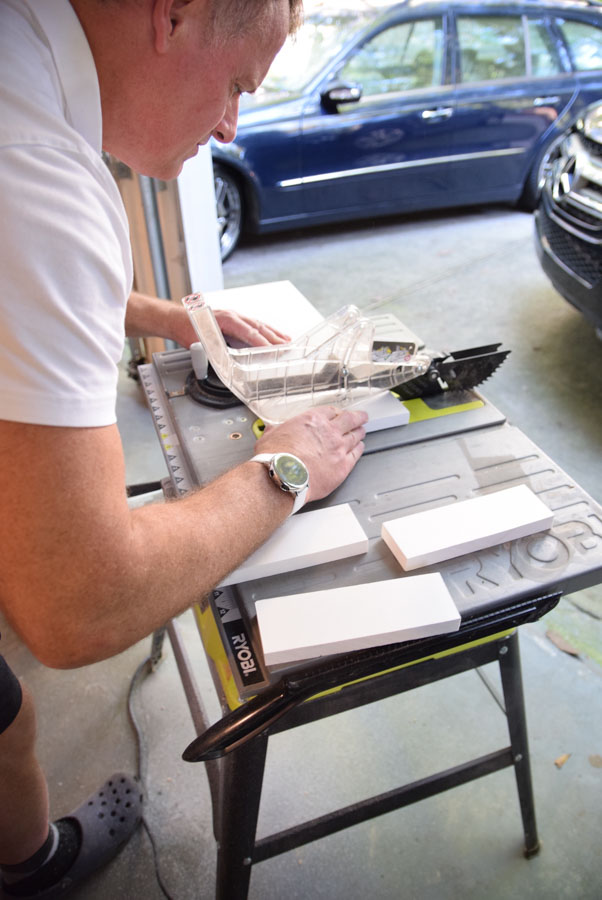
I ended up choosing a plain 6” board. I did not need any extra ridges on the molding as:
A. It’s more expensive, and
B. The room is already full of decorative things and I didn’t want the windows to be the primary focal point.
Ease Of Use
These were very economical, and easy to work with.
Once you have the dimensions, I chose to do straight cuts instead of mitered corners as it was easier to line up and I wanted to complete the look quickly so I could enjoy the tidy space.
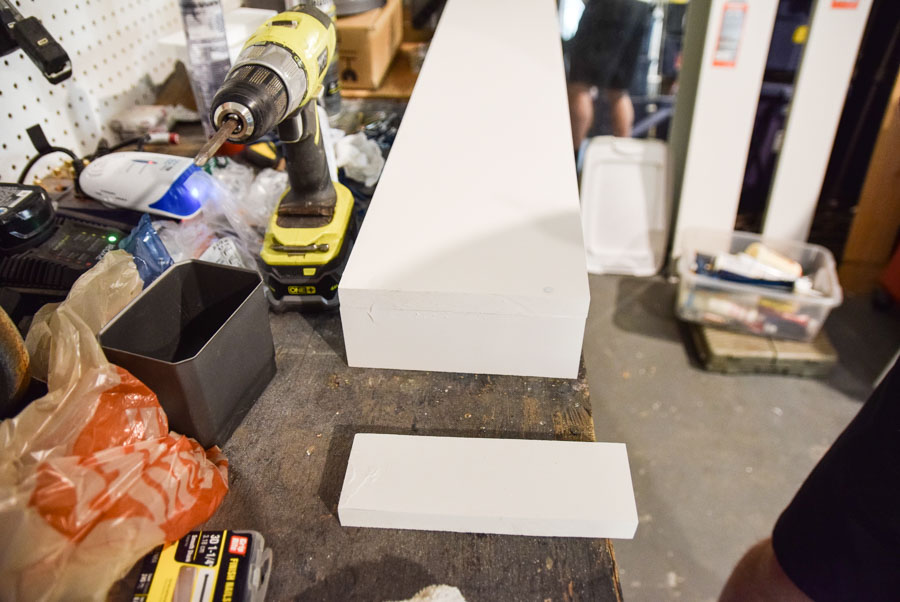
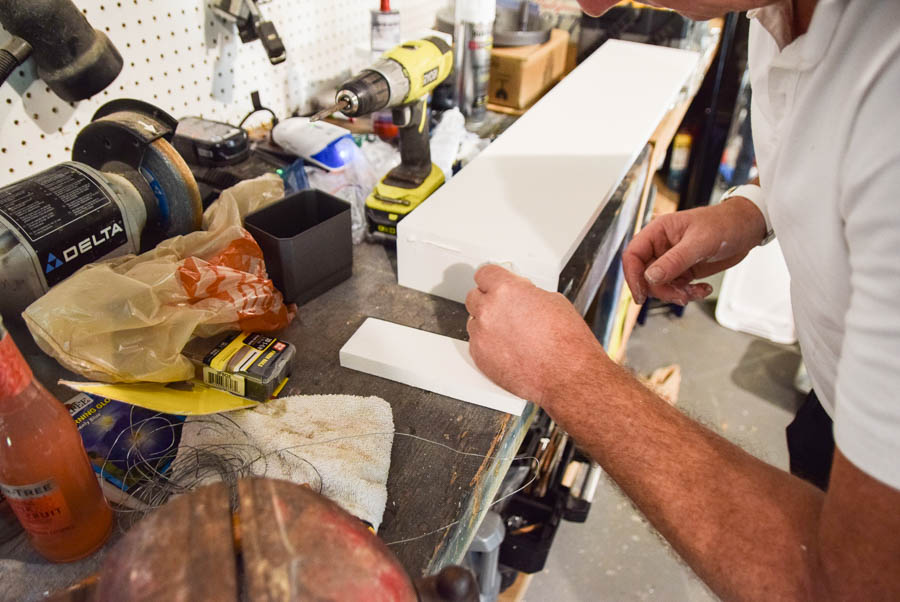
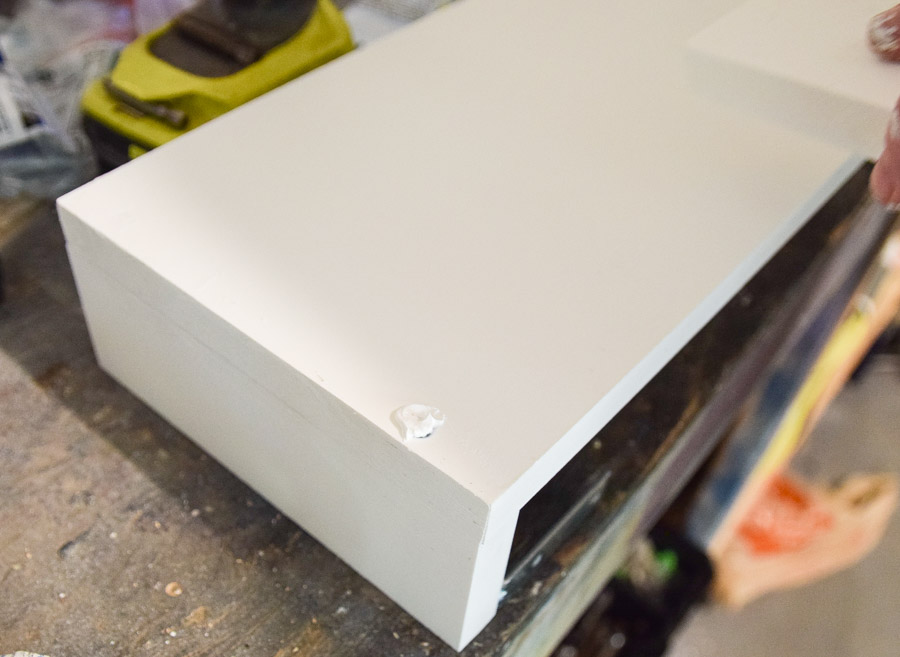
To attach the front to the side pieces, we simply drilled through and covered the hole with some caulking, but you could use spackle if you prefer. We leveled it out easily with a quick damp wipe. Going over it with paint that matched my other molding was quick as a wink!
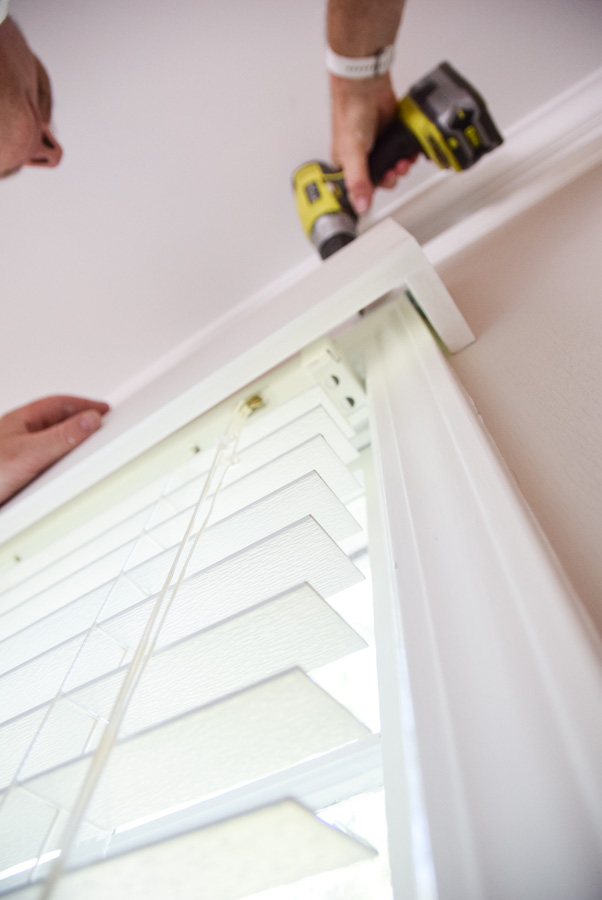
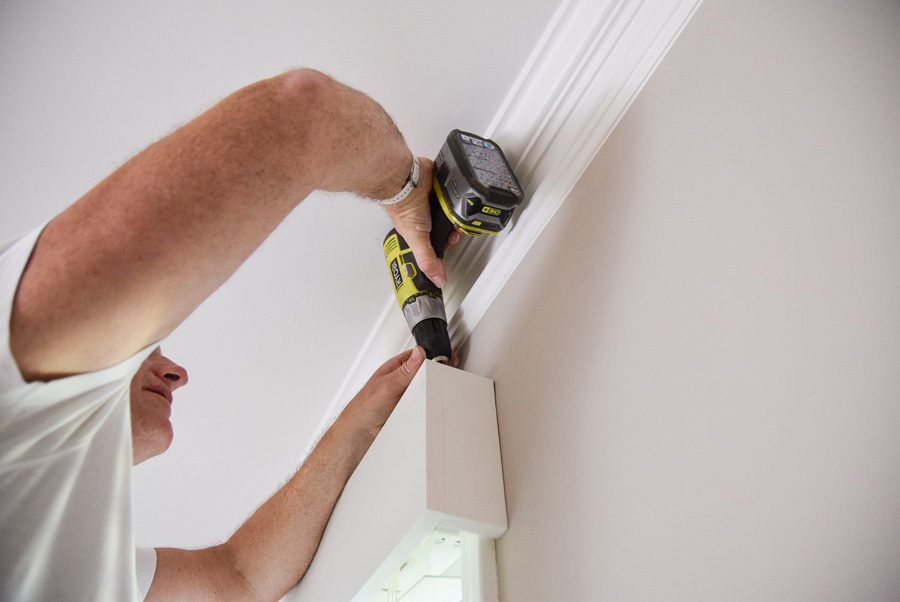
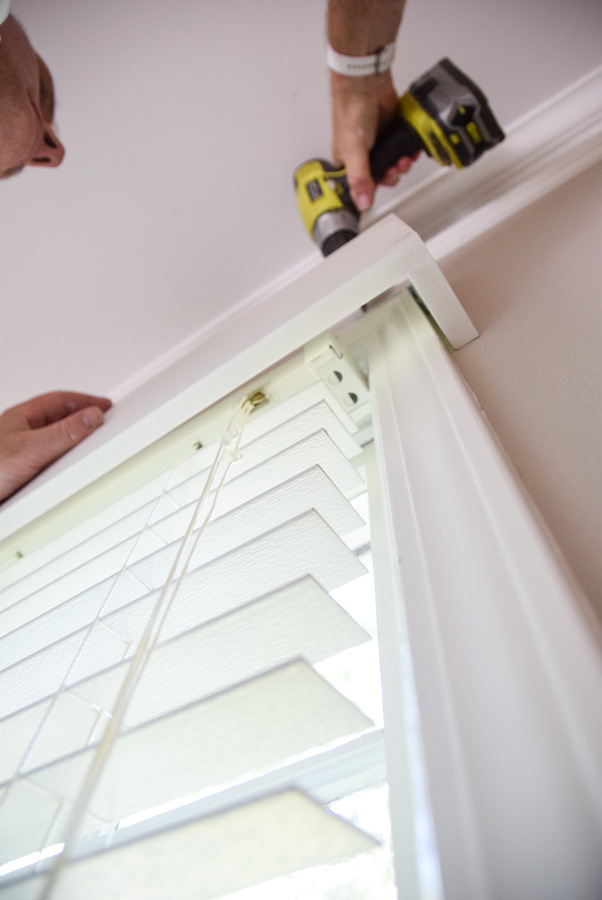
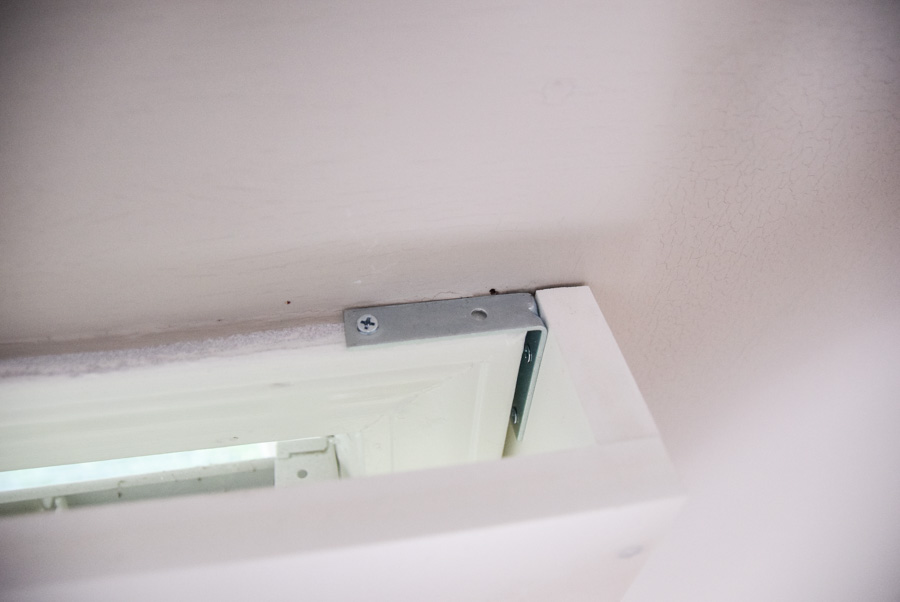
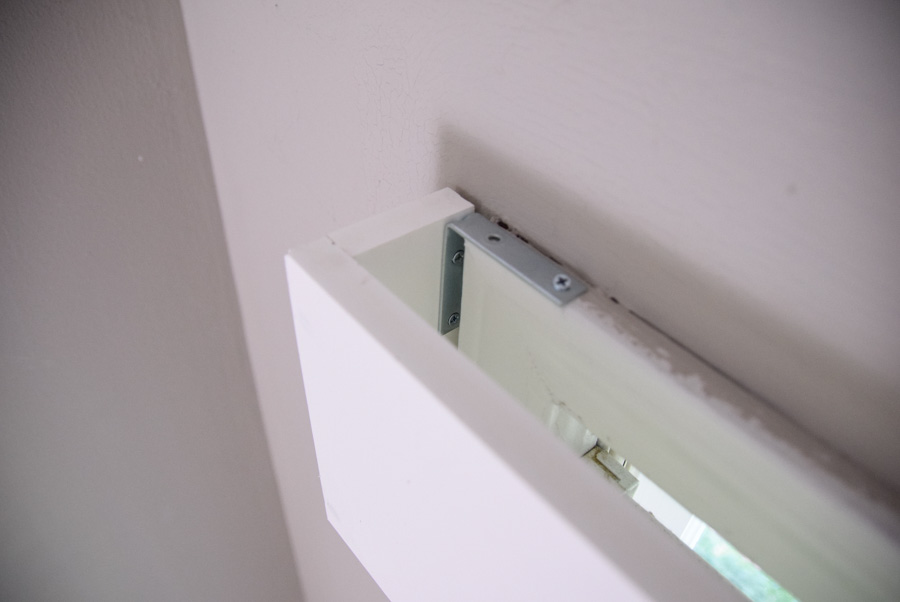
To attach them to the window frame itself, one could use an L bracket attached to the top or inside whichever fits best for your windows.
We ended up attaching them to the top of the window molding using L brackets that were attached to the inside of the side of the molding.
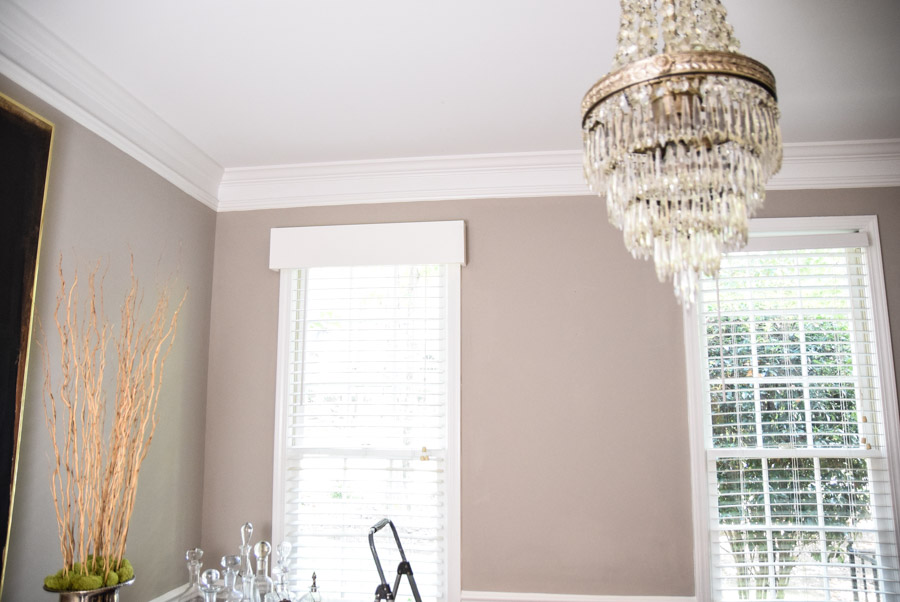
What A Difference!
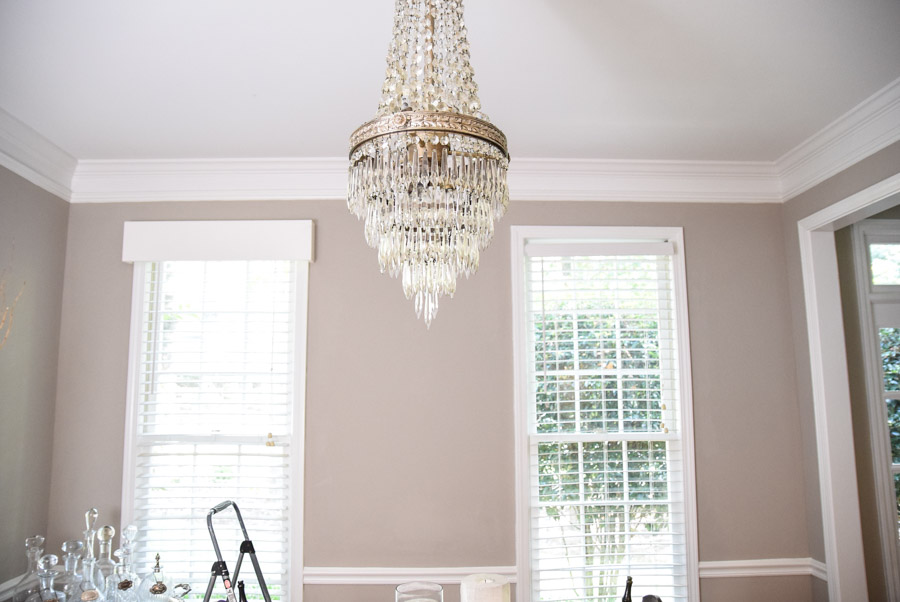
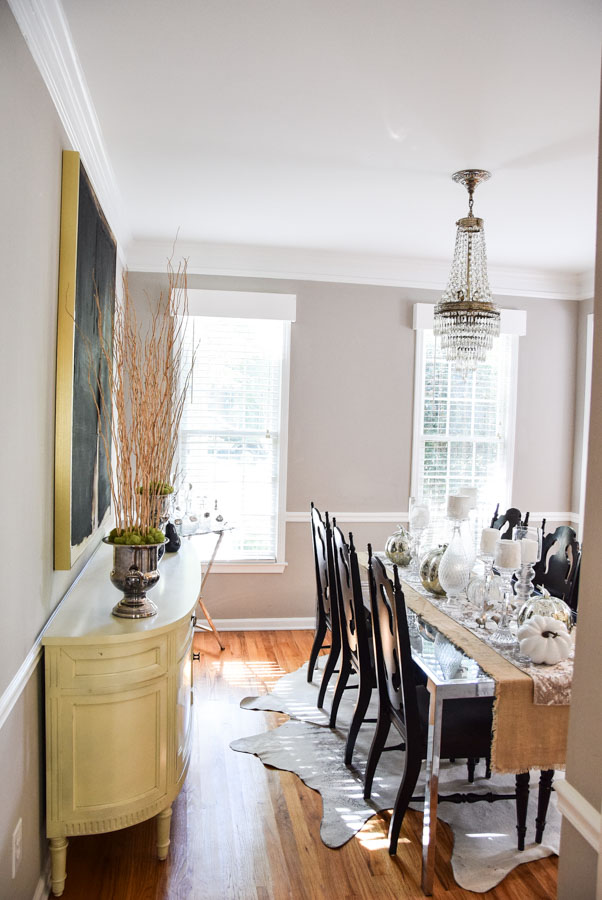
You can see the difference after just installing one! The cornice gives a much more tidy and polished look to the space.
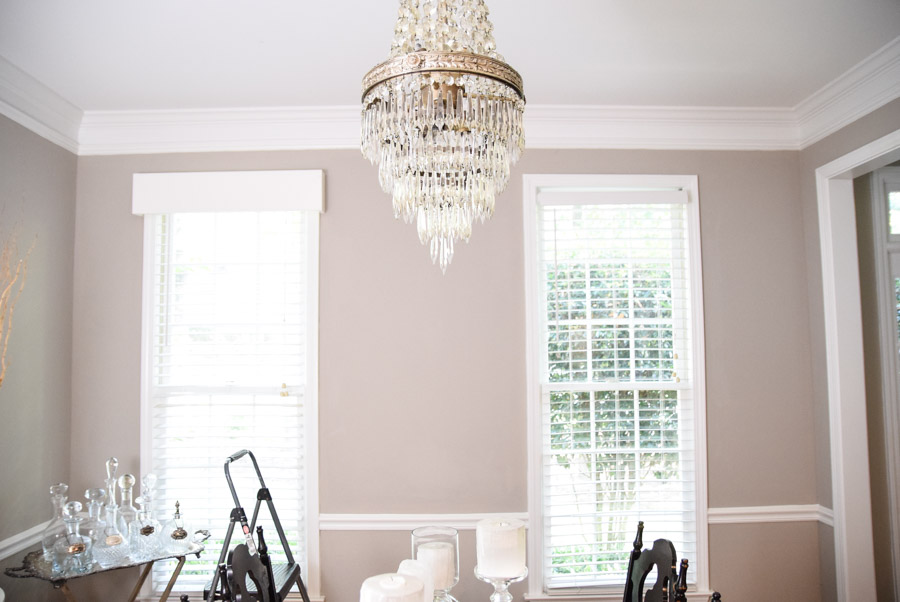
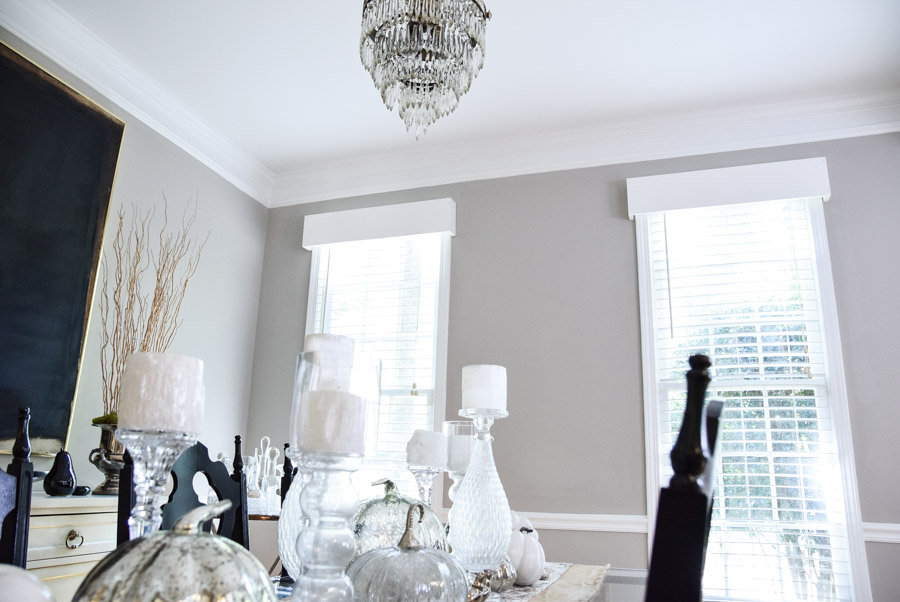
After seeing the first one, I wanted to do all the windows in the house that had these types of blinds.
No joke! I was on a roll!
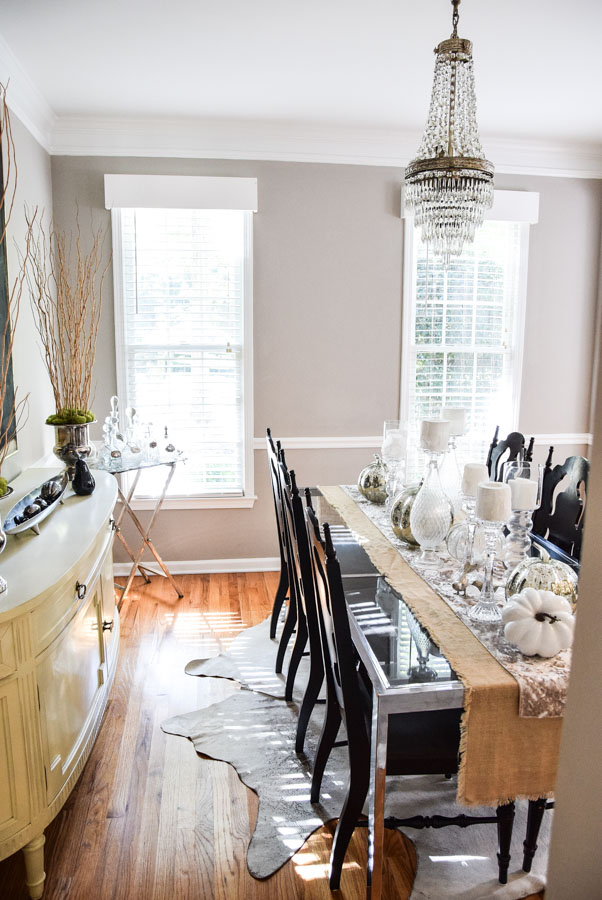
I did choose to add them to the remaining windows since we already had the technique down. I have no regrets and think it made each room look more polished and complete. I wished I had taken pictures of all the before and afters, but you’ll have to trust me, this made each space look more custom finished!
Tadaa! Fast and simple and on to the next project.
Hoping you have fun making your windows look more tidy! I would love to see your completed projects too!
Thanks.
Very welcome!