I had purchased a pair of leather chairs through a virtual garage sale site and wondered if I could make them look new again.
Although they were super comfy, they were not a lovely color. They were a faded gray green blue color and I was hoping to make them look more of a true navy blue.
I thought they would work great for my kids to use in a gaming room and with the economical price tag I paid, I wasn’t worried about ruining them.
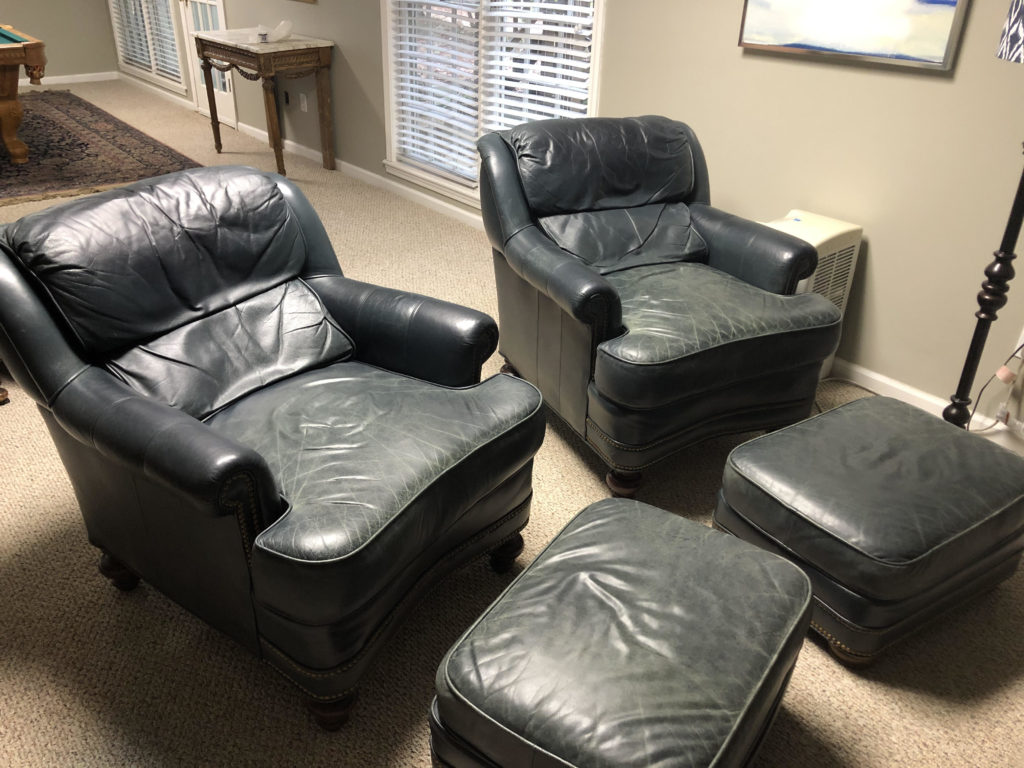
They came with two ottomans and I paid a total of $100 for all four pieces. The first time my kids sat in them, they loved them! Sooo comfy!
I just didn’t love the color.
I didn’t feel my husband would think coloring these was a current priority, as we always have a few projects going, so I decided I wouldn’t tell him…
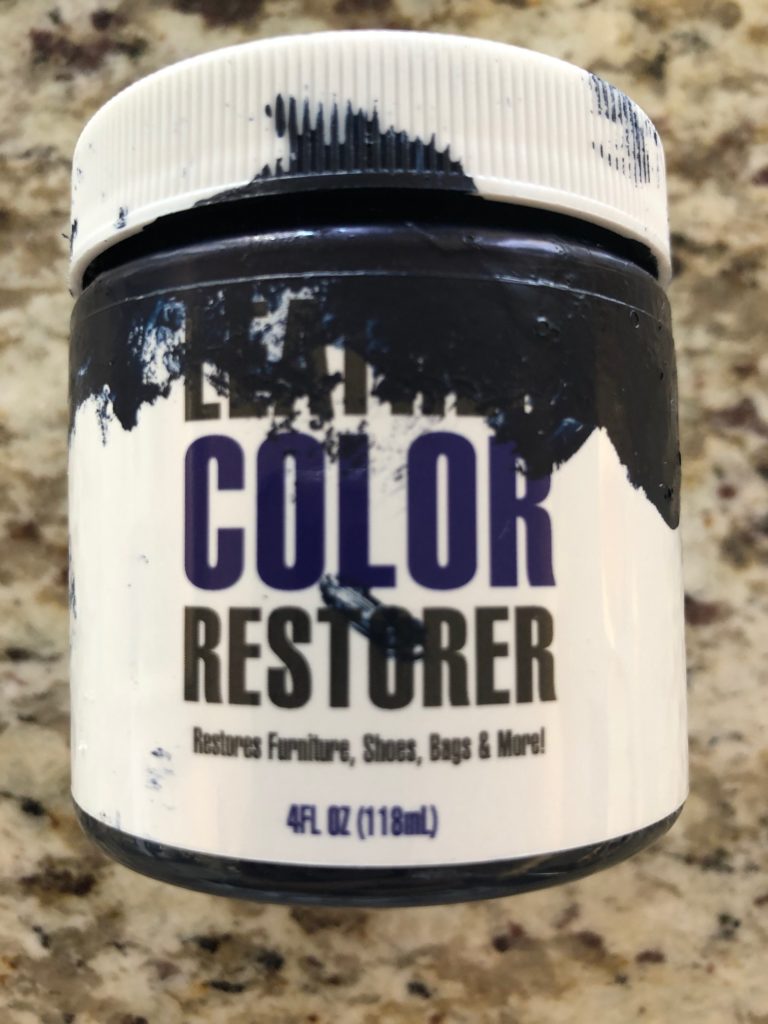
I went online and searched leather color restorers. I read a number of reviews and decided to order one that was about $14 a bottle, and had great reviews.
I thought what could I lose, so I ordered the product. It came a couple of days later and I set out to tackle the chairs.
Step 1 – Picking The Color
I actually wanted to make these true navy blue. In looking at the color options, this was navy blue, however when it arrived, it was more of a vibrant cobalt blue, at least with just one coat.
So if you’re super fussy about a color, you may want do a to test spot in an inconspicuous area first, like an underside or area that will not show. You can also hold up the color to the object and try to get as close as you can.
Visibly, this appeared navy blue, but with the application, the color wasn’t the same. If I had done more coats, the likelihood of it being navy blue is pretty high.
Some color swatches actually have a numerical value and/or exact color that you can match. You can check and see if your furniture comes with identifying info to find and exact match, however, I think to get those colors you’re going to either pay more or require more work in acquiring it.
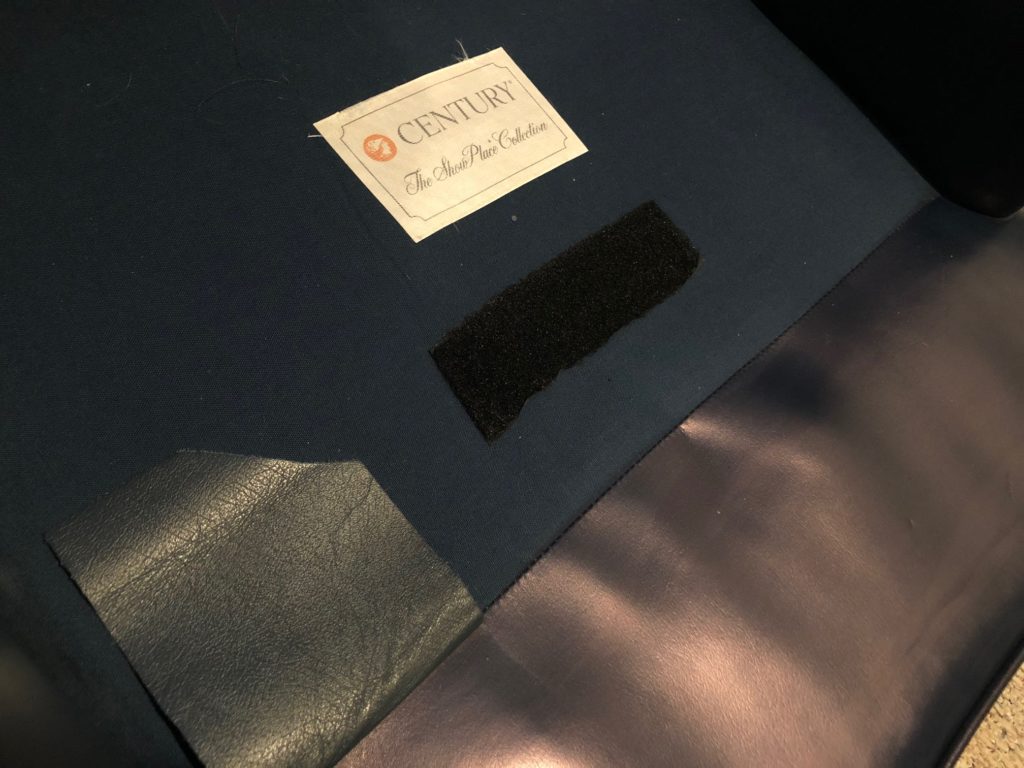
So for these chairs, I just picked the navy blue color.
After testing it and seeing the difference in my expectation of color, I thought, well, the color is here, and I’m not going to end up sending it back.
I don’t actually mind the color, and it matches some other things in my house better. So I decided to just give it a shot!
Keep in mind this is a tiny little 4 ounce bottle that comes with a little foam applicator inside. I did not know if one bottle would be suffice, but thought I could always order another one if I needed to.
Step 2 – Setting Up The Area
In prepping the area I knew I did not want to get any of the dye on my carpeted floor.
It would have been smart to put a tarp down, or to move the chairs to the garage, or something like that, however, I’m not the most patient person and I didn’t want to wait for help in moving the chairs.
I thought I would just be careful with the application. I opened a paper bag to put under the areas I was working on. I’m pretty careful when I’m doing stuff so I wasn’t worried about dripping things all over.
If you’re a fast or sloppy painter, I highly recommend you use a tarp because if this gets into your carpet it will be permanently stained.
Side note- you will also need rubber or latex gloves, a damp wash rag or paper towels.
Step 3 – Where To Start With The Color
I decided to start on the chairs first. My chairs had nailhead trim so I wanted to be a little more careful around those areas and if some did get on there I wasn’t going to sweat it.
Even if they were originally expensive chairs, I’m not losing big bucks as I only paid $100.
I removed the seat cushions and set them aside. I started by doing a color test under where the cushion would sit. This is where I noticed the vibrancy of the shade of blue!

When I was young, my mom taught me to iron. She taught me to start at the top and work my way down making sure to get all the little nooks and crannies.
I have used the same application for many projects, this included.
Start At The Top
So I started at the top of the chair. I worked on each little section one by one. Moving to the arm, the front, the bottom, and the back. Basically, wherever there was a seam I would work within that section.
I would complete that area before moving on to the next.
Do An Even Application
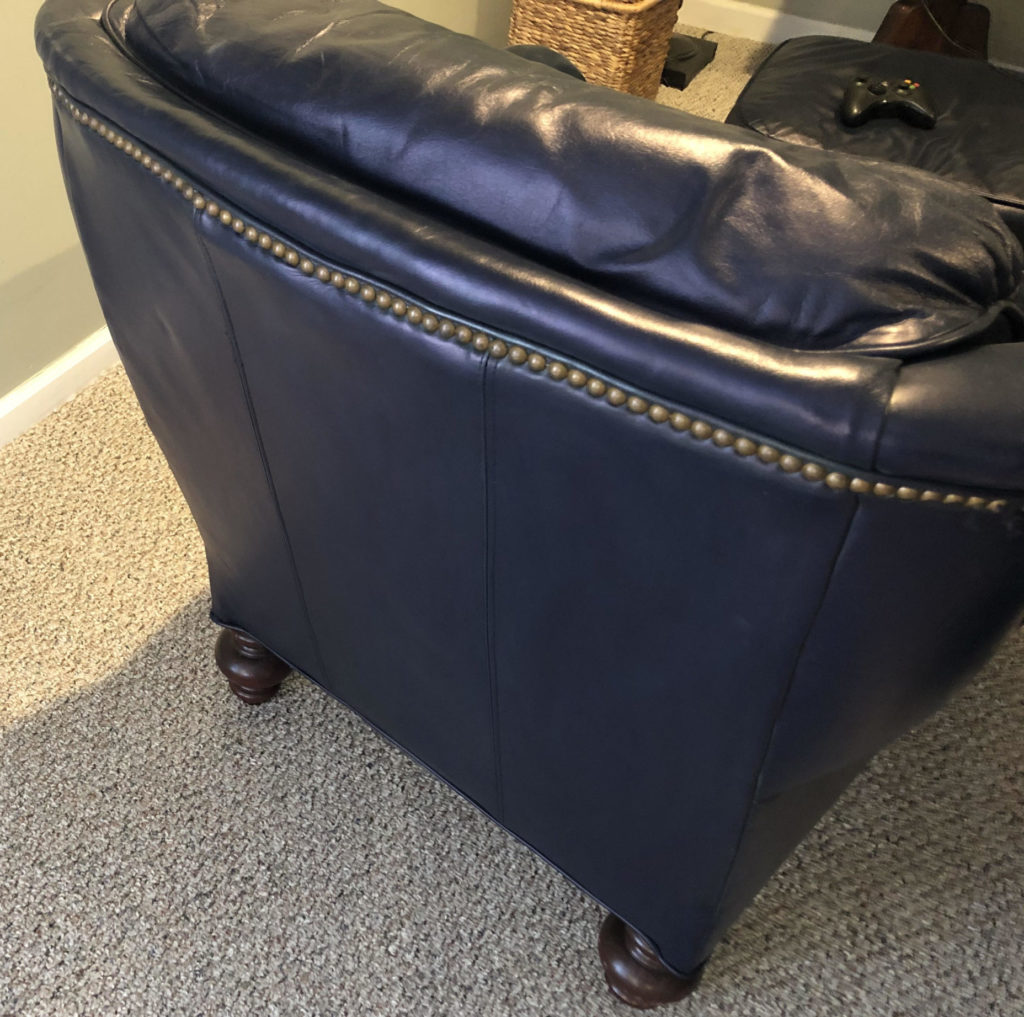
I also wanted to make sure that I did an even application so as to not go over an area too many times, where it would be noticeably darker or that I would have to go over the whole thing twice risking that I might run out of dye.
I lifted up little areas to get underneath and was pretty thorough in making sure I went right up to the lines of the nail head and even the fabric underneath the seats.
When I did the cushion part, I set them on a ladder so that they could dry without touching anything else, including each other.
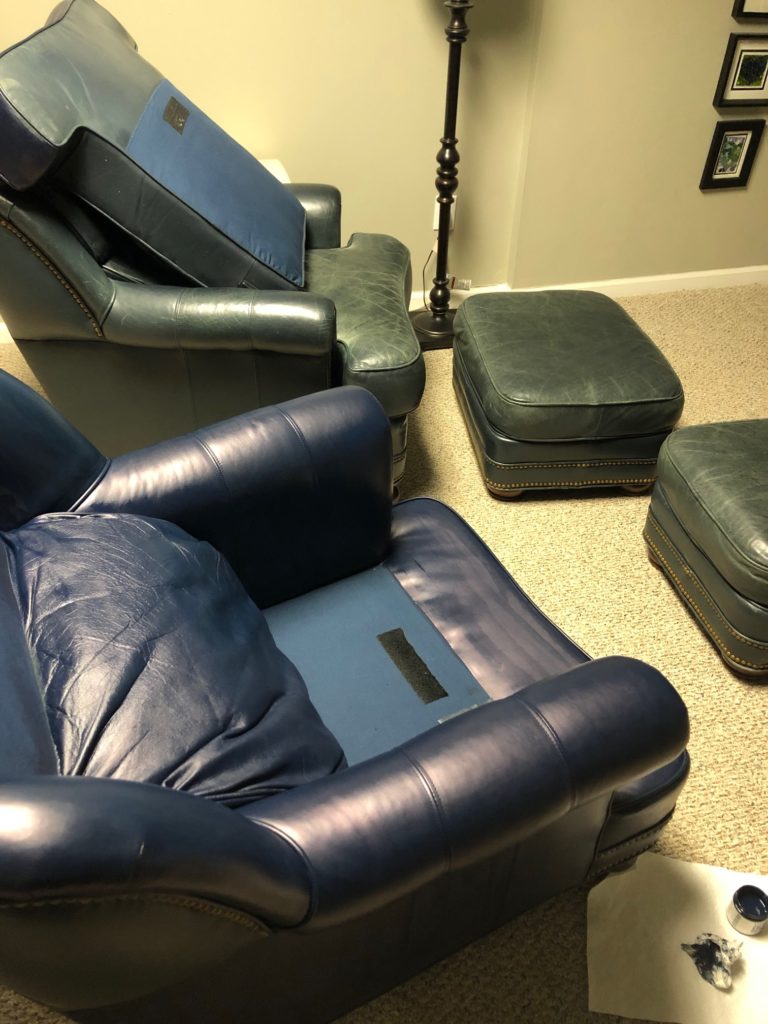
When I was working on the footstool area, I was getting pretty low on product, and I thought Yikes! I have got to make this stretch!
I thought I need to do the main parts and not worry so much about the little areas that are not seen. I thought if I end up with any extra product I would go back and fill in those little nooks and crannies.
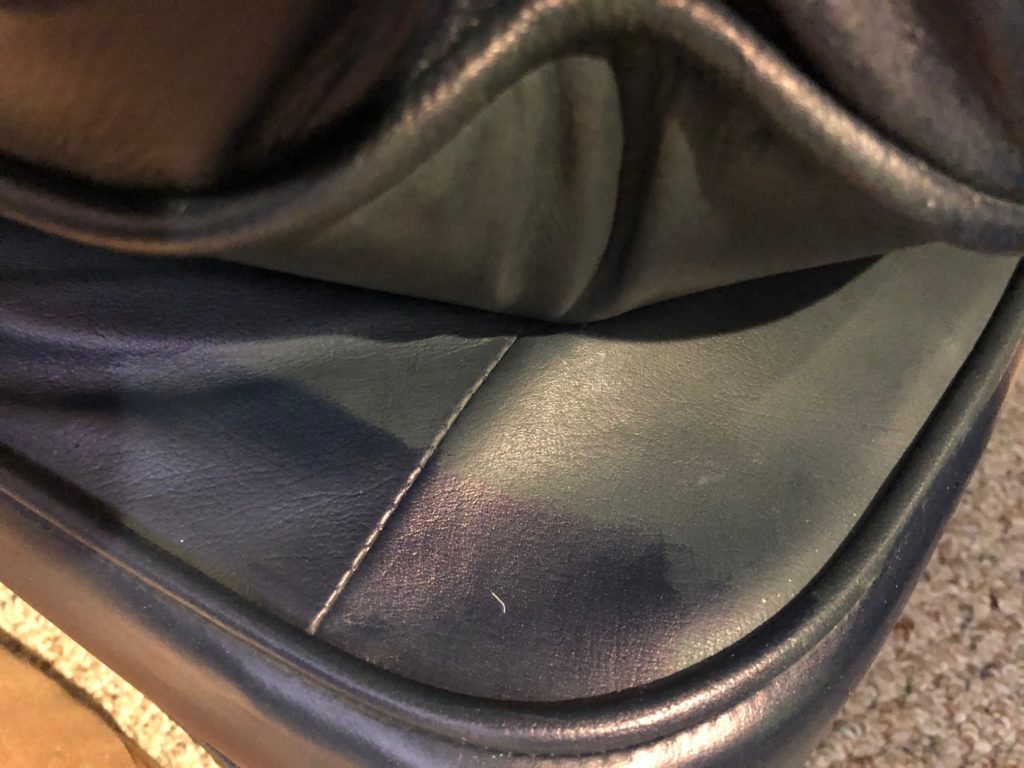
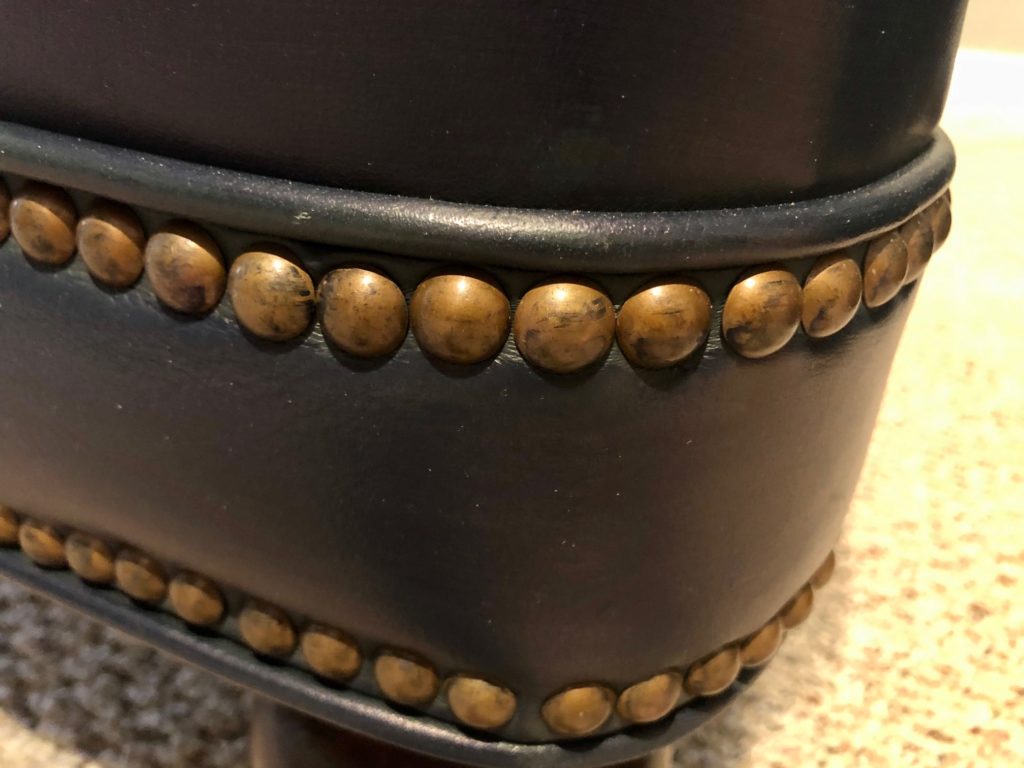
In my haste, I accidentally got some of the dye on some of the nail heads, so I recommend keeping a rag on hand to wipe those off right away.
A little bit is still on there, but you’d have to be looking for it to notice it.
Allow To Dry
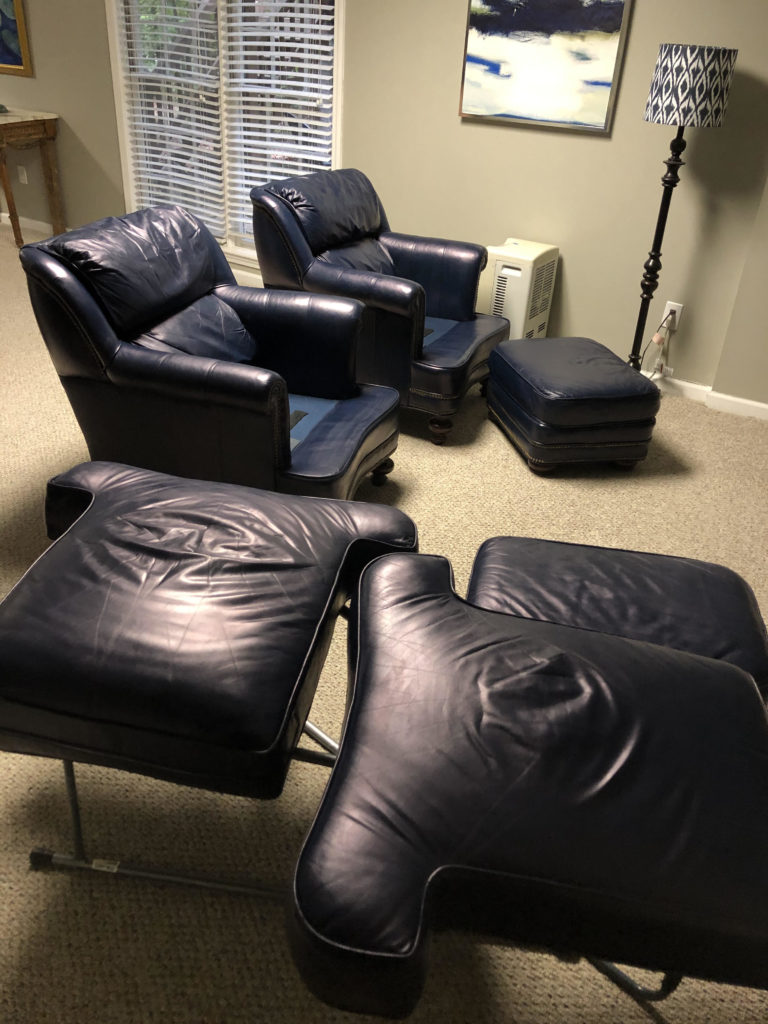
I allowed the dye to cure for a couple of days before I put the cushions back or sat on them.
When I brought my husband down to take a look, I hadn’t told him, and he was actually totally stoked!
He said he likes the color better than the original and that they looked brand-new! He was impressed! Yay!
The color matched the things in my room better and the chairs are so comfortable we will probably keep them for many years to come.
Fixing the Structure
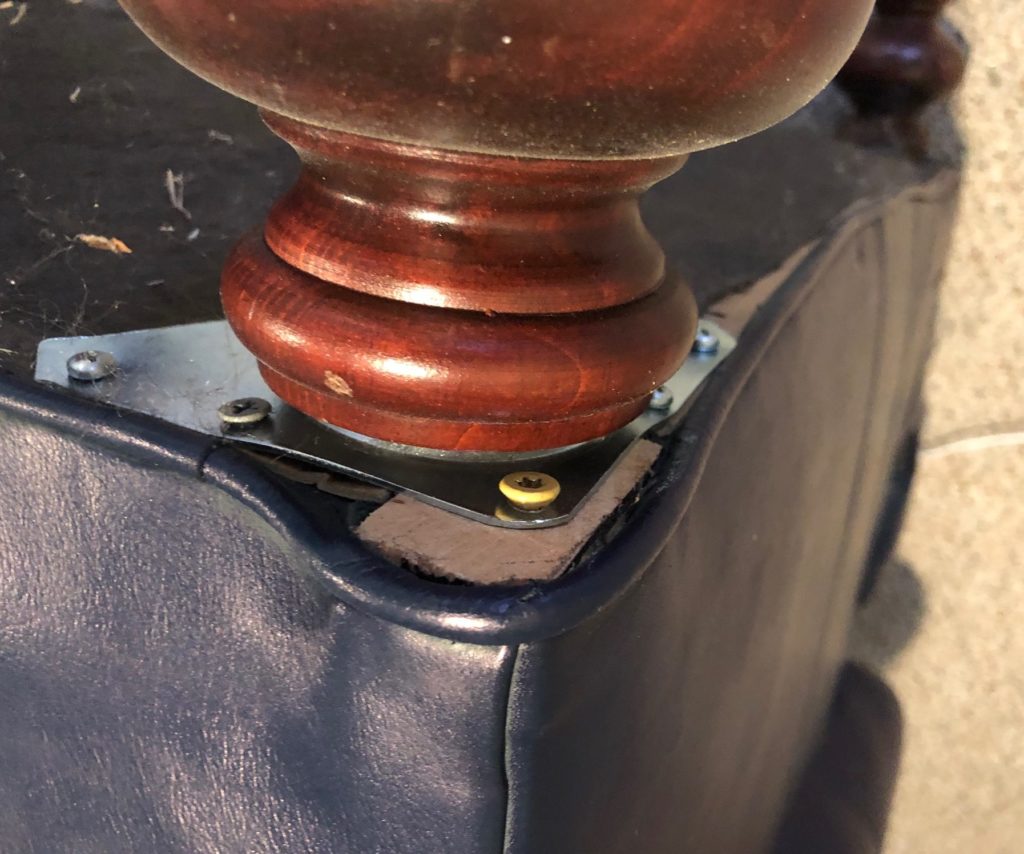
When I brought these chairs home, they did not have the original legs and the current bun feet had been added by the prior owners. I think they felt that they sat to low.
Anyway, one of the feet kind of pushed in as the metal plate was not well seated so my husband decided he was going to fix that at the same time.
To do that job he turned the chair on its side and pulled out the metal plate, straightened it and put it back with new larger screws.
These chairs are now more structurally sound, the leather is in fabulous condition, and they are comfy as can be!
Just Go For It!
If you’re feeling intimidated to tackle a project like this, I recommend that you simply start with a color test in an inconspicuous area.
You would only be out a small amount of money for the leather restoring product.
I never ended up having to reorder another bottle of this product, although some areas might look nicer if I had gone over the whole thing twice.
It may have also made it closer to the navy blue color I originally wanted to do.
There were a couple of areas where I could see some streaks and so I did go back over those areas with some dye very lightly so it blended.
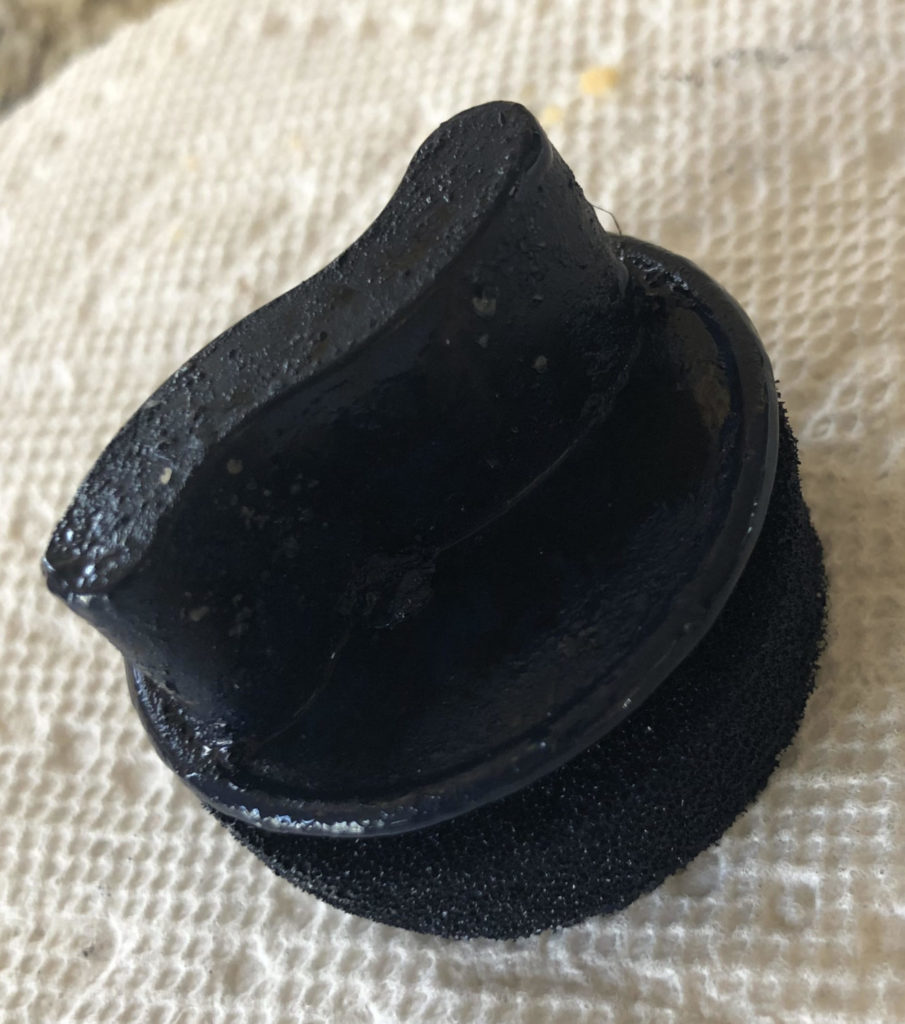
One thing I will say about this product is that the foam pad that’s inside of the bottle was very helpful for the application process, however, near the end, it started to come unattached.
I needed it to work until I was done, without it coming apart, so I ended up turning it so that the unattached part was not getting any extra pressure, but was getting dragged along instead. Taking extra care to lead with the attached side on my pushes and pulls.
I recommend throughout the process, that you use care to prolong the life of the foam pad attachment.
Another thing I liked about this color is that it had nice pigmentation.
I read a number of reviews before I started and one thing I learned is that if you have white or cream colors, many people did not give good reviews for those colors.
I would say you may want to even reconsider recoloring your furniture if you do have either a white or cream leather piece as some of the reviews said you could see through it or that it was streaky, so keep that in mind. Maybe more coats would make that less apparent, but I don’t know.
Since this project worked out so well for me, I have considered doing some additional things like shoes and a purse. I haven’t tackled either yet, but I think I might. How about you? Let me know if you do a project and how it turns out. Happy homemaking!
Leave a Reply